NOTE: The majority of the instructions and screenshots were borrowed from Ryan Ratliff, appreciate him extending the rights for this document.
Install ESXi on UCS
Follow these steps to download the Cisco customized ESXi hypervisor image on UCS equipment.
- Download the custom ISO by navigating to www.vmware.com > My VMware > Product & Downloads > All Downloads > VMware vSphere > Custom ISOs > expand the OEM Customized Installer CDs option and download the Cisco Custom Image for ESXi 5.0 Install CD
- Log into the server's CICM web interface
- Mount the ISO using the virtual KVM Console
- Within the KVM Console select the Virtual Media tab at the top.
- Click "Add Image", select the ISO from a local drive on your computer, and select "Open"
- In the Client View box select the "Mapped" check box next to the ISO you just added.
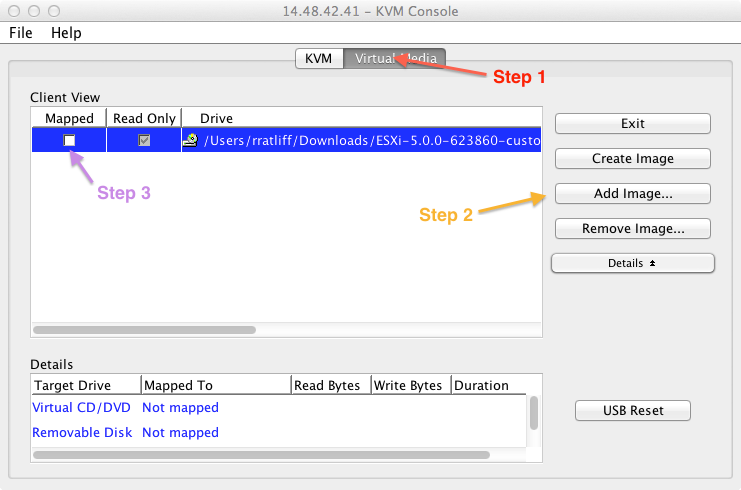
- Finally, click on the KVM tab at the top of the window to switch back to the console. You will need to press a key or send the server a CTL-ALT-DEL to force it to reboot so it can detect the image you just mounted and begin the ESXi installation.
- At this point the ESXi installer will prompt you to choose an option
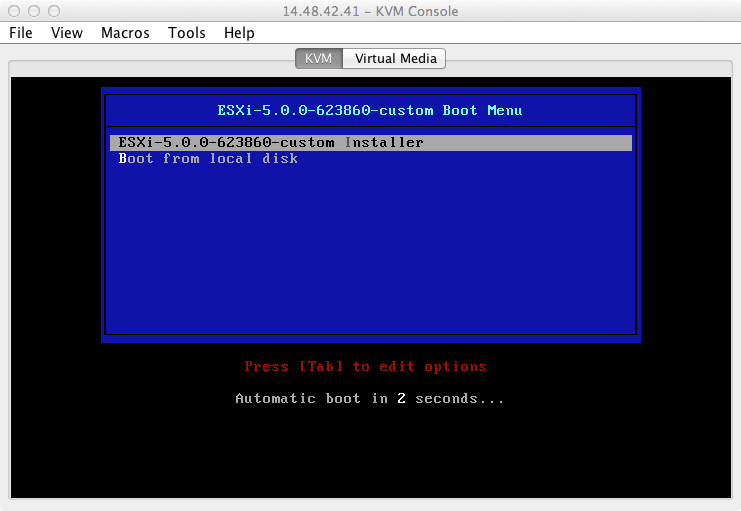
The installer will proceed without any manual intervention from this point. The installation of ESXi is very simple. User interaction is limited to these actions:
- Accept the License Agreement
- Select the disk where ESXi will be installed
- Choose a password for the root account
- Confirm the version to be installed
After this the install proceeds, only taking a few minutes to complete. When complete you will see this screen:
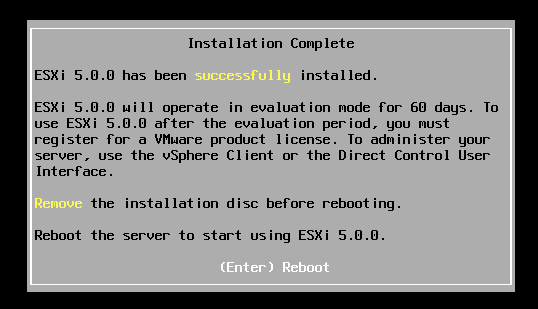
- Before rebooting remember to click the "Virtual Media" and remove the check box in the "Mapped" column for the ESXi installation ISO you mounted earlier.
- Once the system is up and running it will run with the Evaluation Mode license that comes built into the installer. This mode lets you get a feel of more advanced features, however for a BE6K deployment it is not necessary, many things like vMotion are not supported as of this time, for more details about eval mode check out his doc page:
- When the evaluation license expires, you'll need to add the basic license that VMware gives out for free. You can access it by navigating to this link:
Related documents
http://www.cisco.com/en/US/docs/unified_computing/ucs/os-install-guides/vmware/BSERIES-VMWARE_chapter_01.html
