- Cisco Community
- Technology and Support
- Security
- Security Knowledge Base
- ISE Guest Registration Portal tweaks with social media
- Subscribe to RSS Feed
- Mark as New
- Mark as Read
- Bookmark
- Subscribe
- Printer Friendly Page
- Report Inappropriate Content
- Subscribe to RSS Feed
- Mark as New
- Mark as Read
- Bookmark
- Subscribe
- Printer Friendly Page
- Report Inappropriate Content
07-10-2017 06:42 AM - edited 02-06-2023 06:18 AM
Jason Kunst and team has done an incredible job in making this happen. If you haven't seen it yet, check this document out first:
Cisco ISE Guest Social Media Login
Following the step in the document, I was able to successfully Login to the Guest Wireless using my Facebook credentials. Other than the logo and banner, this is the look of the portal following the instructions:
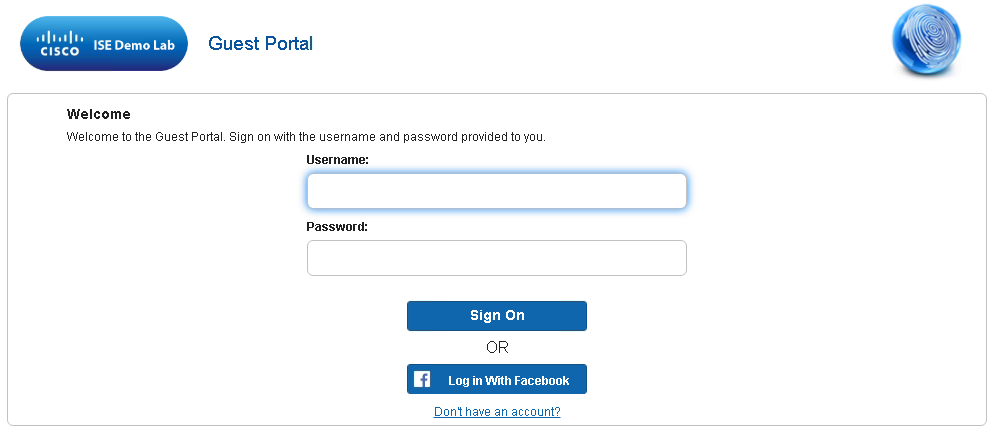
and it works great. There are a few changes that I would recommend to help avoid confusion. Knowing me, it may just add to the confusion, but that's why comments are enabled!
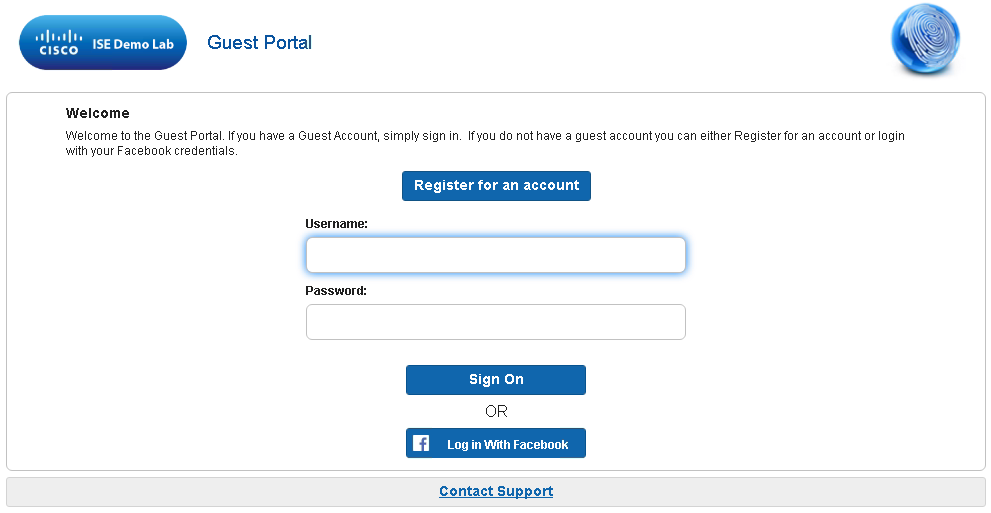
Using this on a Self-Provisioned Guest Portal gives you a link to create a local guest account, but is placed just under the "Log in With Facebook" button. The wording of this link is "Don't have an account?" and can be misunderstood as "Don't have a Facebook account?" What I have done is customized this portal with javascript to change the text on and location of the link, while making it a button.
This places the button at the top of the page. I have also changed the Instructional Text of the Portal to read, "Welcome to the Guest Portal. If you have a Guest Account, simply sign in. If you do not have a guest account you can either Register for an account or login with your Facebook credentials."
Hopefully this alleviates the confusion as to the account that would be created.
I also added a Support Information Page on the Portal Behavior and Flow Settings tab. I replaced that link with a button.
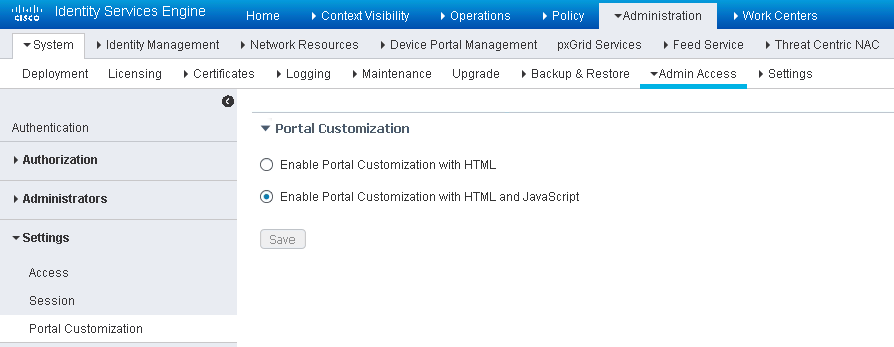
To be able to do this, you must first go to Administration > System > Admin Access > Portal Customization and select Enable Portal Customization with HTML and Javascript
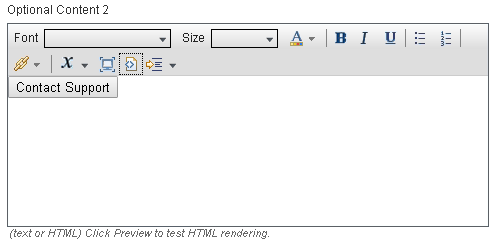
Then, on the Portal Page Customization tab of the portal you are using, scroll to Optional Content 2 and click the Toggle HTML Source button:

Paste in this code for the Register for an Account button and to move it to the top of the page:
<script>
jQuery("form[name='selfRegForm']").find('.cisco-ise-form-buttons').css('display', 'none');
jQuery("form[name='selfRegForm']").append('<div class="cisco-ise-form-buttons"><div data-corners="true" data-shadow="true" data-iconshadow="true" data-wrapperels="span" data-theme="b" data-inline="true" data-mini="true" data-disabled="false" class="ui-submit ui-btn ui-shadow ui-btn-corner-all ui-mini ui-btn-inline ui-btn-up-b reg-acc-btn" aria-disabled="false"><span class="ui-btn-inner"><span class="ui-btn-text">Register for an account</span></span></div></div>');
jQuery(".reg-acc-btn ").on("click", function(event){
jQuery('#ui_login_self_reg_button').trigger("click");
});
jQuery("form[name='loginForm']").before(jQuery("form[name='selfRegForm']").not("form[novalidate='novalidate']"));
</script>
This code will add Contact Support as a button:
<a class="ui-link" href="#" id="ui_login_support_info" onclick="$('#support_info').submit();"><button>Contact Support</button></a>
but it will not remove the link. To remove the text link, remember to first Toggle the HTML Source button so that you see this:
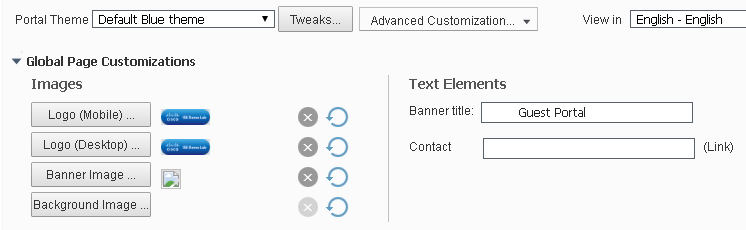
Then go to the top of the page to the Text Elements section and overwrite the text with 5 spaces into the Contact text box:
Save your Portal and test it out!
All comments and feedback are welcome.
- Mark as Read
- Mark as New
- Bookmark
- Permalink
- Report Inappropriate Content
Hi Charlie,
very nice and useful post, may i ask you how to move the Register button bottom to the form instead of top? I tried to play with the code but i was not able..
thanks
smaikol
")
")
- Mark as Read
- Mark as New
- Bookmark
- Permalink
- Report Inappropriate Content
jQuery("form[name='loginForm']").before(jQuery("form[name='selfRegForm']").not("form[novalidate='novalidate']"));
- Mark as Read
- Mark as New
- Bookmark
- Permalink
- Report Inappropriate Content
Hi Jason,
we already did this try and also putting the .after method on the jQuery but it didn't work.
Any other suggestion?
tnx a lot
smaikol
- Mark as Read
- Mark as New
- Bookmark
- Permalink
- Report Inappropriate Content
Find answers to your questions by entering keywords or phrases in the Search bar above. New here? Use these resources to familiarize yourself with the community: