ISE-PIC has a number of providers such as Syslog and API. There are a couple methods to monitor Active Directory (AD) using ISE-PIC. In this example, I will show the steps necessary to manually add and monitor AD using the ISE-PIC agent.
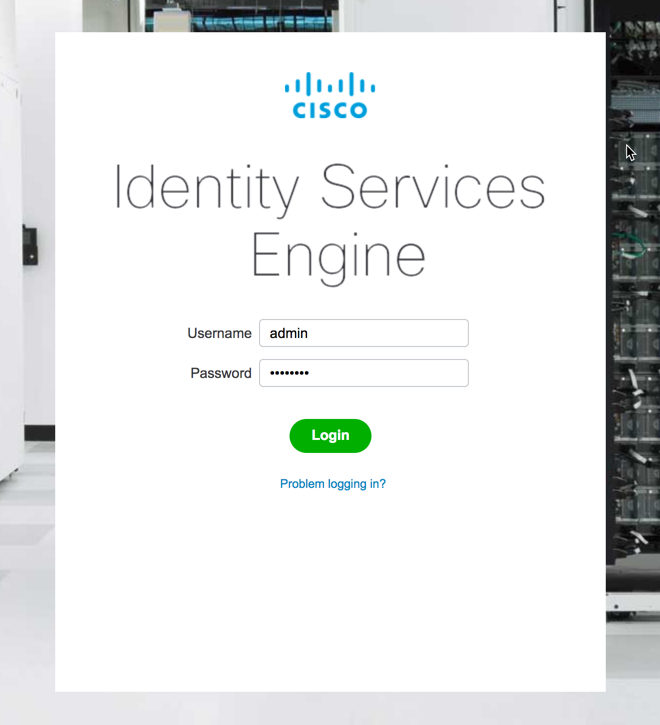
First, log into the ISE-PIC Web UI:
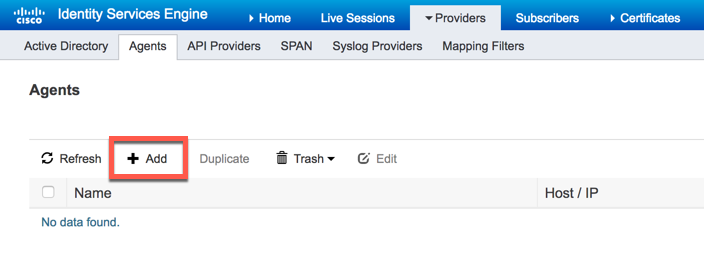
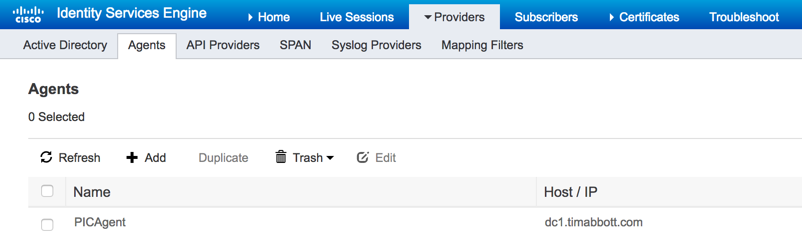
Next, we need to configure the ISE-PIC agent as an identity provider. This will allow us to see who has authenticated against our AD server. To begin, navigate to Providers -> Agents in the top menu:

Click the "Add" button to configure an agent that will be used to monitor AD:
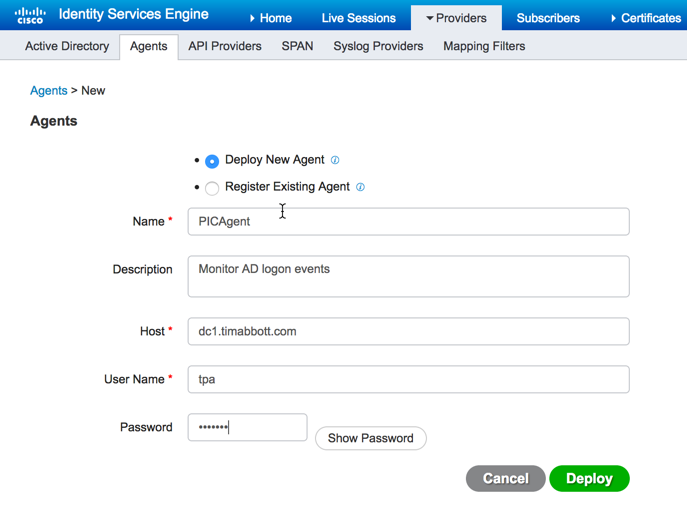
Now, we are presented with two options: Deploy new agent or Register existing agent. Since this is a new installation, we are going to have ISE-PIC push the agent to the domain controller. Fill in the required information to deploy the agent while keeping in mind the AD credentials used must have domain admin privileges. Once all the information has been enter, click deploy:
Once the agent has been deployed, you will see it listed under the agents section:
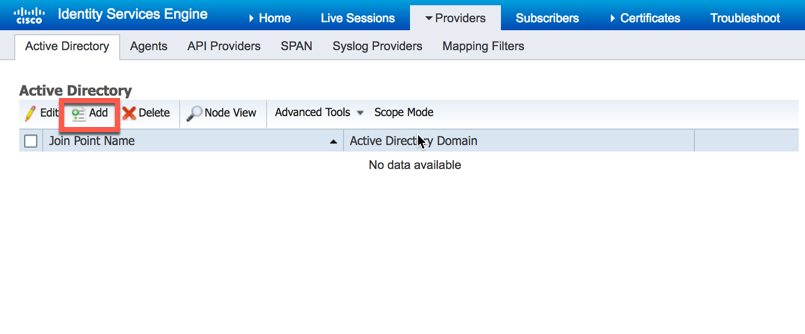
Now that our agent has been deployed, we need to join ISE-PIC to AD and then configure PassiveID. To begin, navigate to Providers -> Active Directory and then click "Add":
Next, give the AD join point a name and the domain you wish ISE-PIC to join then click "Submit":

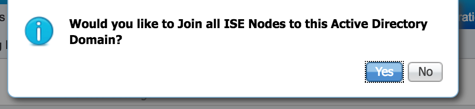
Next you will be prompted to join all ISE-PIC nodes to this domain. If you have a secondary ISE-PIC node, you can have it join AD as well by selecting "Yes" here:
ISE-PIC will now prompt you to enter Domain Admin credentials. Keep in mind that ISE-PIC will store these credentials for use with the Endpoint Probe. It would be best practice to use a service account for this process because AD password policy could potentially cause authentication issues later on:

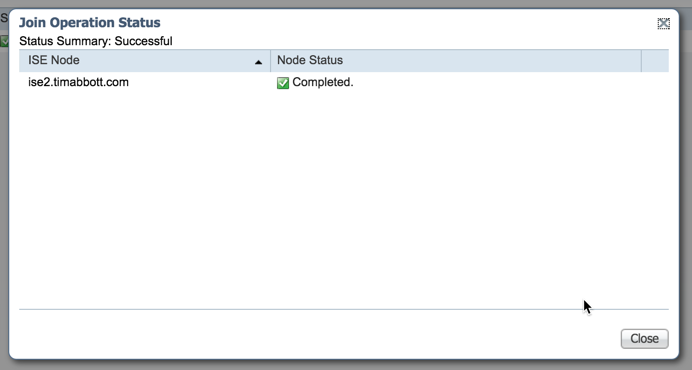
Once joined to the domain, ISE-PIC will indicate the task was successful:
Now that ISE-PIC has been joined to the domain, we need to configure PassiveID. To begin, select "PassiveID" from the menu:

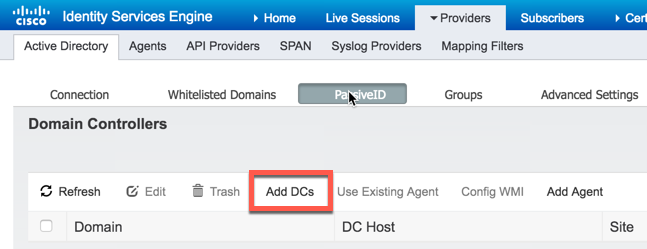
To add the domain controller was just joined, select "Add DCs":
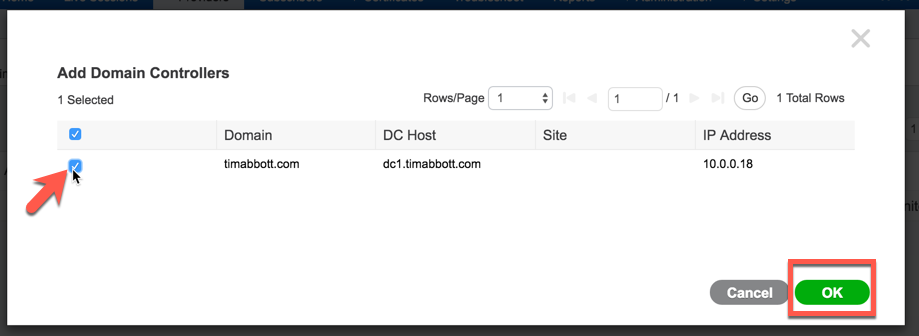
Select the domain controller we just added to ISE-PIC and then select "OK":
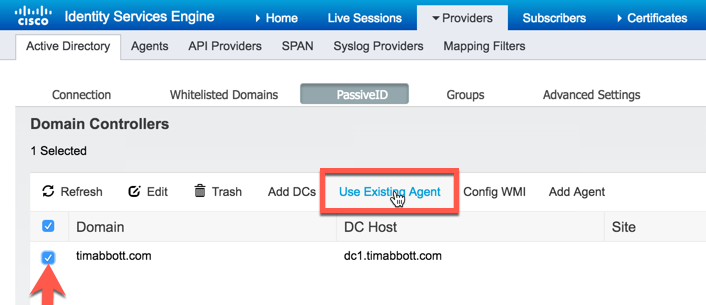
Select the domain controller we just added and then select "Use existing Agent":
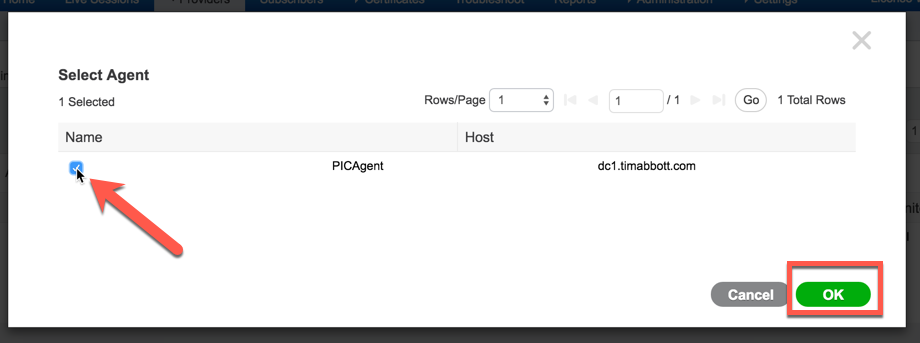
Select the ISE-PIC Agent we configured earlier and select "OK":
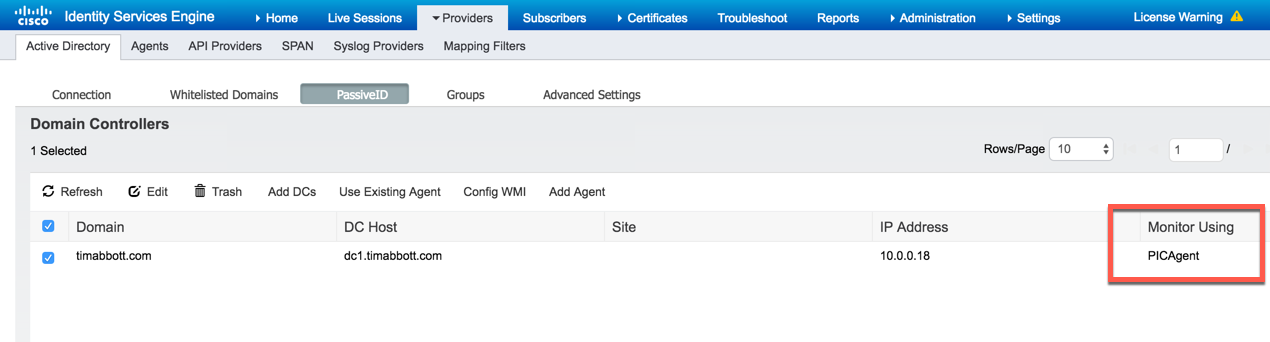
You can now see that ISE-PIC is monitoring the domain controller:
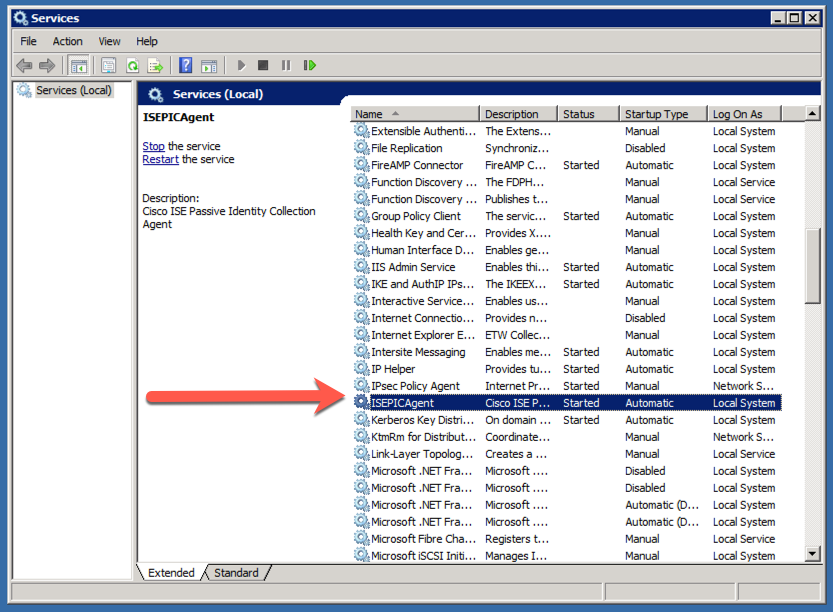
On the domain controller, you will be able to see the ISE-PIC Agent service running:
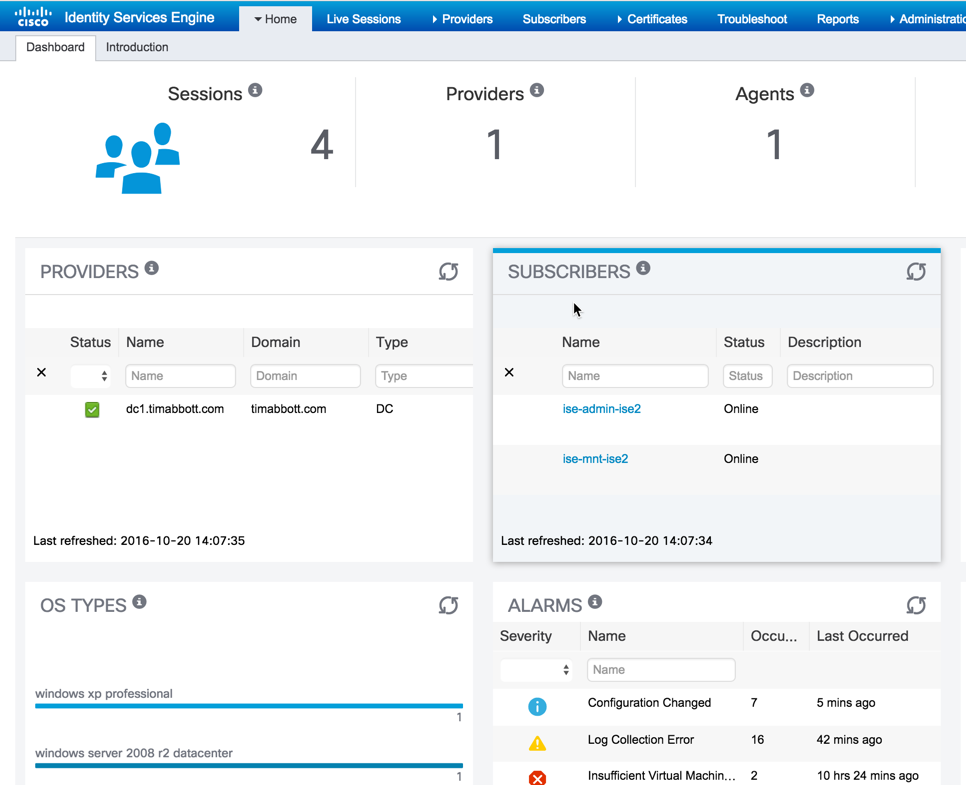
On the ISE-PIC dashboard, you can now see the number of sessions the ISE-PIC agent has learned about, the number of providers currently configure and even some information about the OS type:
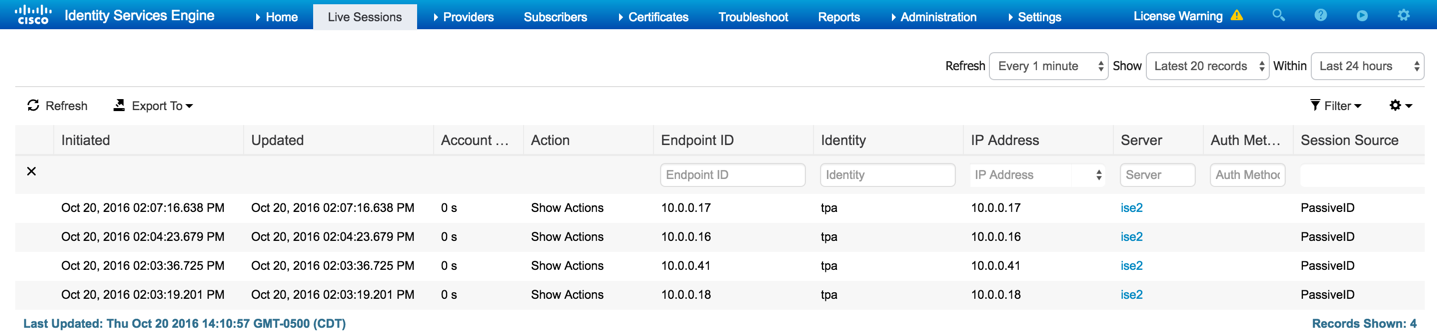
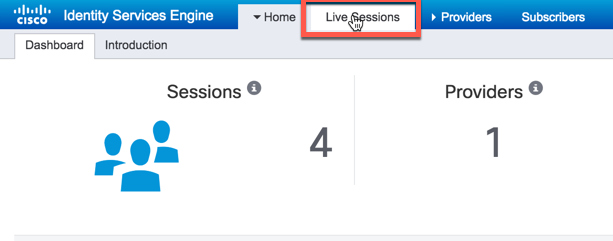
To get more information about current sessions, select "Sessions" from the top menu:
Here, you will see a listing of all the sessions ISE-PIC is currently aware of: