Introduction
This document describes detail steps for reimaging a Sourcefire Series 2 Sensor and DC500. If you need to reimage a Series 3 device, please read this document.
Applicable Platform
The instruction on this document is applicable to reimage the following hardware platforms to software versions 4.10 or 5.2.
| Sensor Models | Defense Center Models | Software Versions Available for reimage |
|---|
3D500
3D1000
3D2000
3D2100
3D2500
3D3500
3D4500
3D6500 | DC500 | 4.10
5.2 |
Before You Begin
Before you begin the reimage process, ensure the following items:
- If you plan to reimage a Defense Center (DC) or stand-alone sensor, you should backup your appliance before you proceed.
- Identify the model number of your sensor and verify that this document is appropriate.
- Obtain a Sourcefire branded USB keyfob that comes with Sourcefire appliance packaging.
- If you can not find the keyfob, please contact Cisco Technical Support Team.
- A generic USB keyfob is not compatible.
Download the appropriate installation guide and .iso disk image for your desired software version from cisco support site. An .iso file should be copied to a host running an SSH server. The SSH server has to be reachable from the management network of the Sourcefire appliance that will be reimaged. If an SSH server is unavailable, you may use a DC for this process.
Caution
- Do not plug a KVM switch when you upgrade or reimage a Defense Center or a Sensor.
- Do not rename an .iso image file. An .iso image is not copied to the Sourcefire USB keyfob. Verify the md5sum of the .iso after you download.
Reimage
The 3D Sensor and DC Installation Guides has been attached with this document. It provides detail instructions for reimage on chapter 5 "Restoring a 3D Sensor/Defense Center to Factory Defaults". In addition, a detail step-by-step screenshots have been provided below.
The following example uses Version 4.10 when the screenshots were captured. The reimage process is identical for Version 4.10.x and 5.x except for the version numbers displayed on a screen.
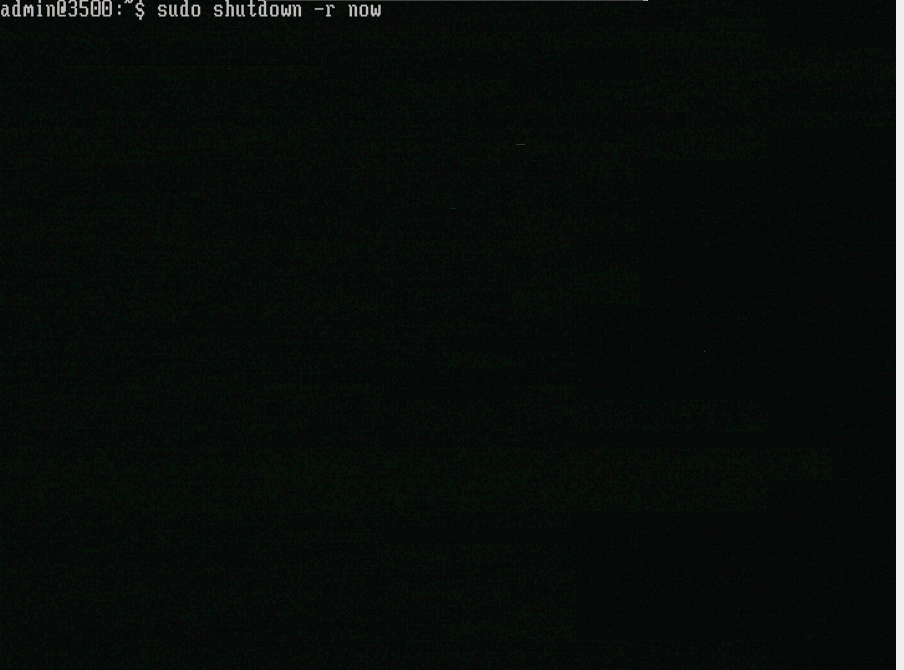
Figure 1
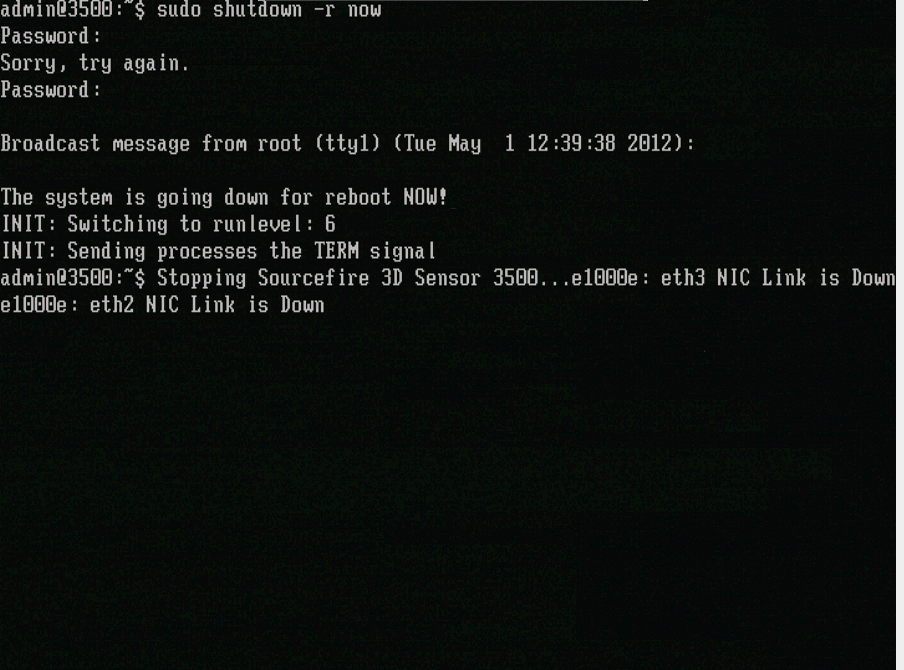
Figure 2
Note: For 3D500/1000/2000 sensors press Ctrl + U slowly and repeatedly when the Sourcefire splash screen appears; continue until the splash screen disappears to boot from the USB.
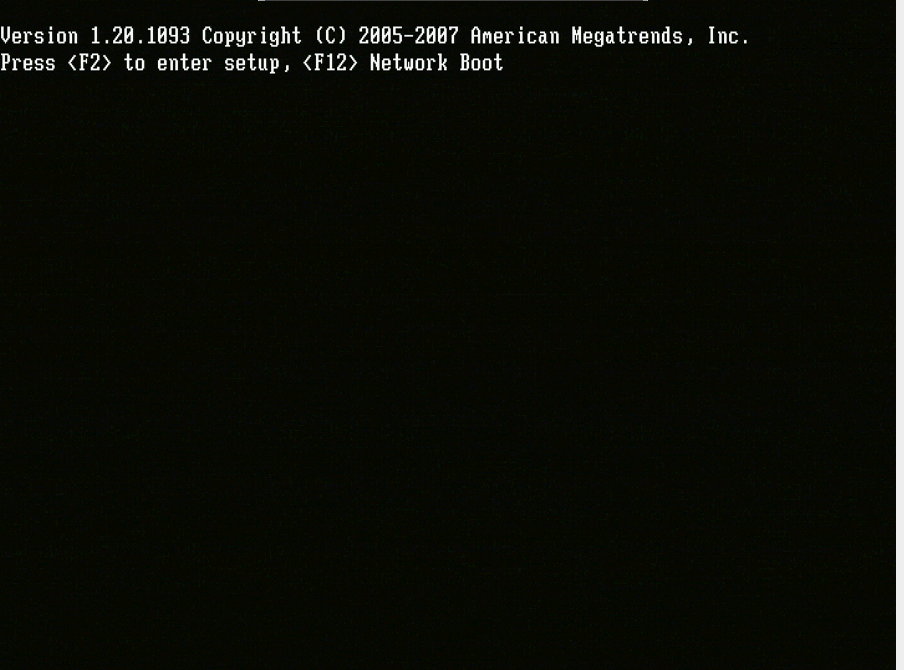
Figure 3
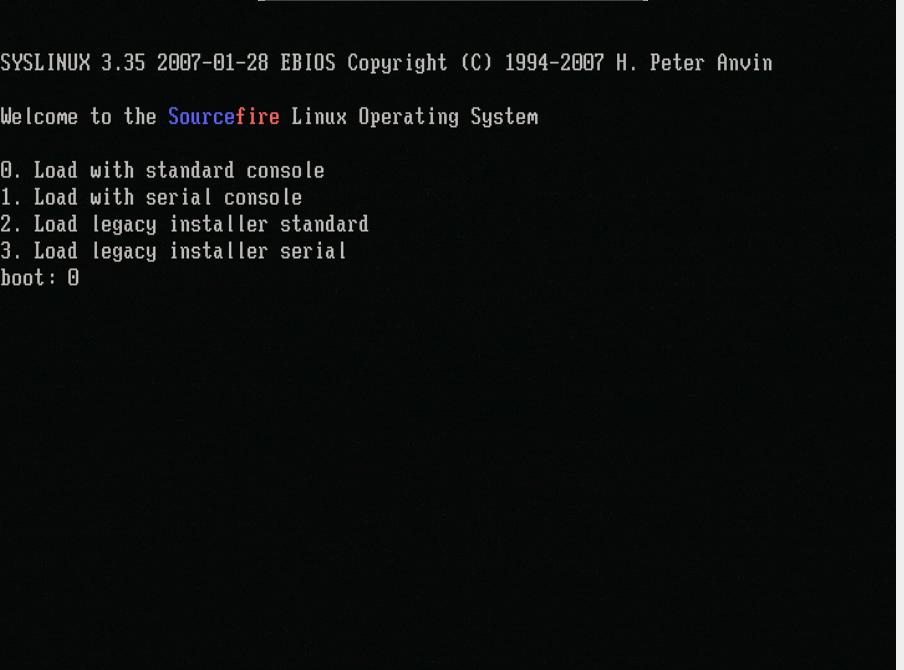
Figure 4: Choose option 0 if you are using a keyboard and monitor.
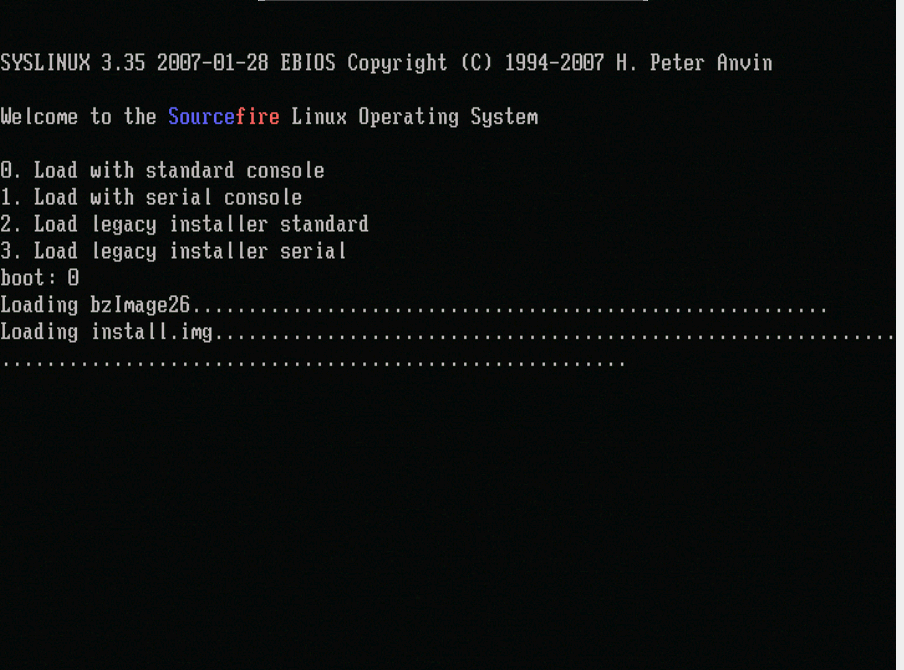
Figure 5
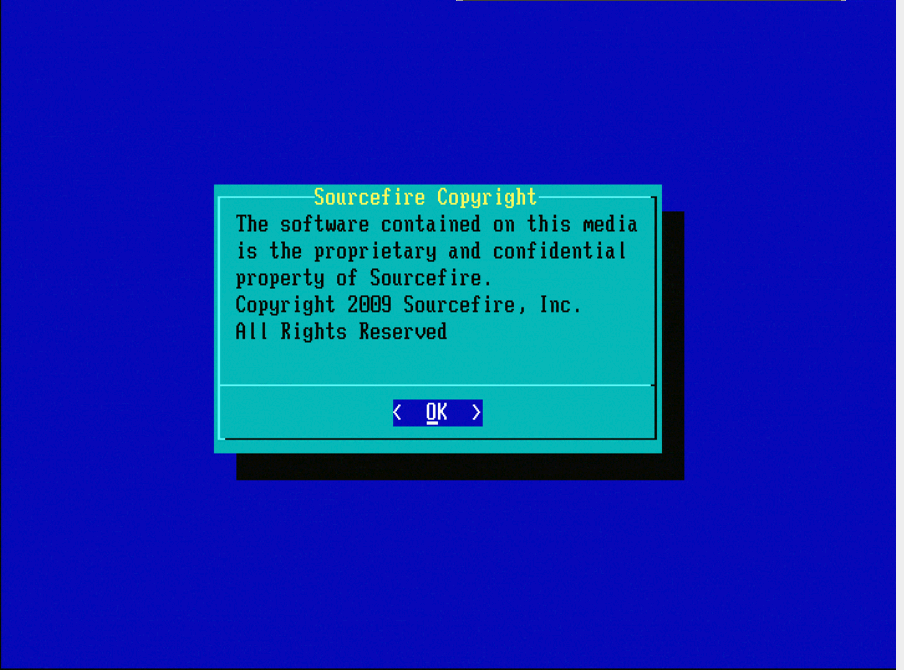
Figure 6
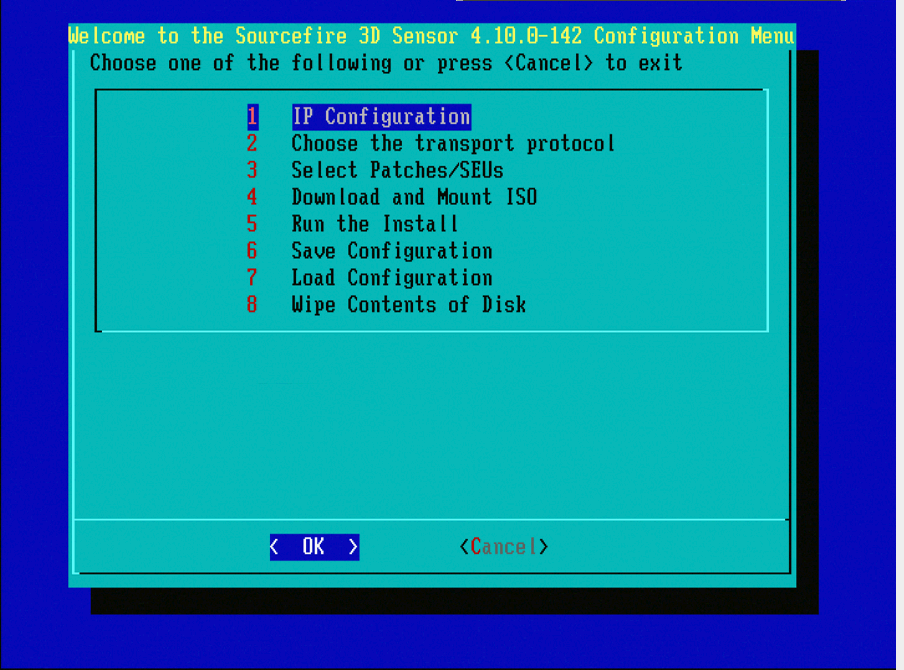
Figure 7
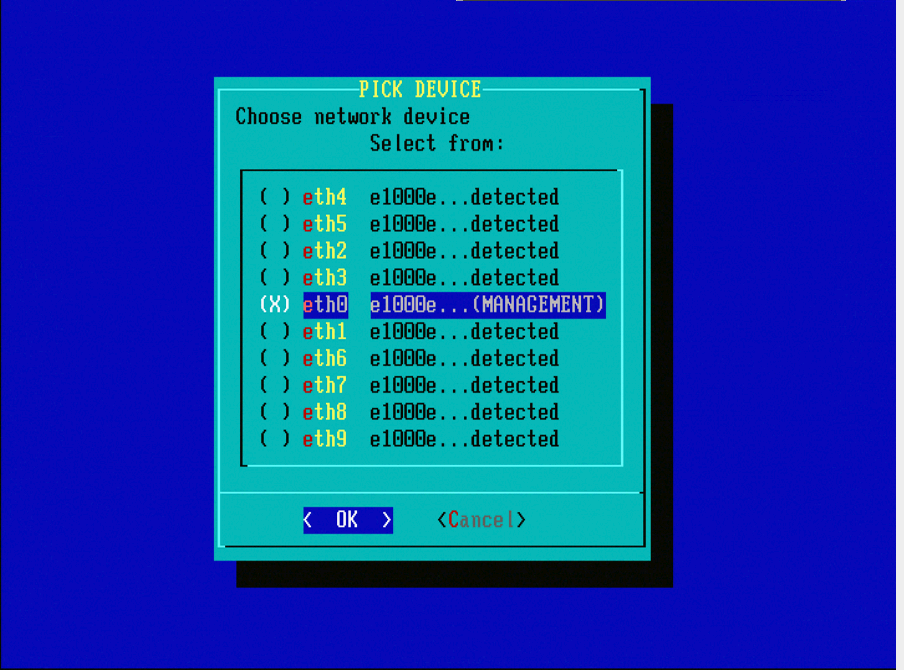
Figure 8: To select the network device, press spacebar.
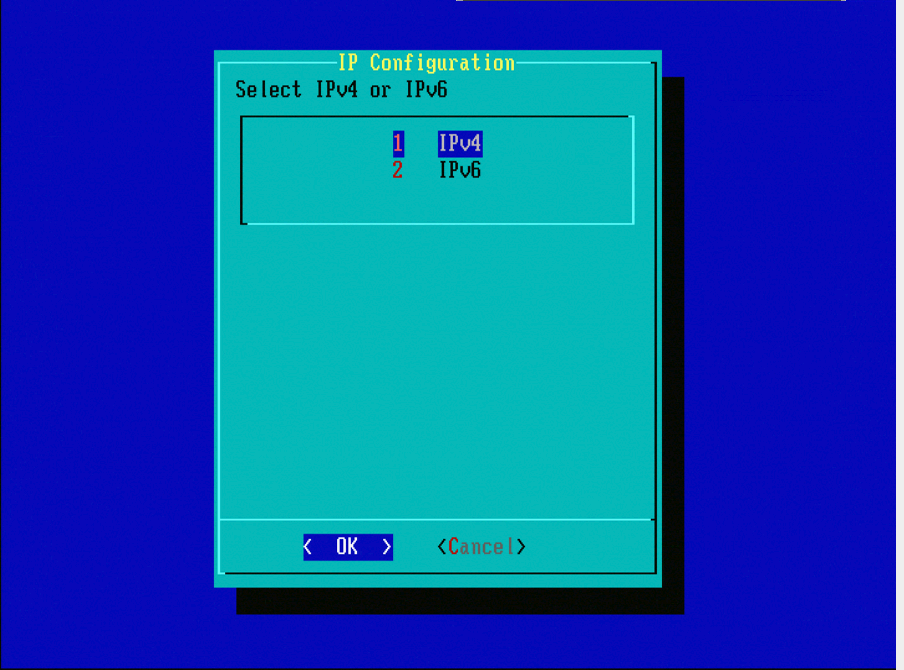
Figure 9

Figure 10
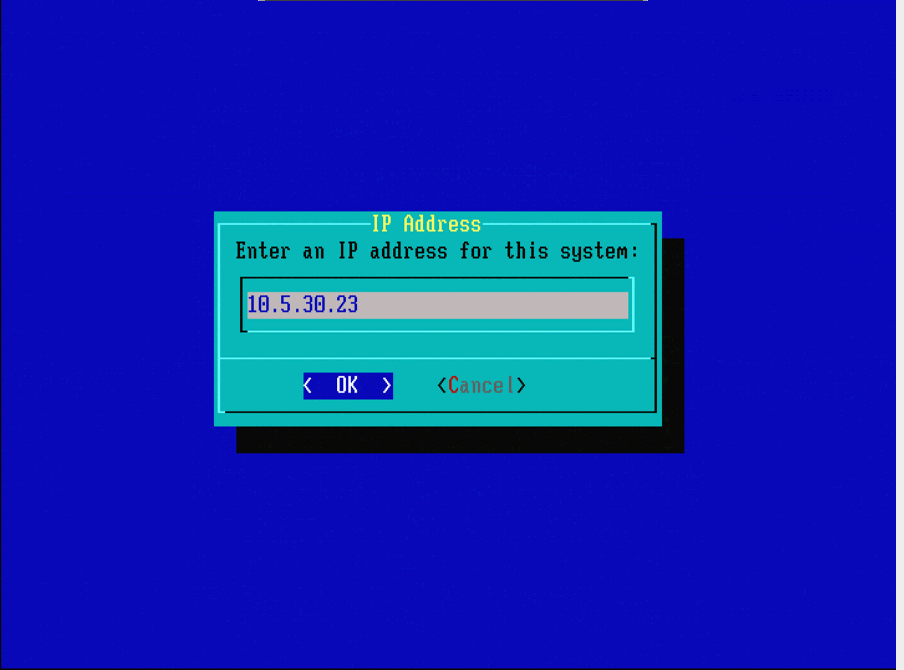
Figure 11

Figure 12

Figure 13
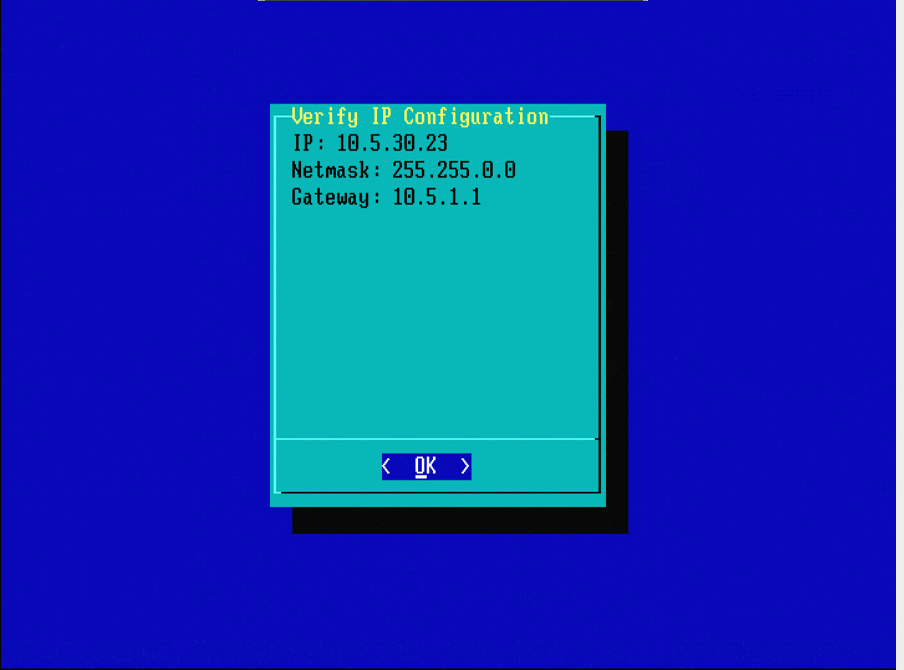
Figure 14
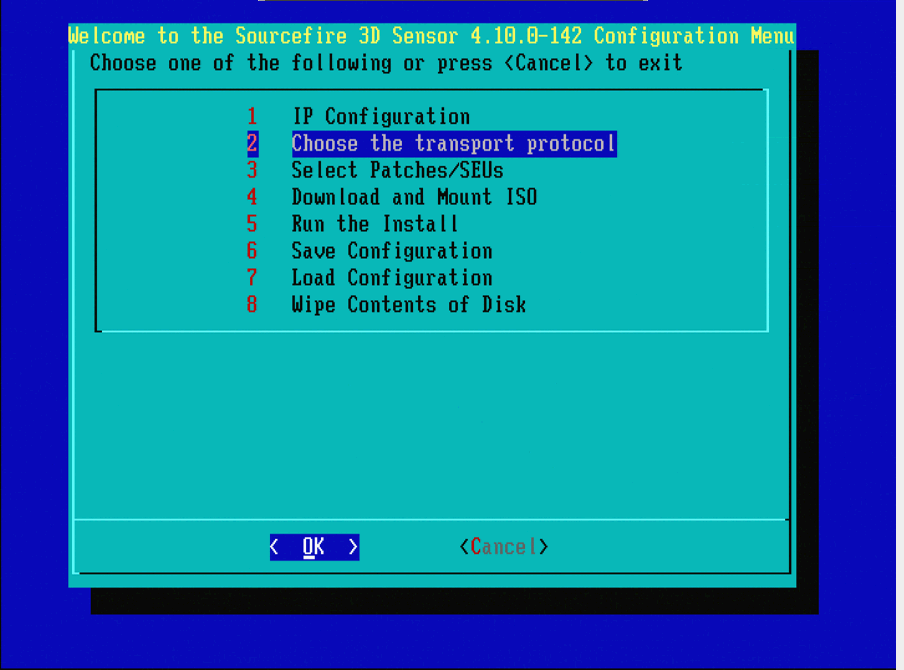
Figure 15
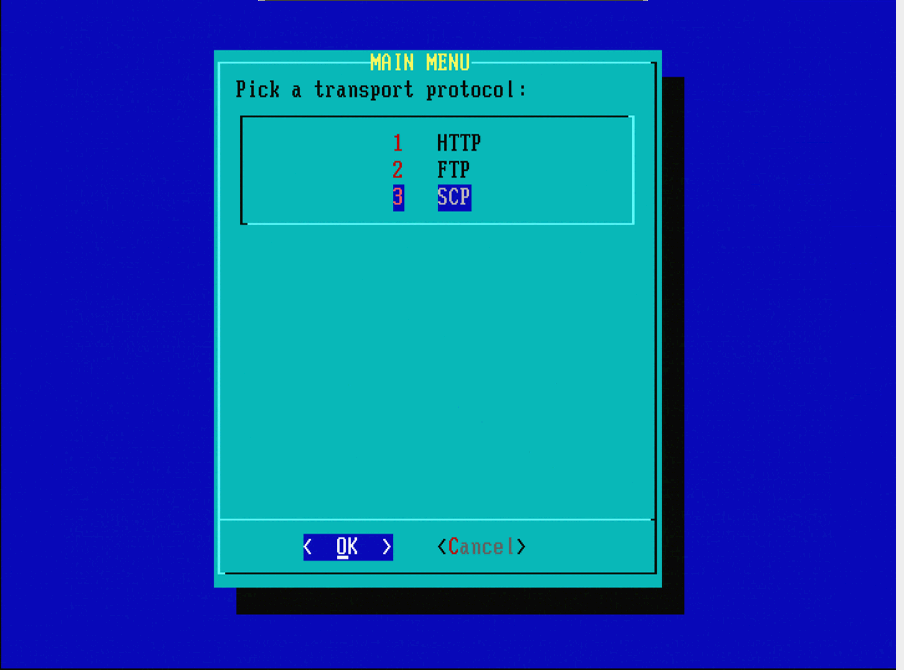
Figure 16: SCP protocol is recommended.
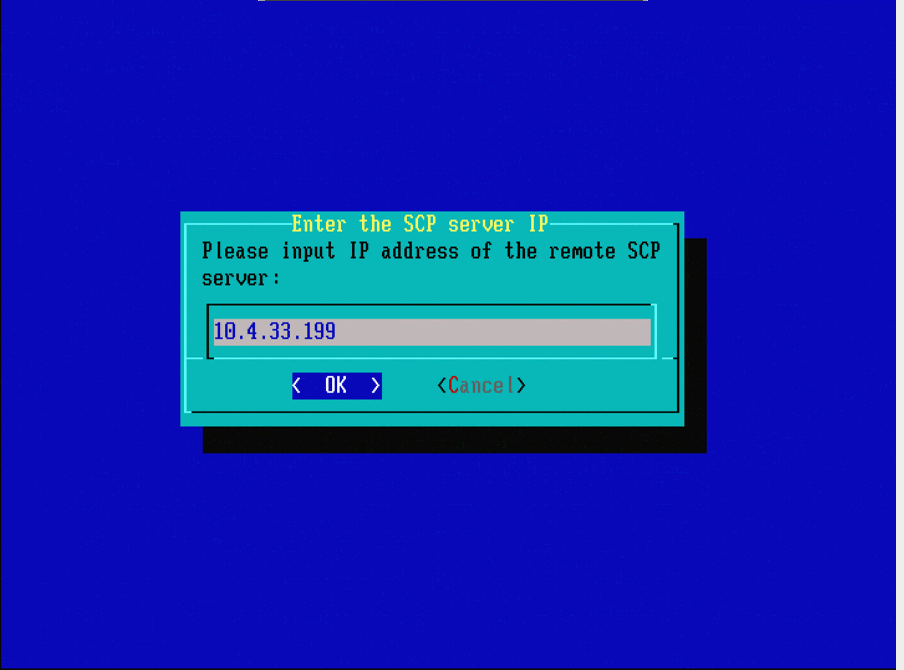
Figure 17: It is possible to use a Defense Center as the SCP server for this step.

Figure 18
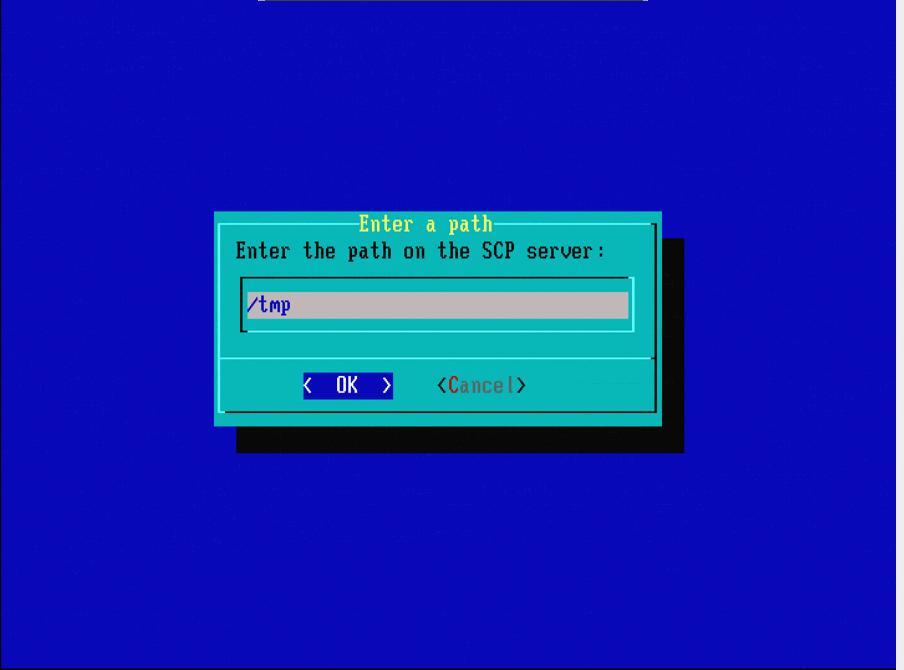
Figure 19
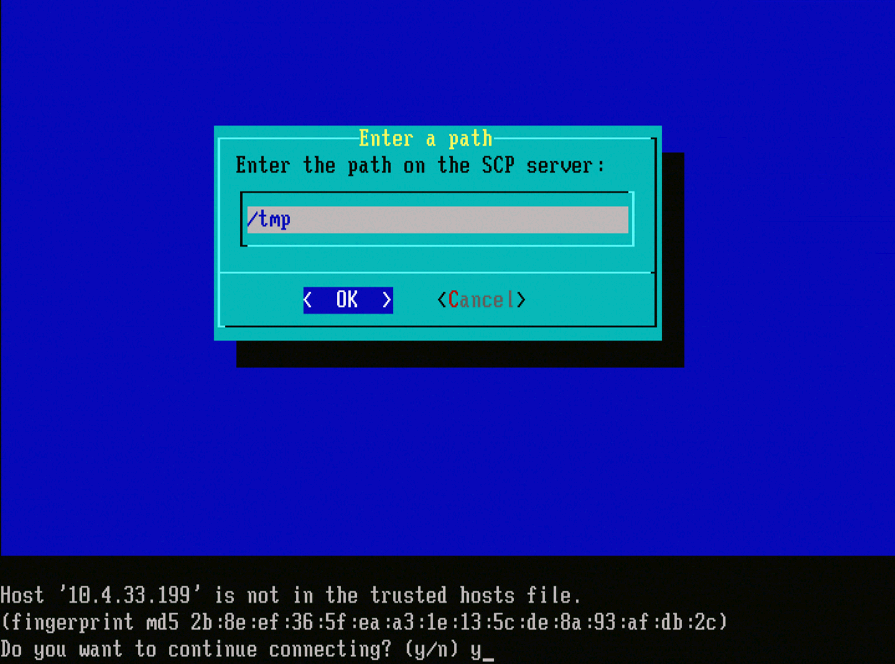
Figure 20
Note: If you get a connectivity error at this point instead of the expected message, verify your connection to the SSH server.

Figure 21: To select an iso image, press spacebar.
Note: It is required to use the default filename for an iso file, or the file may not be detected at this step.
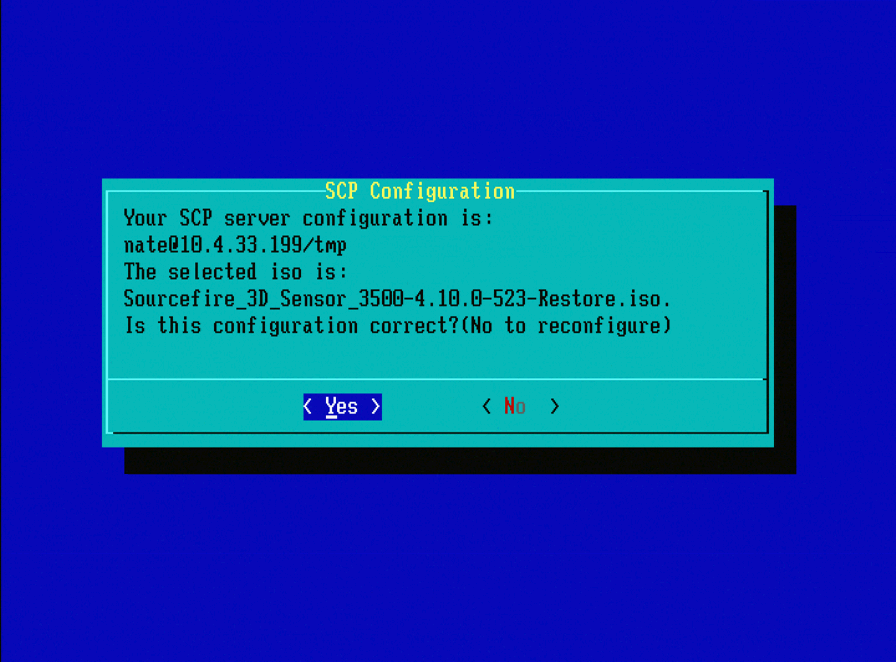
Figure 22
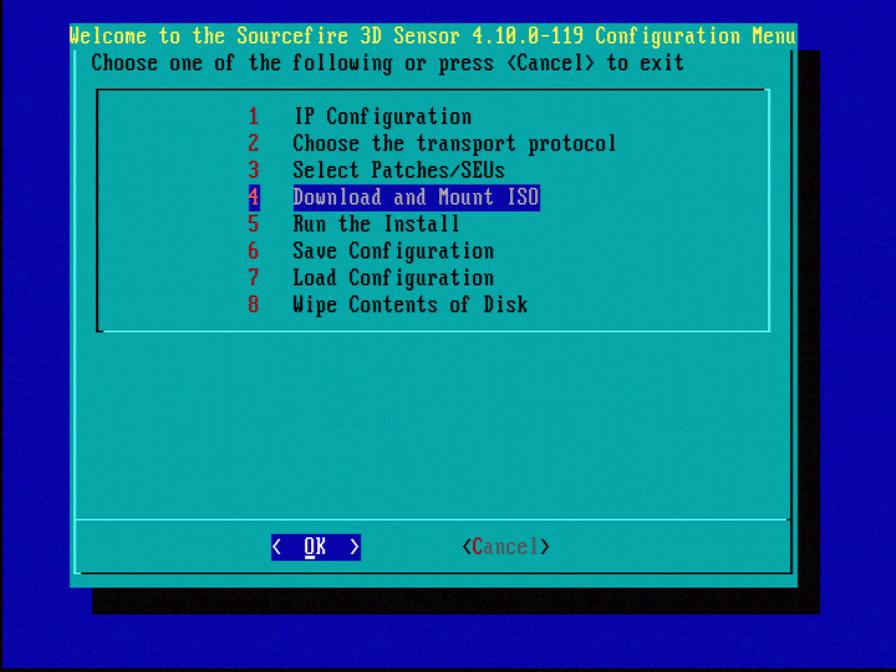
Figure 23: Support recommends skipping option 3 (Select Patches/SEUs) during this process. Patches and SEUs can be installed after the reimage is complete.
Figure 24
Figure 25
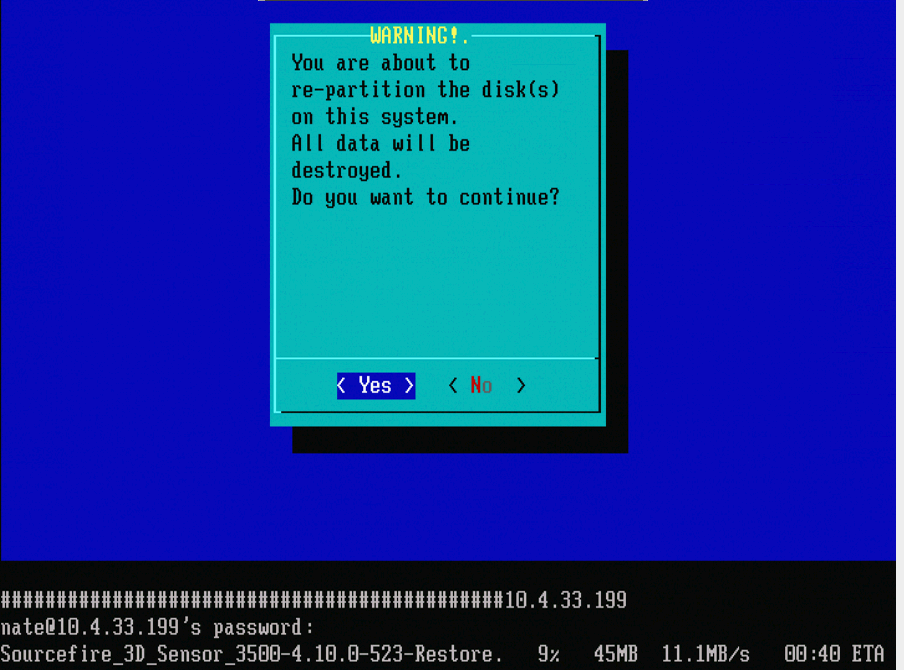
Figure 26

Figure 27
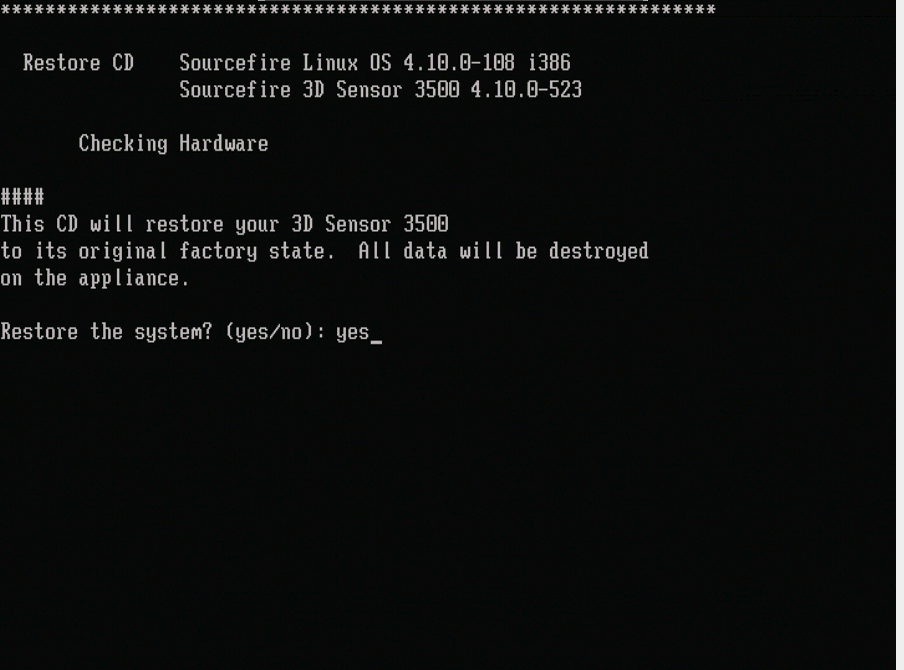
Figure 28
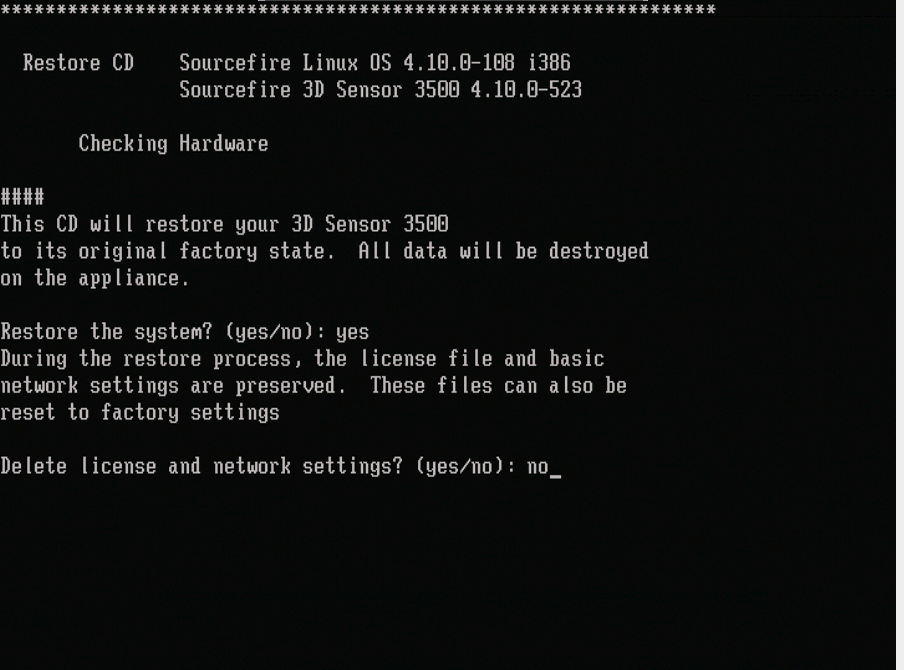
Figure 29
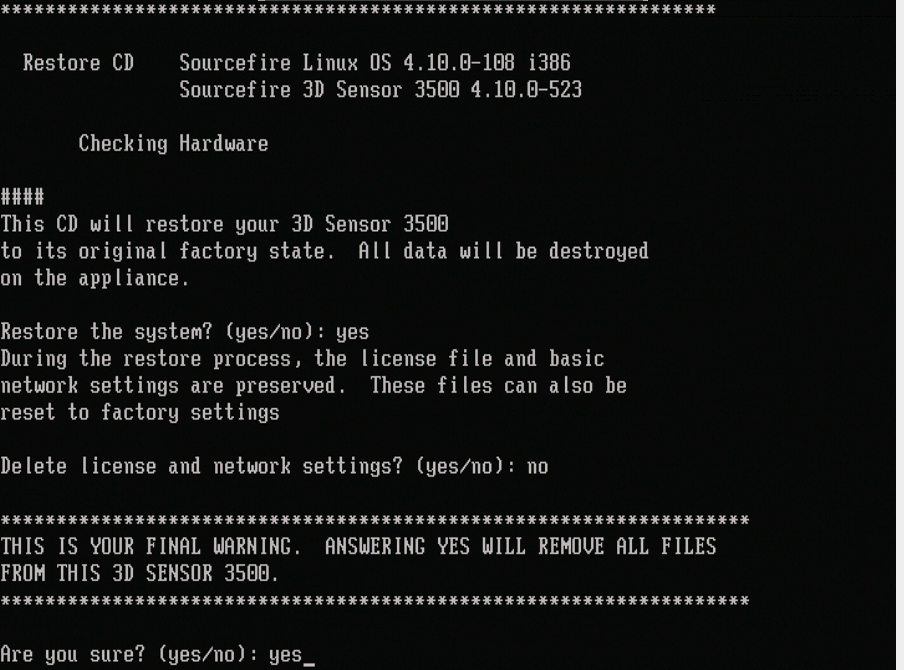
Figure 30
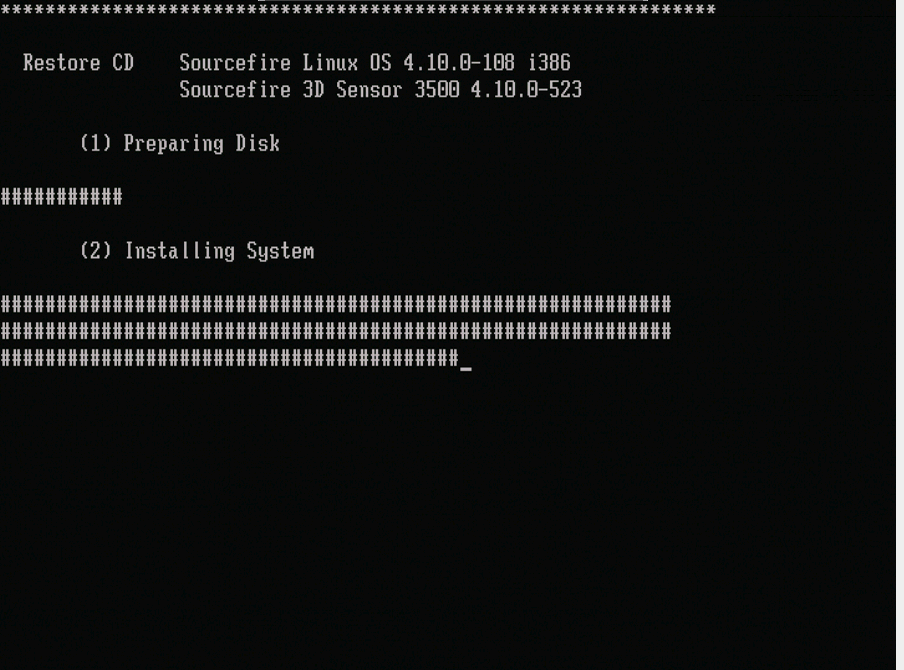
Figure 31
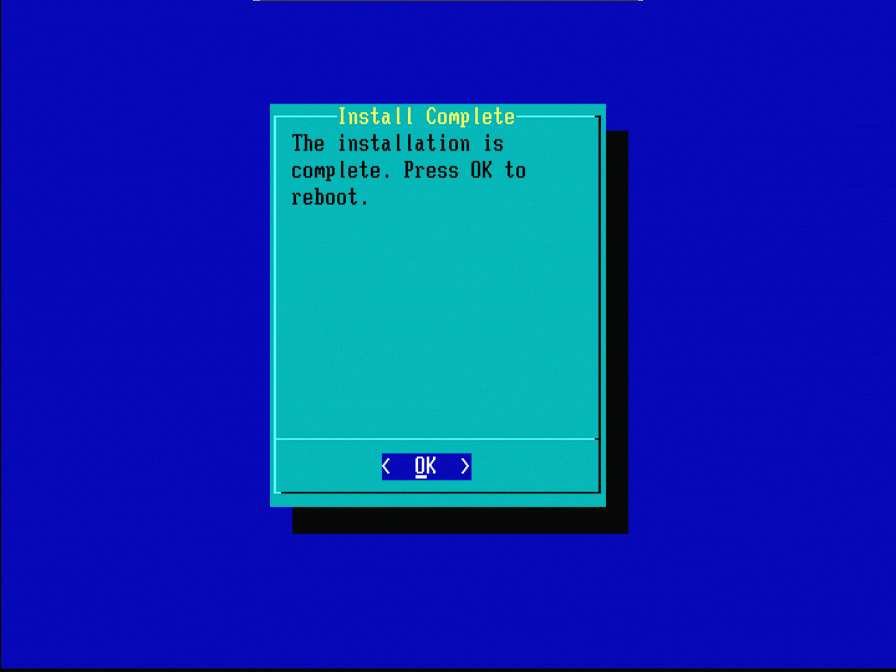
Figure 32
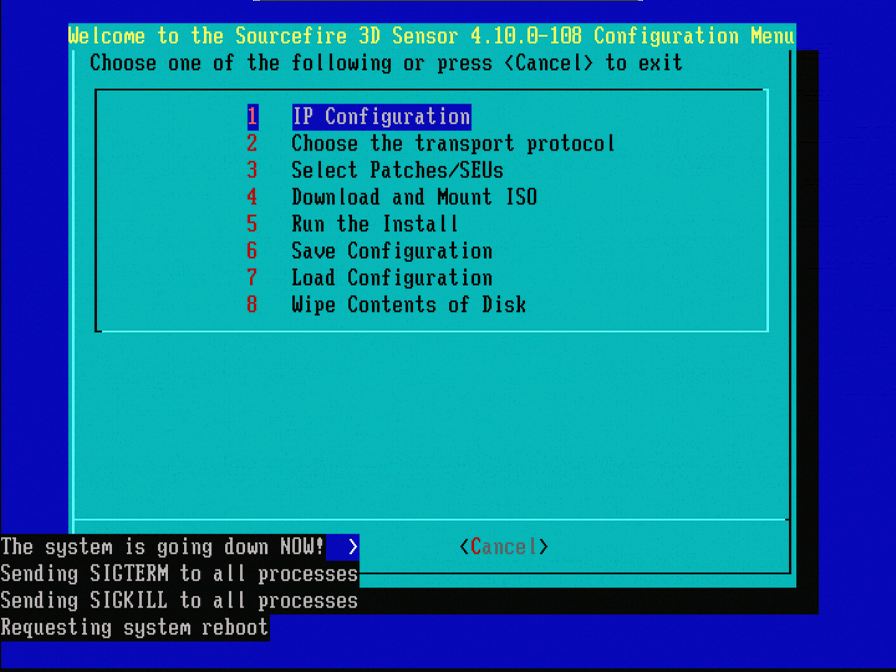
Figure 33
Before a sensor comes back up (while the screen is still blank), power down the sensor. Then, remove the USB drive and power up the appliance.
- For 3D500, 3D1000 and 3D2000 sensors, disconnect the power cord from the 3D Sensor, making sure to slide the plastic housing back from the socket.
- For 3D2100, 3D3500, 3D4500 and 3D6500 sensors, press the power button.
If you do not power down the 3D Sensor in time, you must wait until it finishes booting. Then, for 3D500, 3D1000 and 3D2000 sensors, log in and enter the following command at the CLI, and finally power down the appliance by disconnecting the power cord.
sudo shutdown -h now
For 3D2100/3500/4500 and 3D6500 sensors, wait until the appliance boots from the USB drive, then press the power button.