EZ Cloud New vDC Utilities
Many of my projects with UCS Director include use cases where we want to create new vDC (Virtual Data Centers) for different users to begin deploying Virtual Machines, or physical resources into. A common need is the ability to allow users to request a new 3 Tier (Web, App, Data) vDC for a new Application or Project. For these needs I started with a Custom Task in the Community already that built a new VDC and Policies to support a single tier and expanded it to be multi-tier. However, it was very restrictive in that it only supported a single type of a vDC structure.
To resolve that need, I started with the single task, and deconstructed it into separate tasks that can be used to construct nearly any vDC model you might need. The new tasks are:
- New vDC VMware Compute Policy
- Remove vDC VMware Compute Policy
- New vDC VMware Storage Policy
- Remove vDC VMware Storage Policy
- New vDC VMware Network Policy
- Remove vDC VMware Network Policy
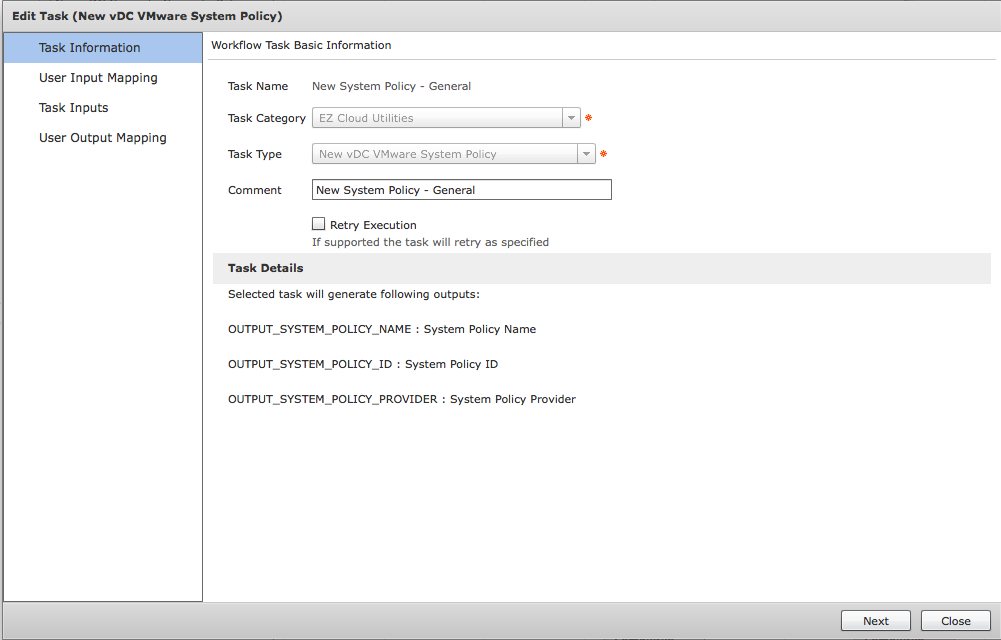
- New vDC VMware System Policy
- Remove vDC VMware System Policy
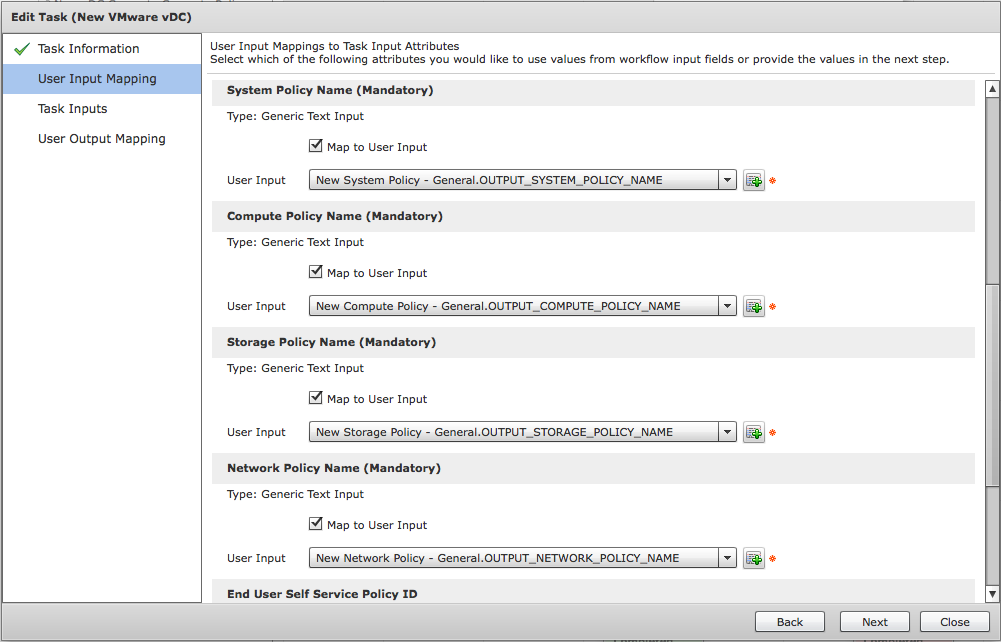
- New VMware vDC
- Remove VMware vDC
- Set VMware vDC Category
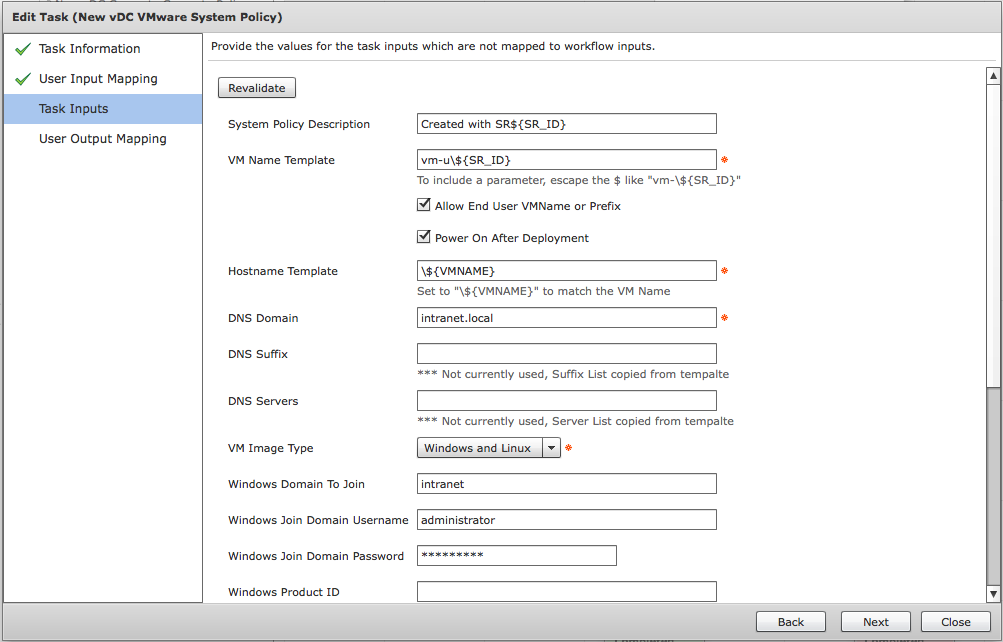
For the most part each policy creation task allows for full customization of the policy. There are a few settings in each that are copied from a "Template Policy" that is a mandatory task input.
Walkthrough
Here are a few images and notes about using the tasks from the sample workflow included in the export attached here. I'm also attaching a PDF of some slides with some details on the tasks as well.
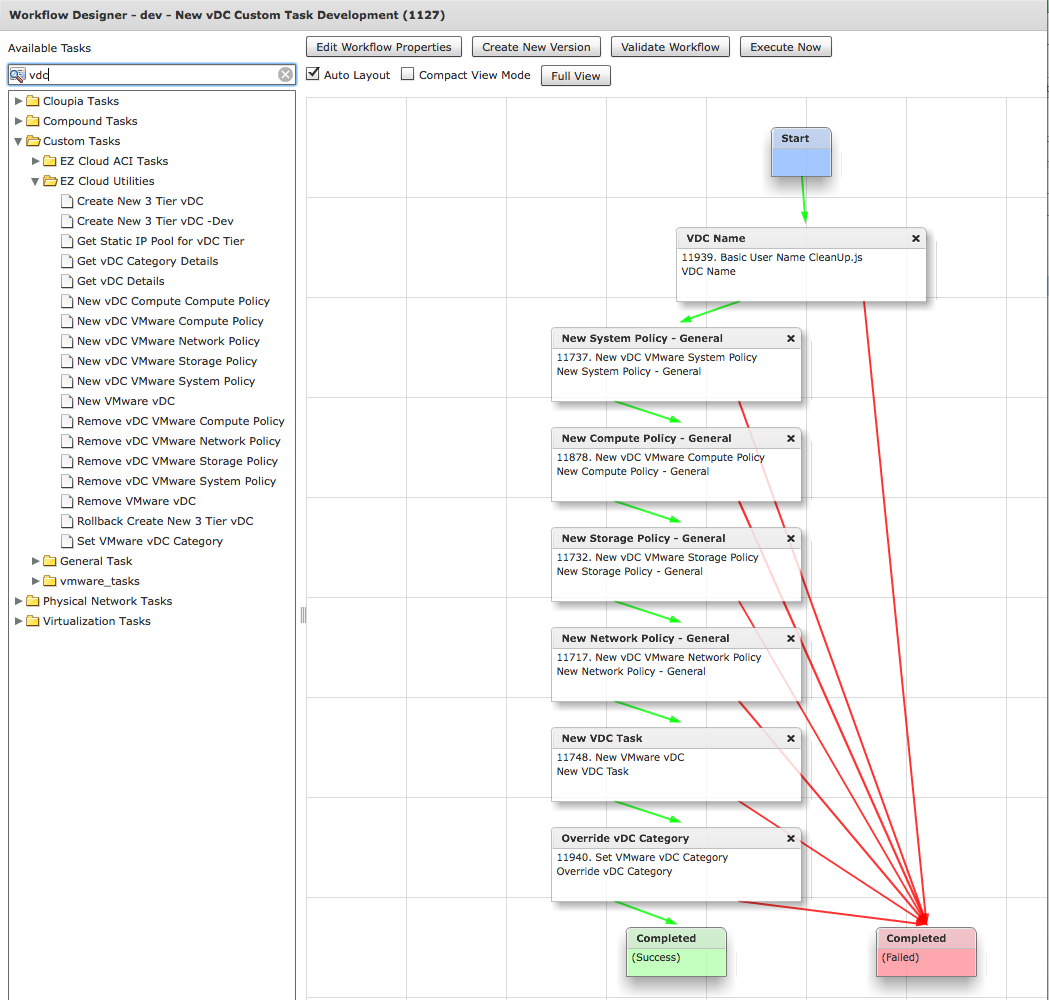
Workflow Example
New Policy Task - OUTPUTS
New Policy Task - Sample Policy Settings
New vDC Task - Note Mapped in Policies
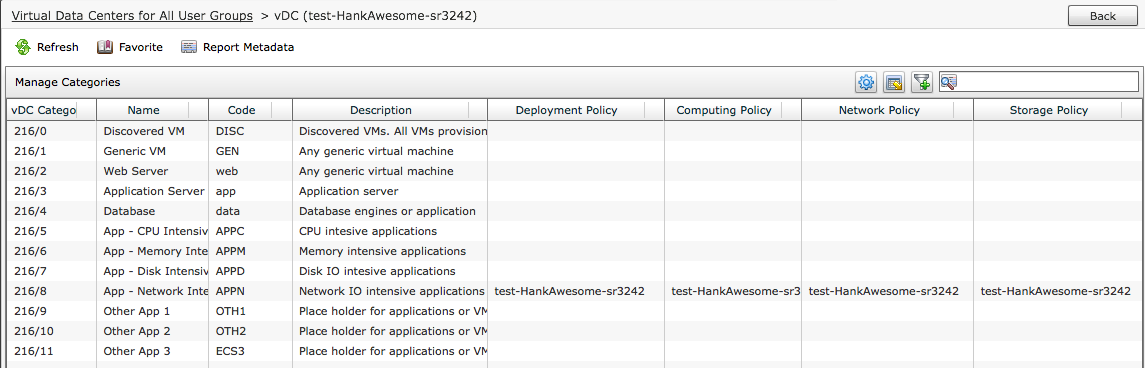
Newly Created vDC Categories
Basic Info
| Name | EZ Cloud New vDC Utilities |
| Description | - Set of Custom Tasks to create new vDC, Policies, and Manipulate Categories
|
| Prerequisites | - Built and Tested with UCSD 5.3.2.0
|
| Category | Workflow and Tasks |
| Components | vSphere 5.x |
| User Inputs | |
Instructions for Regular Workflow Use:
- Download the attached .ZIP file below to your computer. *Remember the location of the saved file on your computer.
- Unzip the file on your computer. Should end up with a .WFD file.
- Log in to UCS Director as a user that has "system-admin" privileges.
- Navigate to "Policies-->Orchestration" and click on "Import".
- Click "Browse" and navigate to the location on your computer where the .WFD file resides. Choose the .WFD file and click "Open".
- Click "Upload" and then "OK" once the file upload is completed. Then click "Next".
- Click the "Select" button next to "Import Workflows". Click the "Check All" button to check all checkboxes and then the "Select" button.
- Click "Submit".
