ISE 2.2 introduced new features and enhancements to PassiveID. Here is a quick guide to help you get PassiveID setup and working quickly with Active Directory.
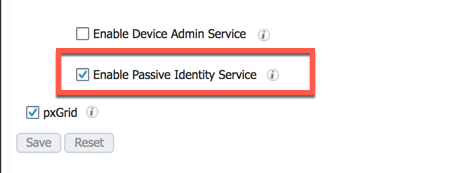
Begin by enabling the PassiveID service
Navigate Administration -> Deployment -> Node. To share identity information over pxGrid, you will want to enable that as well.
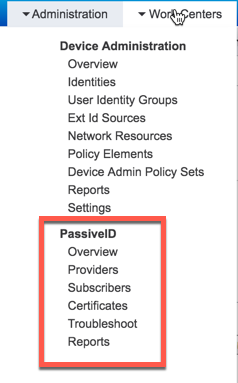
Use the PassiveID Work Center
Once the service starts, you can access the PassiveID features in the work center:
Begin PassiveID configuration
From here, you have the ability to start configuring PassiveID. To get set up quickly, you can use the PassiveID wizard which will walk you through the steps necessary to configure and AD provider. Alternatively, you can configure other providers manually by clicking the "Providers" menu item at the top. To view any PassiveID information, select "Dashboard" on the left.

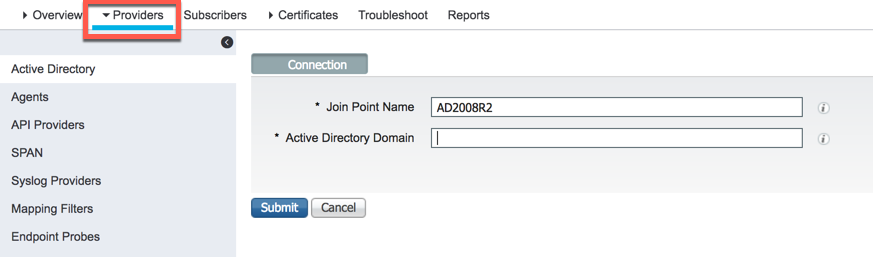
Configure an AD provider
To begin configuring and AD provider, start by clicking the "Providers" menu item at the top. Give your AD instance a name and the domain you are going to monitor.
Select your AD previously configured AD instance:
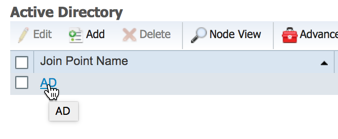
Then select the PassiveID tab:

Click "Add DCs" and select the controller you want to monitor, then click OK. You should now have a domain controller selected for use with PassiveID. Now you must choose the method in which you will monitor the controller or member server. For this you have three options:
1. AD Agent
2. WMI
3. Kerberos SPAN
You can configure an Agent or WMI from this screen:

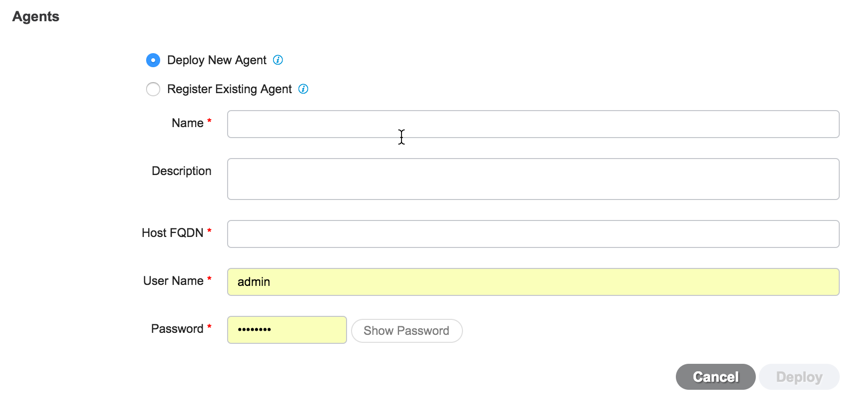
To have ISE automatically configure the controller to be monitored using WMI, select the domain controller you want and simply click "Config WMI." To have ISE install an agent on the controller, click "Add Agent" and fill out the required information. From the below screen, you have the ability to deploy a new agent or register an existing agent that was deployed manually.
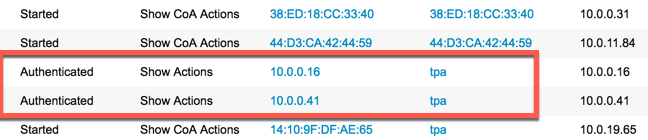
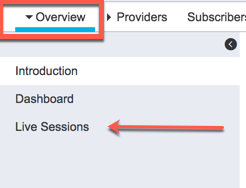
Once registered or deployed, ISE will begin monitoring AD for Windows logon events. To view any session learned via PassiveID, click on "Overview" at the top, then select "Live Sessions" on the left.
If you also have RADIUS configured, you will see those sessions as well as the ones learned via PassiveID. The sessions created via PassiveID will have a "Show Actions" option instead of "Show CoA Actions" (RADIUS):