Now that the migration from Jive-X is done, here’s how to navigate and find your private communities (now called Invite-Only communities) if you’re starting from the community.cisco.com landing page. Jive-X links should redirect to the landing page of your community. If the links do not work or you can’t find your community, please contact the External Cisco Community team at community-feedback@external.cisco.com.
Step 1: Login
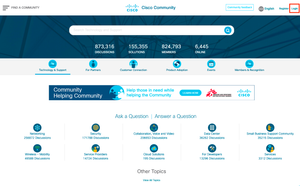
From upper right corner, click Login and enter your CEC or CCO username and password
Note: If you’re logging into community.cisco.com for the first time, you will be prompted to create an account. Enter your username and password and sign the Terms & Conditions. Afterward, you can simply login with your CEC username and password (or CCO for external, non-Cisco users).

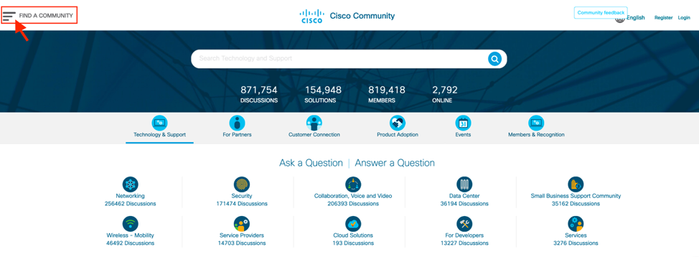
Step 2: Click on Find a Community
From the upper left corner, click on the hamburger menu, to open or display the menu options.

Click on Site Map.

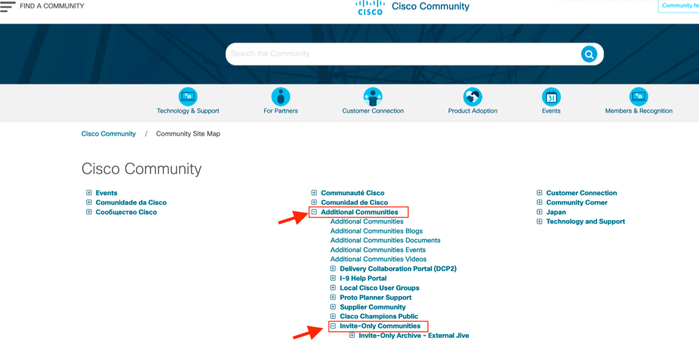
Step 3: Navigate to your Invite-Only Communities
From the Site Map landing page, click on Additional Communities to expand the list, then click on Invite-Only Communities. If you are a member of an invite-only community, you will see it listed here. If you don’t, contact the community owner to invite you.

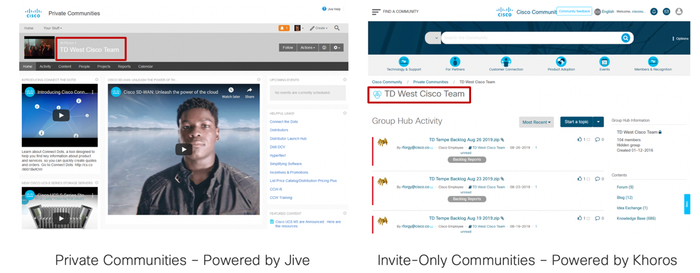
Platform Comparison: Jive-X vs Khoros
No longer will you have a landing page that has a custom layout format that uses apps (as in Jive-X). Now the top tier page displays information threads that also displays all content or specific content type optional threads.

Where to create, locate and manage content

Help and Support
If you have questions or need to report an issue, please contact the External Cisco Community team at community-feedback@external.cisco.com.
