| Task Name | Example on converting UCS VLAN from one type to another varaible type |
| Description | |
| Prerequisites | Tested on 5.5 |
| Category | Workflow |
| Components | vSphere 5.x |
| User Inputs | |
| |
Instructions for Regular Workflow Use:
- Download the attached .ZIP file below to your computer. *Remember the location of the saved file on your computer.
- Unzip the file on your computer. Should end up with a .WFD file.
- Log in to UCS Director as a user that has "system-admin" privileges.
- Navigate to "Policies-->Orchestration" and click on "Import".
- Click "Browse" and navigate to the location on your computer where the .WFD file resides. Choose the .WFD file and click "Open".
- Click "Upload" and then "OK" once the file upload is completed. Then click "Next".
- Click the "Select" button next to "Import Workflows". Click the "Check All" button to check all checkboxes and then the "Select" button.
- Click "Submit".
- A new folder should appear in "Policies-->Orchestration" that contains the imported workflow. You will now need to update the included tasks with information about the specific environment.
Caveat:
This example converts the variable type. The actual content on the variable needs to be addressed for the situation the workflow will run in. Please read below for possible mythology to obtain the exact syntax.
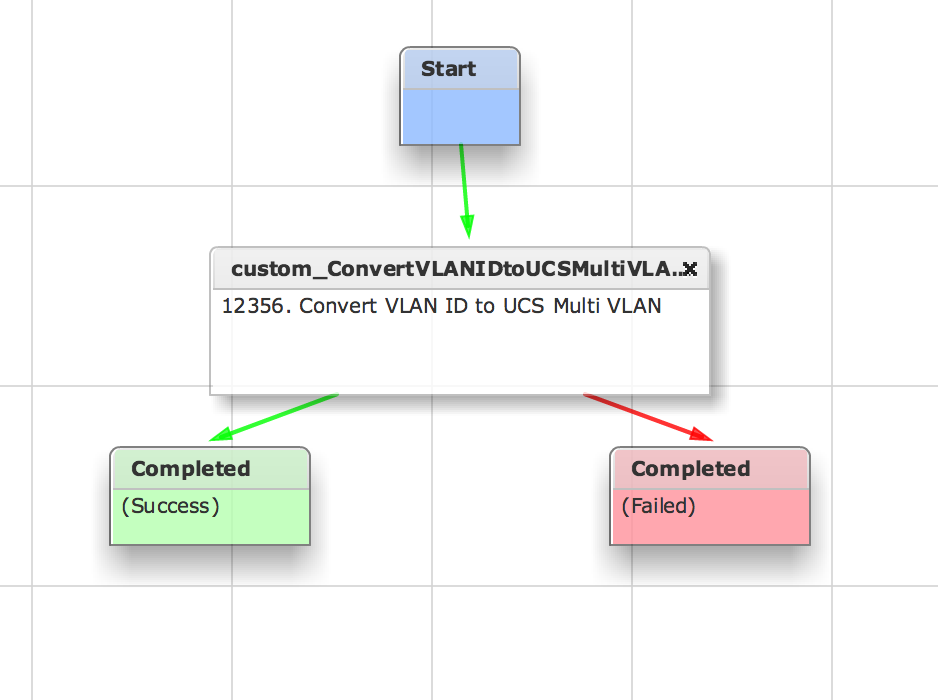
The Workflow:
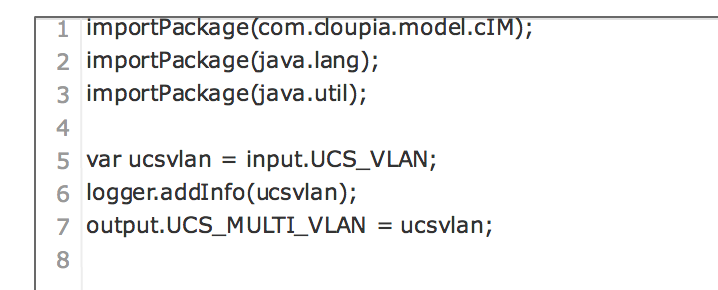
The code in the custom task
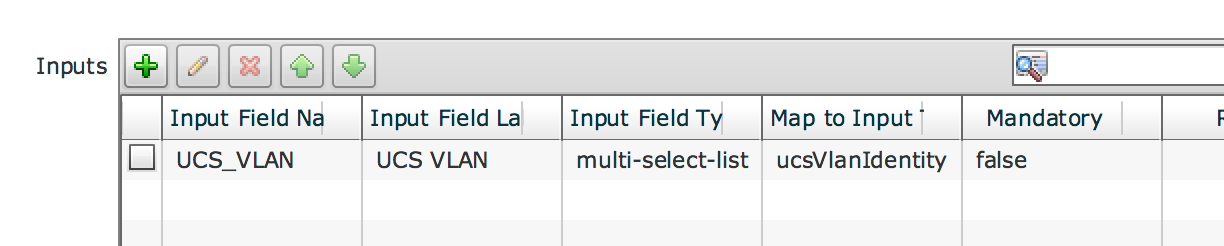
The custom task input type:
The custom task output type:

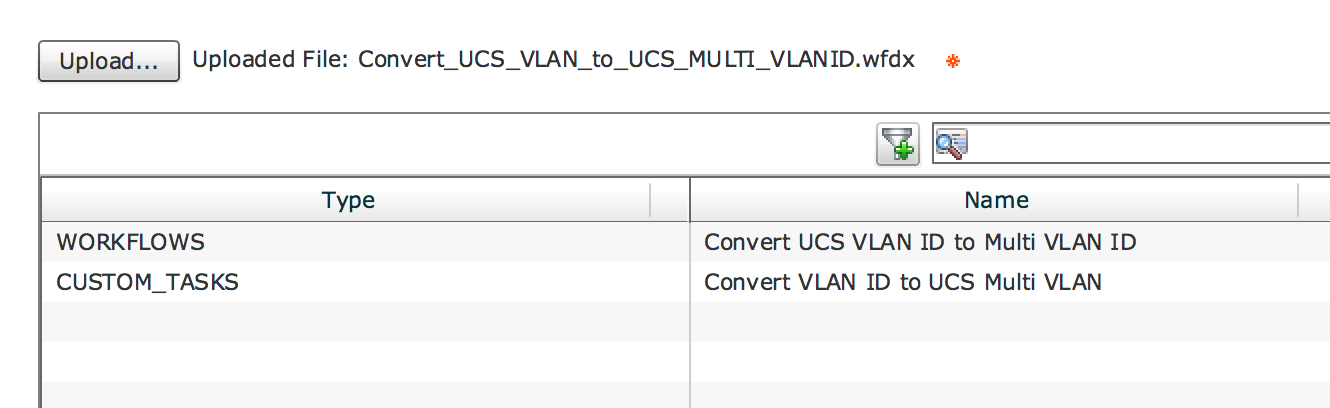
Results from workflow import:
Mythology example (Tank you Eric Thirolle):
Example, the UCSD task named "Add VLANS to VLAN Group".
Add the task in questions to its own new workflow. In the task wizard, do NOT map the inputs:
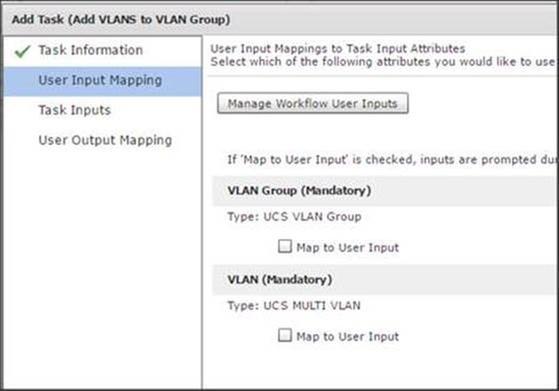
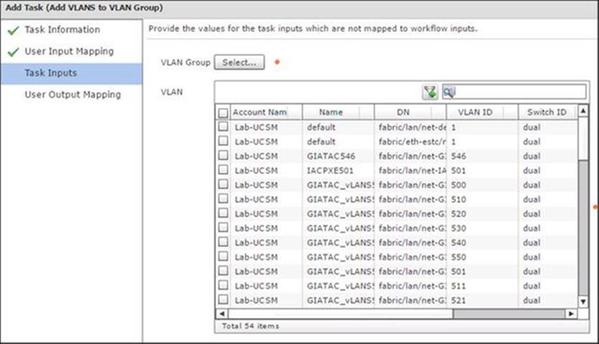
This forces you to pick the inputs from selector boxes:
We run this workflow, then look at the “Inputs / Outputs” tab in the SR dialog. Here is what I got when I tried this:
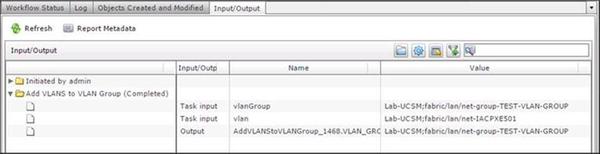
What we can see from that screenshot is:
• The “vlan” input to this task is not a list of VLAN IDs, it is a list of “VLAN Identities”
• Each VLAN has a syntax like, ”Lab-UCSM;fabric/lan/net-IACPXE501”. The first part is the Account Name for the UCSM physical account you set up in UCSD (as shown in the second screenshot above). The second part is the “DN” (also seen in the second screenshot above). The two parts are separated by a semicolon.
