Introduction
Cisco DCNM streamlines the provisioning for the unified fabric and monitors the SAN and LAN components. DCNM-SAN Server is a platform for advanced MDS monitoring, troubleshooting, and configuration capabilities. DCNM-SAN Server provides centralized MDS management services and performance monitoring.
License Generation and License Placement
If you already have license file for DCNM then you can place the license file under C:\Program Files (x86)\Cisco Systems\dcm\licenses directory for Windows and /usr/local/cisco/dcm/licenses for Linux. Basically, you will be placing the license file under $INSTALLDIR/dcm/licenses folder.
If you dont have a license, you can generate the DEMO license for DCNM using the following link:
https://tools.cisco.com/SWIFT/LicensingUI/loadDemoLicensee?FormId=65
You will need the MAC address of the DCNM server for license generation. You can get the MAC address information by running ipconfig /all at the Command Prompt window.
If you have purchased the Cisco DCNM advanced feature license for any Cisco Nexus or MDS switches, that license stays valid for the lifetime of the platform. For example, if you replace an older switch with a new generation switch of the same platform (that is, MDS 9506 with MDS 9513) the license can be reassigned. The license costs for Cisco Data Center Network Manager are determined by the switch platform type and by the number of units within each platform. The advanced feature licenses are available for the following switch platforms: Cisco Nexus 7000, Nexus 5000, Nexus 3000, MDS 9100, MDS 9200, and MDS 9500 Series switches. Each platform has an individual price that is based on whether it is a LAN versus SAN switch and modular versus a fixed chassis. The advanced features for Cisco Nexus 1000V and Cisco Nexus 4000 Series switches are part of the image at no cost.
Load License File and License Assignment
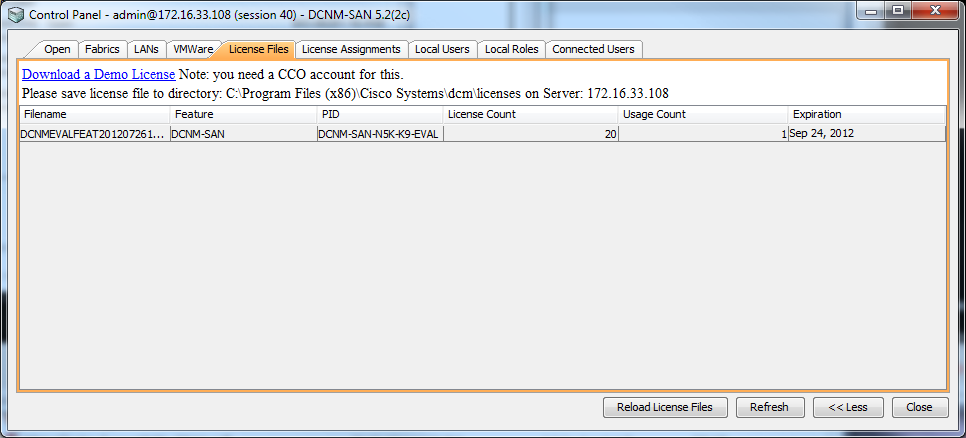
Click More >> from DCNM’s Control Panel, then License Files tab:
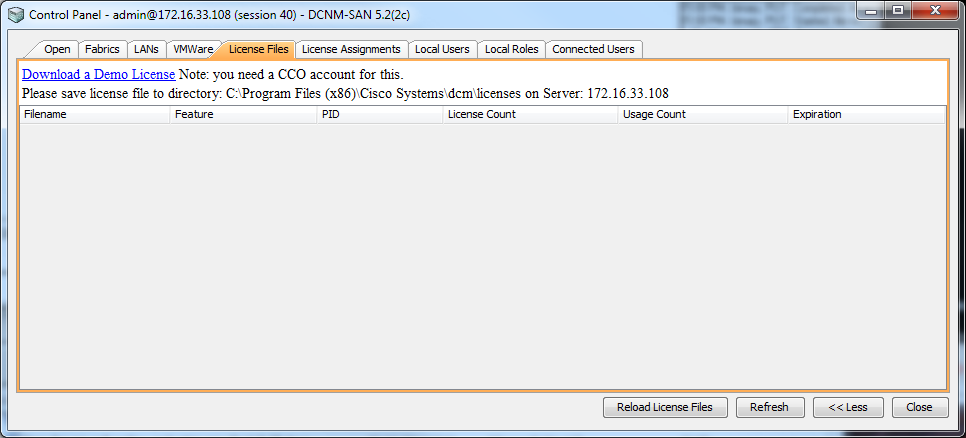
Click Reload License Files so that license files placed under the licenses folder get loaded.
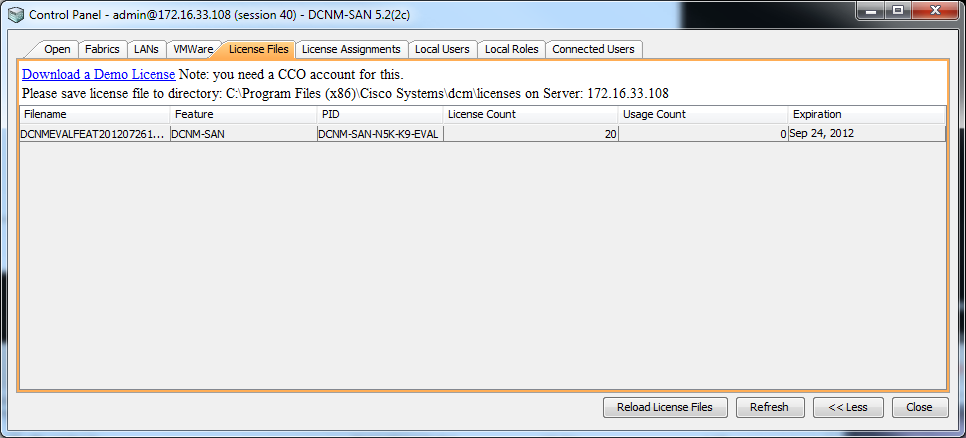
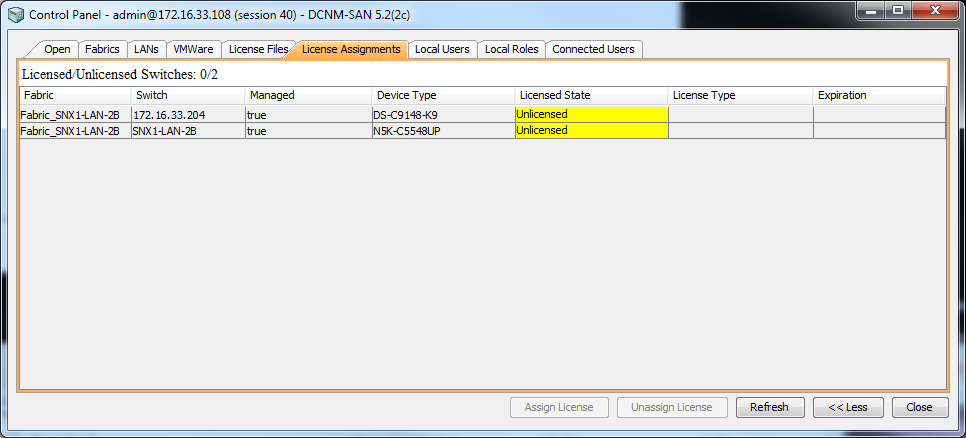
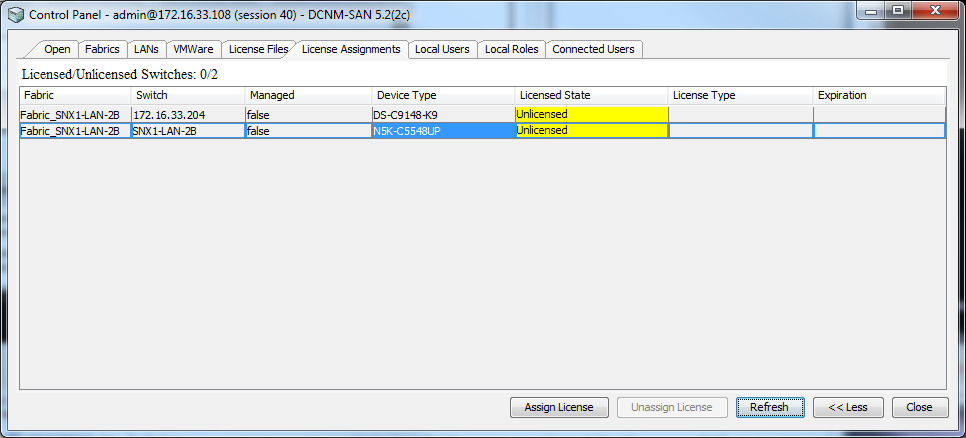
Now go to License Assignments tab, you should see Fabric name with all the Device Type listed. See the below diagram for reference.
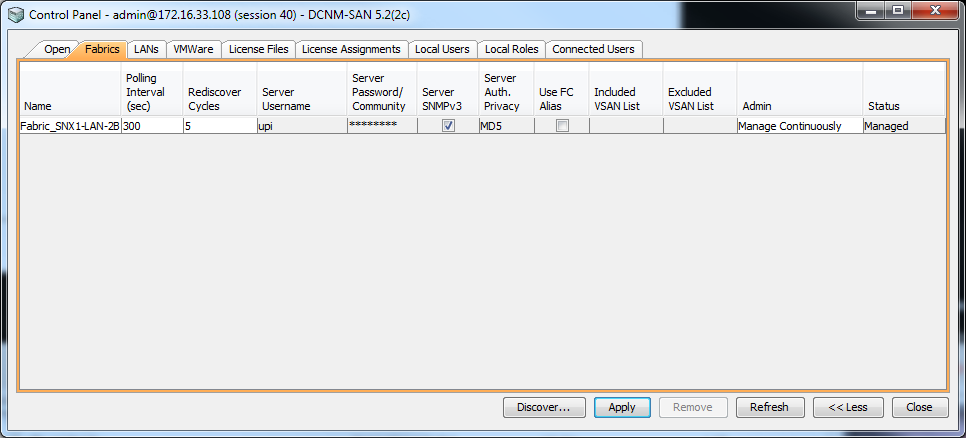
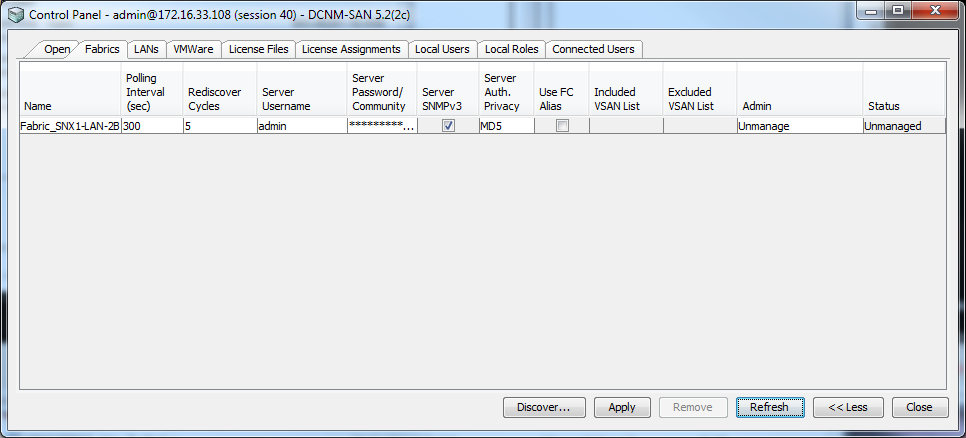
Go back to Fabrics tab, change the Admin state of the Fabric to Unmanage and then Apply. If you have Performance Collection enabled then you will need to go to Web Client and stop the Performance Collection before continuing.
From Web Client > Admin > Status
Under / Admin / Status click STOP symbol under Actions for Service Name: Performance Collector.
Back to License Assignments tab and click the Fabric name which includes the Device Type and Switch name which you would like to assign the license for then click Assign License. License should automatically assign to the Device Type and Switch name being selected.
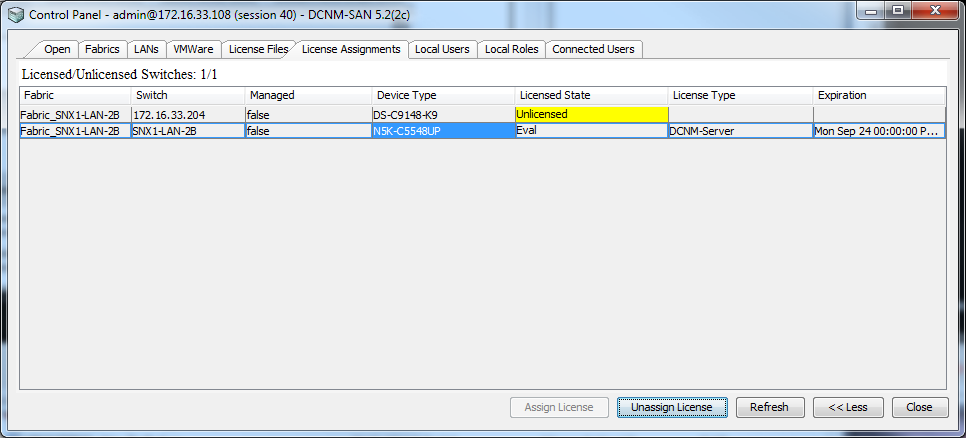
Verify that Usage Count got increment by one under License Files tab.
Go back to Fabrics tab, change the Admin state of the Fabric to Manage Continuously and then Apply. If you have stopped the Performance Collection before, make sure to restart them.

Related Information
Cisco DCNM-SAN Installation
Cisco DCNM SAN: Creating and Managing VSANs