- Cisco Community
- Technology and Support
- Security
- Security Knowledge Base
- Method to obtain packet capture with ASA
- Subscribe to RSS Feed
- Mark as New
- Mark as Read
- Bookmark
- Subscribe
- Printer Friendly Page
- Report Inappropriate Content
- Subscribe to RSS Feed
- Mark as New
- Mark as Read
- Bookmark
- Subscribe
- Printer Friendly Page
- Report Inappropriate Content
11-11-2013 10:32 PM - edited 03-08-2019 06:53 PM
Introduction:
This document explains how to capture communication from host 2 to host 1
for both CLI and GUI (ASDM), assuming the simple configuration described below.
Core Issue:
There is a need to provide detailed procedure on how to capture communication
from host 2 to host 1 for both CLI and GUI (ASDM).
Resolution:
In ASA, a function to capture packets is implemented and this can be used
as the most fundamental and strongest tool for troubleshooting in communications via ASA.
This document explains how to capture communication from host 2 to host 1
for both CLI and GUI (ASDM), assuming the simple configuration described below.
Capture results are the same for CLI and ASDM, but capture by ASDM
does not require external servers such as FTP/TFTP servers.

Capture using Command Line Interface (CLI)
① Enable the capture
Log into ASA, and run the following commands:
asa5520-a# capture capin packet-length 1522 interface inside
asa5520-a# capture capout packet-length 1522 interface outside
capin and capout here are names that can be set as required.
It is also possible to narrow down target communications using Access Control List (ACL).
If the problem is not isolated, however, it is recommended to perform capture
without this specification.
This also applies to the packet size. First retrieve the data using the highest value (1522 bytes).
The packet buffer size can be changed using the buffer option.
The default size is 512 Kbytes and this can be changed as needed.
(For example, if many data are missed, set a larger value.)
There are many options. For details, refer to the following CCO document.
http://www.cisco.com/en/US/docs/security/asa/asa80/command/reference/c1.html#wp2108895
② Copy the capture
The retrieved capture can be copied (retrieved) to various destinations. In this example,
we demonstrate how to copy to a TFTP server (assumed to be ※1) running on a PC.
asa5520-a# copy /pcap capture:capin tftp
Run the above command.
※ If the "/pcap" option is not included, the capture is output as text.
To output the capture in a format that can be analyzed by packet analysis tools,
be sure to include the "/pcap" option.
Then, the following question is displayed.
Source capture name [capin]?
The value enclosed in brackets ("[]") will be applied if nothing is specified.
In this example, we have no problem with the name "capin", so just press Enter.
Then we are asked to enter the TFTP server address. Enter 192.168.2.1.
Address or name of remote host []? 192.168.2.1
Decide the final file name.
Destination filename [capin]?
The below message indicates that the procedure was successfully completed.
6 packets copied in 0.20 secs
Similarly, retrieve capout.
The retrieved file can be analyzed using a packet analysis tool.
The enabled capture can be disabled by "no capture CAPTURE_NAME."
※1
In this example, it is assumed that a TFTP server is running.
If such a server is not ready upon capture retrieval, temporarily save the capture to a flash memory.
You can retrieve the capture using any protocol once the server is ready.
In such cases, use the following command, for example, to temporarily save the capture to a flash memory.
asa5520-a# copy /pcap capture:capin flash:
Source capture name [capin]?
Destination filename [capin]?
!
8 packets copied in 0.150 secs
asa5520-a#
Then you can retrieve it using the copy command later.
asa5520-a# copy flash:/capin ?
disk0: Copy to disk0: file system
disk1: Copy to disk1: file system
flash: Copy to flash: file system
ftp: Copy to ftp: file system
running-config Update (merge with) current system configuration
smb: Copy to smb: file system
startup-config Copy to startup configuration
system: Copy to system: file system
tftp: Copy to tftp: file system
asa5520-a# copy flash:/capin
Capture using ASDM
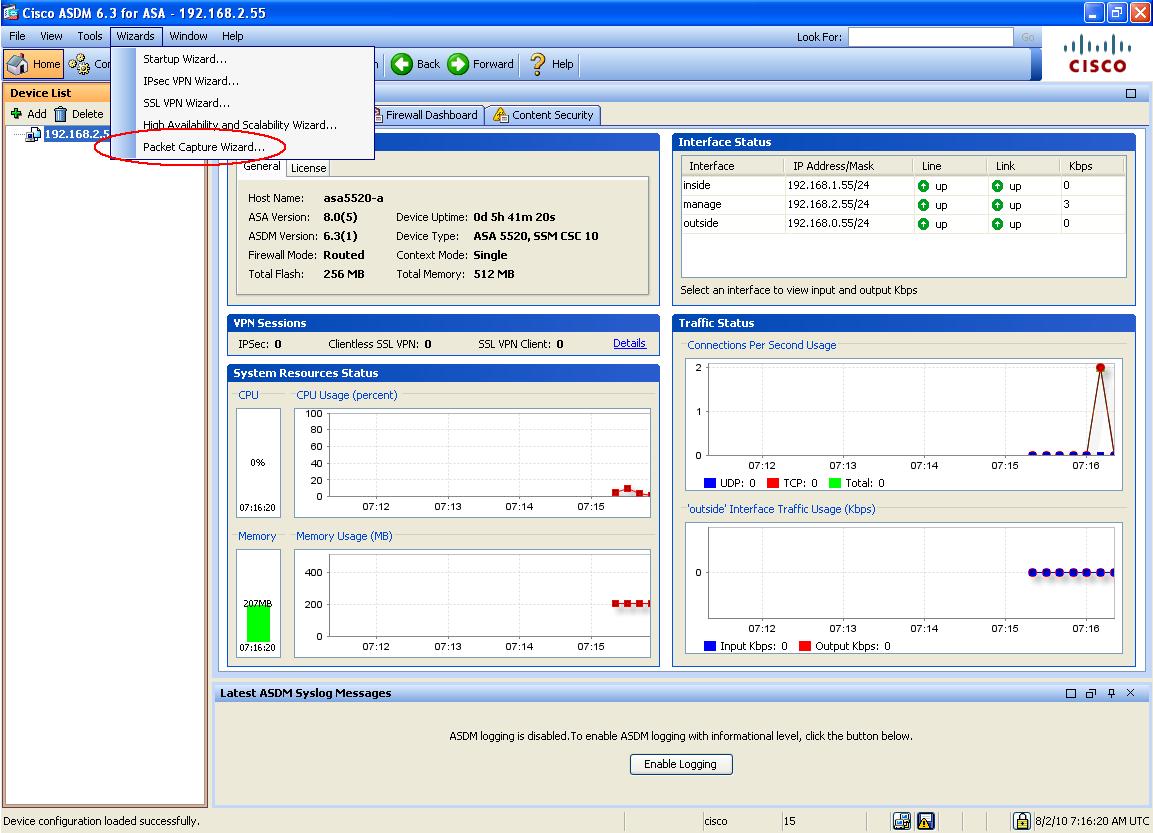
First, access ASA via ASDM and launch "Packet Capture Wizard" from the Wizard menu.
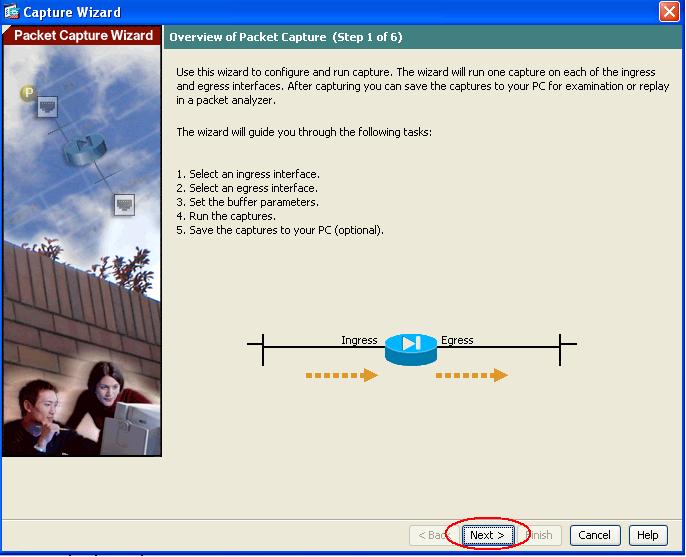
Once it is launched, a brief description of "Packet Capture Wizard" is displayed. Click "Next."
You will then be asked to define what you want to set the ingress interface to.
Follow the instructions to select "inside", which is the inside interface.
In the Packet Match Criteria item, you can narrow down the target traffic using ACL.
In this example, however, nothing is selected and all IP traffic will be covered.

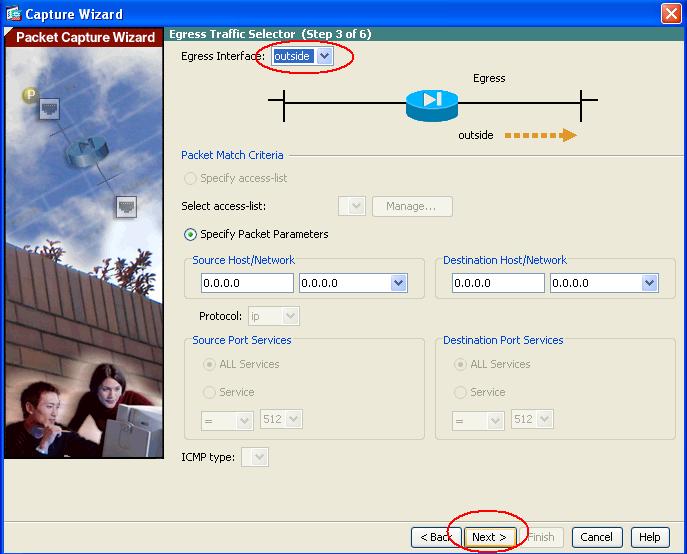
Next, select the egress interface.
Set to "outside."
In the next screen, you can change the maximum size of the capture, and the capture buffer size.
If you are not sure what sort of packets will be received, set the size to the maximum value, 1522 bytes.
For buffer size, if it is known that a problem will occur within a relatively limited period of time,
set to a smaller value. If you are not sure when a problem might occur, change the value as needed.
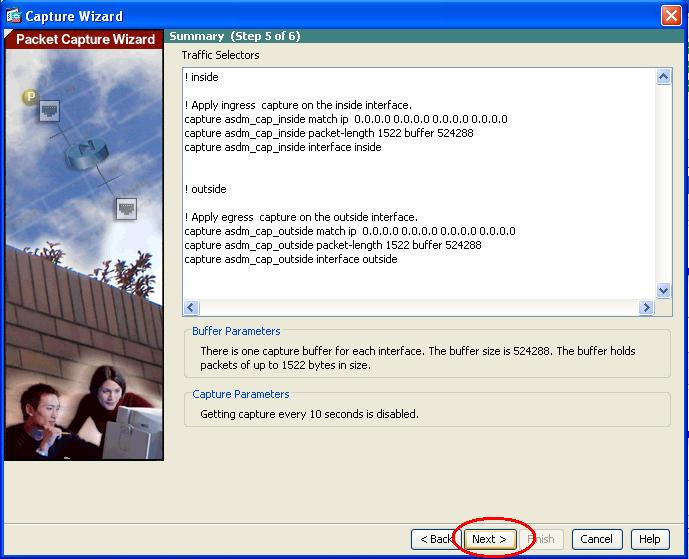
Next, you will be asked whether the configured settings are correct. Press Next to proceed.
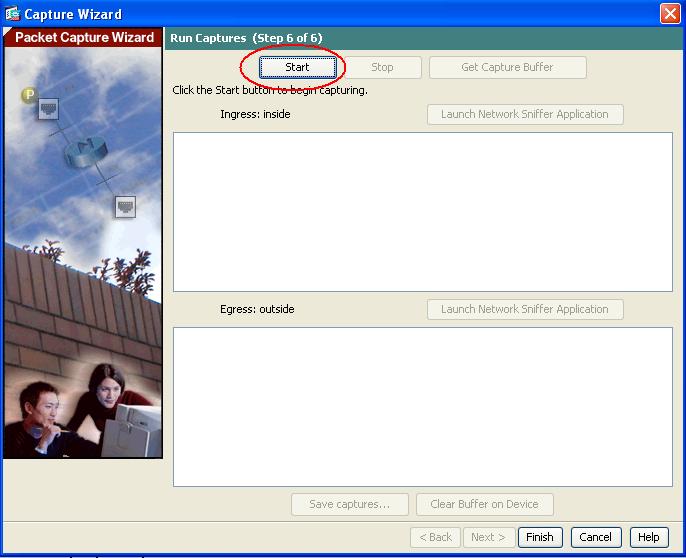
Clicking on Start in this screen will run the packet capture on ASA.
To retrieve the packet capture, click Stop and then click "Save captures..."
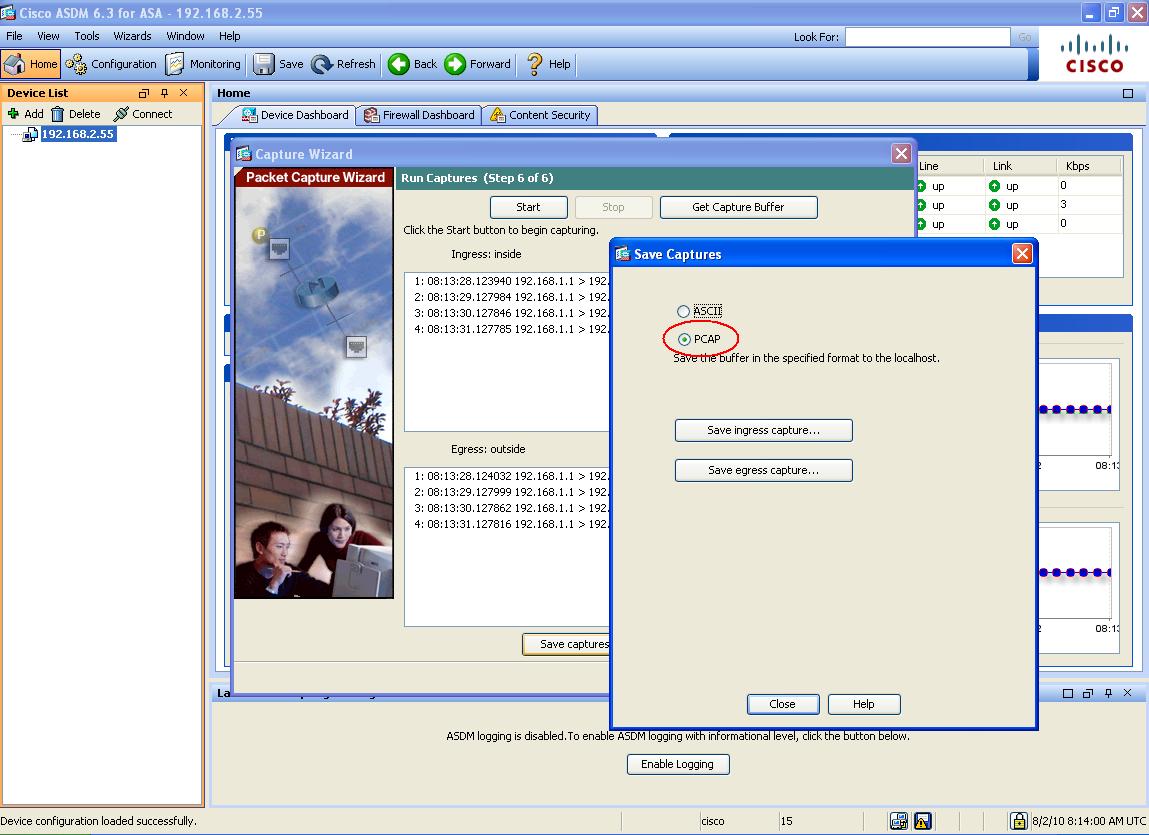
Set the output format to PCAP and retrieve the capture for both ingress and egress interfaces.
Related Information
Original Document: Cisco Support Community Japan DOC-12336
Author: Michio Arai
Posted on August 2, 2010
Find answers to your questions by entering keywords or phrases in the Search bar above. New here? Use these resources to familiarize yourself with the community: