- Cisco Community
- Technology and Support
- Collaboration
- Collaboration Knowledge Base
- ICM Installation and Configuration Preparation
- Subscribe to RSS Feed
- Mark as New
- Mark as Read
- Bookmark
- Subscribe
- Printer Friendly Page
- Report Inappropriate Content
- Subscribe to RSS Feed
- Mark as New
- Mark as Read
- Bookmark
- Subscribe
- Printer Friendly Page
- Report Inappropriate Content
on
07-09-2009
11:42 PM
- edited on
03-25-2019
06:25 PM
by
ciscomoderator
![]()
- Important Note
- Installing and Configuring CUICM SPRWALER Environment
- Sprawler Server Preparation
- Create JTAPI User in CUCM
Important Note
This document focuses on installation configuration and deployment of a complete end to end UCCE and CVP
 based solution. The CVP is being used in comprehensive mode and provides IVR, Call Control and Queuing
functionality.The example used in this deployment guide was based on a setup that is conducted in a
laboratory (LAB)or non-prodcution environment and is not supported in a live network. But the concepts,
design techniques and guidelines can be extended to setup a complete CVP based UCCE solution""
Installing and Configuring CUICM SPRWALER Environment
For a laboratory setup, you can choose to install all of the CUICM software as a sprawler; that is, you can install all the components on one server. We will be installing the following components on a single MCS 7845 Server
SPRWALER stands for Router, Logger, PG and AW on the same machine.
You must see Cisco ICM Staging Guide before installation
http://www.cisco.com/univercd/cc/td/doc/product/icm/icmentpr/icm70doc/microsf7/icme70st.pdf
Sprawler Server Preparation
Name IP Address
| sprawler-w2k3 | 192.168.93.130 |
| cvp7 | 192.168.93.3 |
| CUCM6 | 192.168.93.100 |
| CTIOS Agent Desktop | 192.168.93.248 |
| CVP-VXML-GW | 192.168.93.1 |
System Information
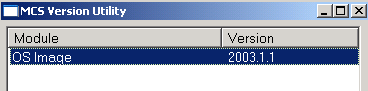
We are intalling the CUICM components on a MCS-7845 Server that is running Cisco IPT Windows OS 2003 Enterprise Edition

Make sure that following services are started.
- DNS Service Required for AD
- Replication Service Required for AD
- Task Scheduler Service Required for ICM Installation
- Install WMI Windows Installer Provider Required for ICM Router Installation
- NT LM Security Support Provider Required for AD
- File Replication Required for AD
For example for NT LM Security Support Provider service, you could see following screen

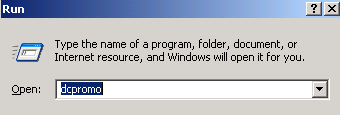
Active Directory and DNS Server Installation
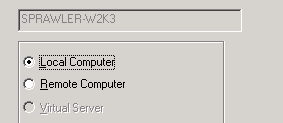
The CUICM components Router, Logger, AW, PG and CTIOS Server must communicate with the active directory server and join a domain. In this lab setup, the installation of the Active Directory Domain Controller and DNS Server will be done on the same machine called SPRAWLER, where all CUICM components will be installed
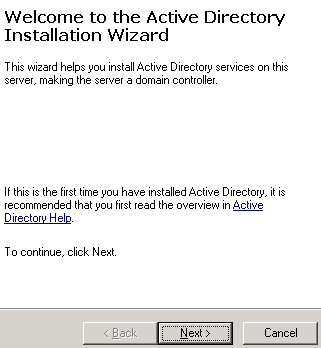
Welcome screen shows up
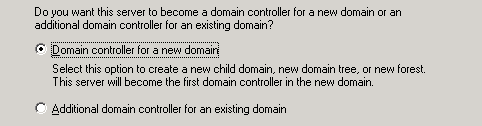
Install the Domain Controller and select the option to install DNS as part of DC installation
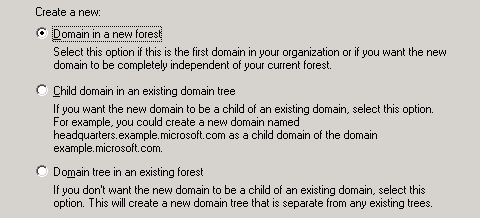
New Forest
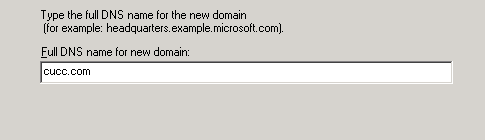
Enter the full DNS name for the domain. The example in the Microsoft Installation wizard is misleading and you should enter just the domain portion of FQDN. For example cisco.com or vse.cisco.com
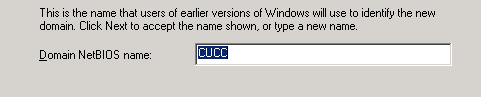
Enter the NetBIOS name. Selecting the domain name is important. Because AD Netbios name is what will be used as a domain name.
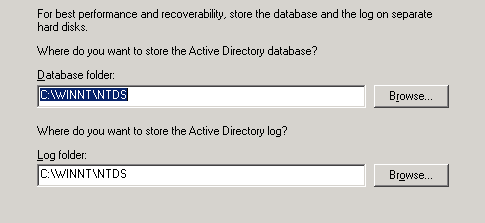
Accept the default for the Active Directory database
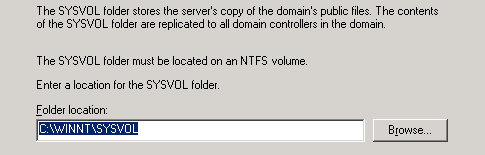
Again accept the deault seting for the SYSVOL folder
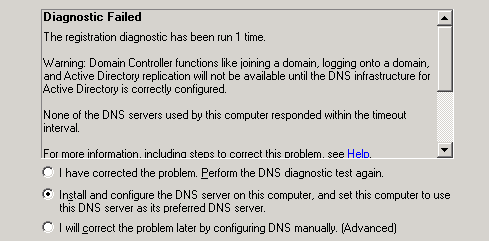
Install and configure DNS server
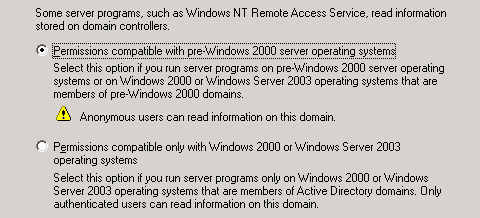
Set the permission as per the need and requirements
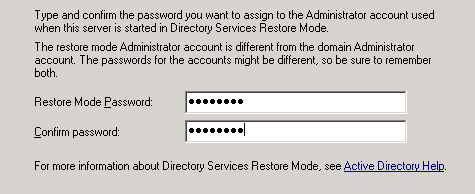
Set the password
AD installation will continue

DNS Server will be installed as part of the AD installation

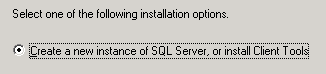
Microsoft SQL 2000 Server Installation
Enter the SQL 2000 Server installation CD into the system and it will bring up the menu options to install SQL. Select SQL server 2000 components


Install database on the local computer
Install both server and client tools

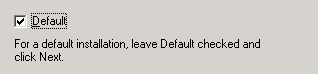
Pick the default instance name
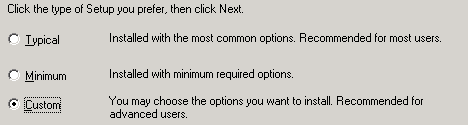
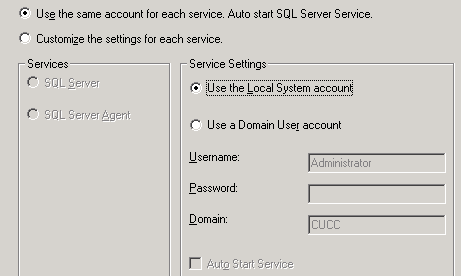
Choose the customer installation type
Use the local system account
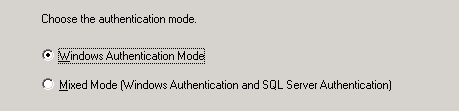
Select Windows Authentication mode
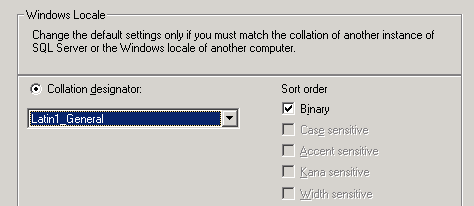
From the following screen you must Latin1_general for Collation designator and Sort oder should be Bunary
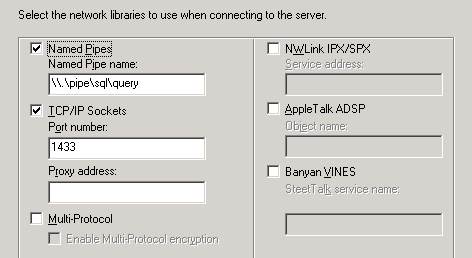
Select Named Pipes for network libraries
Select your desired mode for licenses

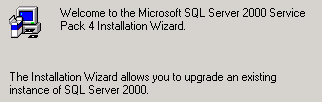
SQL Service Pack 4 Installation
Welcome screen
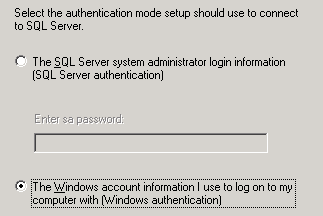
Authentication Mode
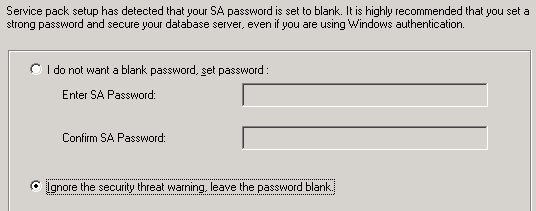
In the following screen installation is going to ask you for the SA password. Make sure you pick a password here and don't leave it blank. Otherwise system will pick a random password for you later.
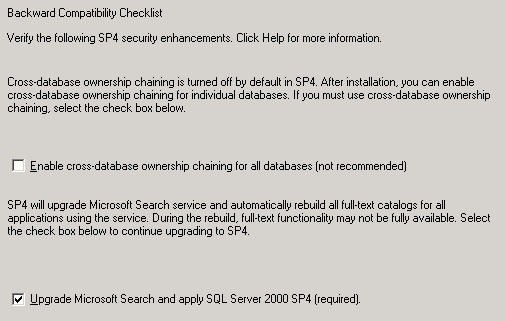
Backward compatibility checklist screen shows
Raise Domain Controller
Before we raise the Domain Controller it is important to understand some Microsoft Active Directory terminologies here.
Domain and forest functionality
Domain and forest functionality, introduced in Windows Server 2003 Active Directory, provides a way to enable domain- or forest-wide Active Directory features within your network environment. Different levels of domain functionality and forest functionality are available depending on your environment.
If all domain controllers in your domain or forest are running Windows Server 2003 and the functional level is set to Windows Server 2003, all domain- and forest-wide features are available. When Windows NT 4.0 or Windows 2000 domain controllers are included in your domain or forest with domain controllers running Windows Server 2003, Active Directory features are limited.
The concept of enabling additional functionality in Active Directory exists in Windows 2000 with mixed and native modes. Mixed-mode domains can contain Windows NT 4.0 backup domain controllers and cannot use Universal security groups, group nesting, and security ID (SID) history capabilities. When the domain is set to native mode, Universal security groups, group nesting, and SID history capabilities are available. Domain controllers running Windows 2000 Server are not aware of domain and forest functionality.
Domain functionality enables features that will affect the entire domain and that domain only. Four domain functional levels are available:
- Windows 2000 mixed (default)
- Windows 2000 native
- Windows Server 2003 interim
- And Windows Server 2003.
By default, domains operate at the Windows 2000 mixed functional level.
The following table lists the domain functional levels and their corresponding supported domain controllers.
- Windows 2000 mixed (default) Functional Level
- Windows NT 4.0
- Windows 2000
- Windows Server 2003 family
- Windows 2000 native Functional Level
- Windows 2000
- Windows Server 2003 family
- Windows Server 2003 interim Functional Level
- Windows NT 4.0
- Windows Server 2003 family
- Windows Server 2003 Functional Level
- Windows Server 2003 family
Once the domain functional level has been raised, domain controllers running earlier operating systems cannot be introduced into the domain. For example, if you raise the domain functional level to Windows Server 2003, domain controllers running Windows 2000 Server cannot be added to that domain.
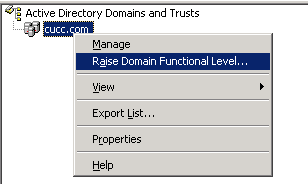
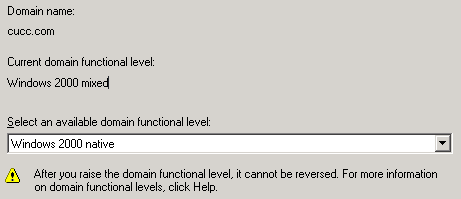
From the Active Directory Domains and Trust, select the domain and then Raise Domain Functional Level
Select the desired option based on your environment and need. The recommended setting is Windows 2000 native for our setup.
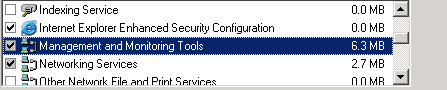
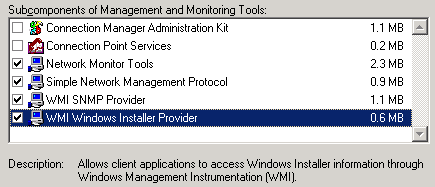
Install WMI Windows Installer Provider on the CUICM Server
Go to Control Panel and select Management and Monitoring Tools
Then enable WMI Windows Installed Provider. You might be prompted to provide Windows 2003 installation DVD/CDs
After completing all the system preparation steps we can move on to installation of CUICM components
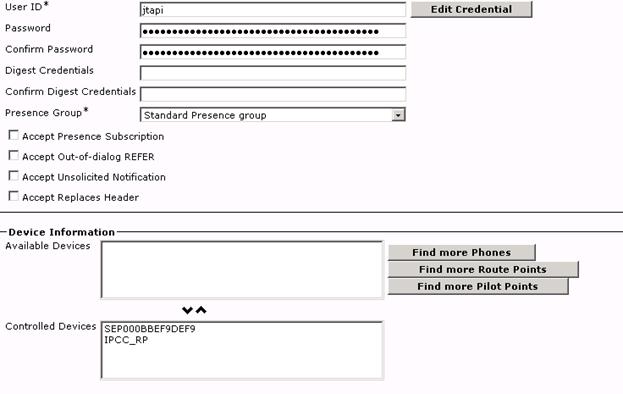
Create JTAPI User in CUCM
As this point it is good idea to create a user (for example jtapi) in CUCM and associate it with the physical phones and CTI Route point. This CTI Route Point (541-764-3000) will be used for calls that will be originated from CUCM IP Phones.
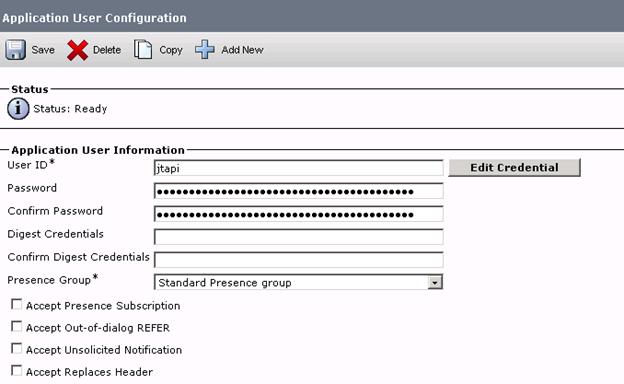
Make sure the phone is listed in the controller Devices list and permissions are correct
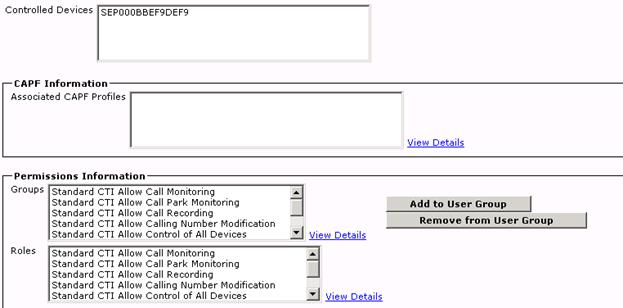
The jtapi user should be controlling the phone and the route point
Find answers to your questions by entering keywords or phrases in the Search bar above. New here? Use these resources to familiarize yourself with the community: