- Subscribe to RSS Feed
- Mark as New
- Mark as Read
- Bookmark
- Subscribe
- Printer Friendly Page
- Report Inappropriate Content
- Subscribe to RSS Feed
- Mark as New
- Mark as Read
- Bookmark
- Subscribe
- Printer Friendly Page
- Report Inappropriate Content
on
07-29-2016
08:35 AM
- edited on
04-02-2020
04:35 AM
by
VIVEK - vkulanda
![]()
Create a Resource or Deliverable Request
1. Login to DCP.
2. Select Delivery Management from the dropdown.
3. Select Resource Management.


4. You now have the option of selecting a Workview as well as choosing the way in which you want to filter just as you do in other modules such as Content Management.
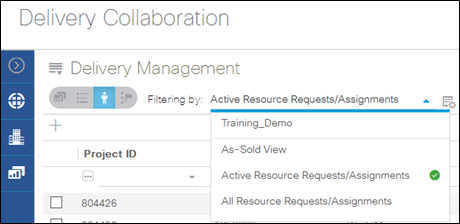
5. Click the icon to reveal the dropdown options. Select Create Resource Request or Create Deliverable Request from the list.

The Create Resource Request or Create Deliverable Request pane will now open.
6. Populate the Essentials Tab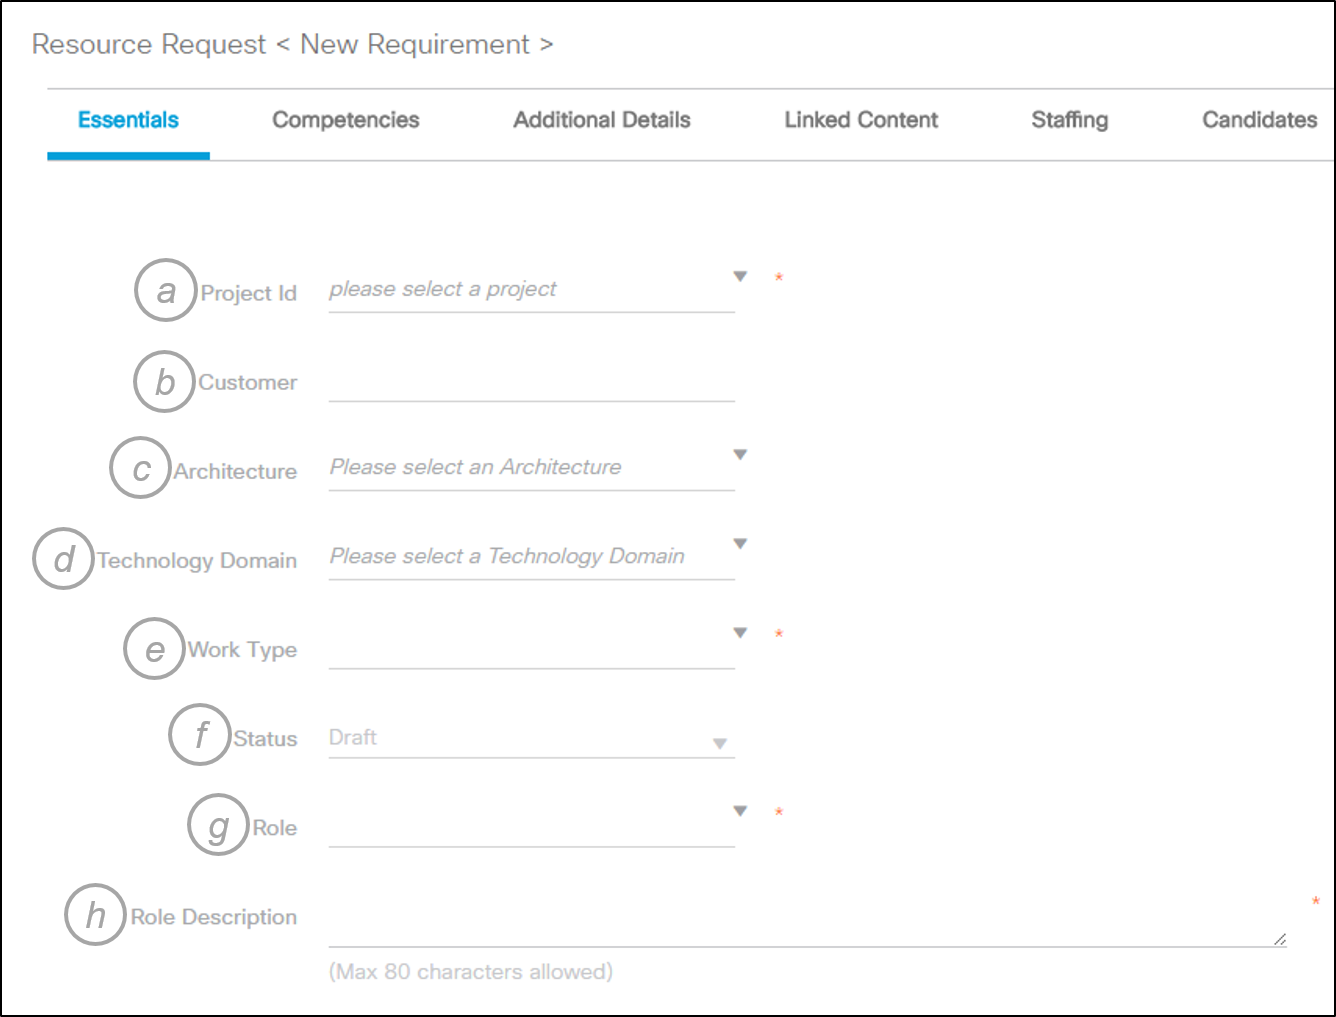
a. Project Id – Click the dropdown to reveal available PIDs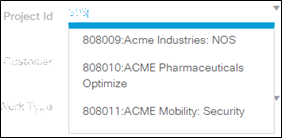
b. Customer
c. Architecture - Select the appropriate architecture in which this resource would be associated.

d. Technology Domain - Select the appropriate technology domain in which the resource would be associated.
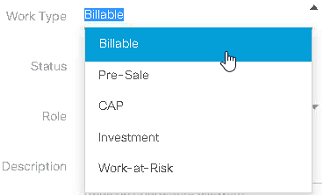
e. Work Type – Select either Billable, Pre-Sale or Work-at-Risk from the dropdown.
f. Status – Draft will be default.
g. Role (Mandatory) – A dropdown is available to reveal the acceptable Roles.
h. Role Description (Defaults to Role) – You have the option to change if needed.

i. Dates Needed - The Calendar will allow dates within the Project Start and End Dates, Manual entry should also restrict the start date and end date which is beyond Project start and end Date.
j. Planned Effort – You can choose % or Total hours from dropdown and then populate the field with either hours or % needed for the duration specified in Dates Needed.
k. Start Date Flexibility (Mandatory) – Provides a range that is expectable for the resource to begin.
l. Description of Work Requested – Provide a high level description of work that is expected.
m. Linked Activities (*Resource Request) – If any activities in Primavera are related to this resource request, you can link or unlink as needed.
n. Select Deliverable (**Deliverable Request)
7. Populate the Competencies Tab.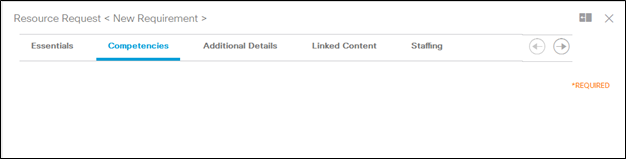
Add Competency – Allows the linking of required skills to the request. These skills reflect information stored in Cisco Skill Inventory (CSI).
a. Open providing default choices.
b. You have the option of searching for a specific competency
c. Click Add to add the skill you are requesting.
8. Populate the Additional Details Tab.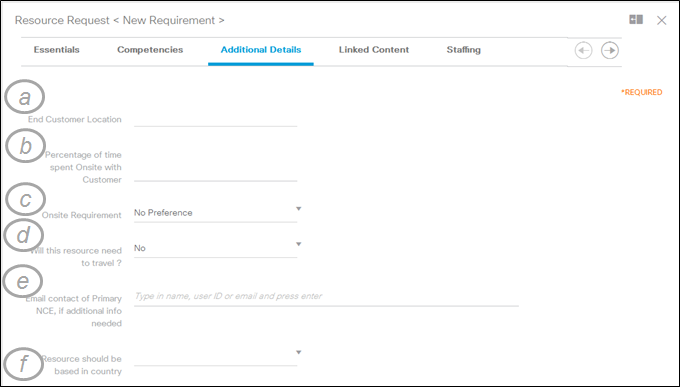
a. End Customer Location (Defaults to selected project)
b. Percentage of time spent Onsite with customer - If the resource is needed at the company location, the amount of time that is required onsite should be listed here. The info should be provided if the response to the next item is Yes.
c. On-Site Requirement - Specify to what extent the resource needs to be onsite. You can say whether the resource is contractually obligated to be onsite, or it is just a customer preference.
d. Will this Resource need to travel? - It is important to understand if the resource will need to travel for the work. This could be the case even if the resource is located near the end customer site. If you select Yes, you will be required to provide information regarding the travel budget, etc.
e. Email of Primary NCE if additional information is needed - This is the email of the project resource who would have the most technical knowledge regarding the resource need.
f. Resource Should be based in Country - It is recommended that at least the Country is populated.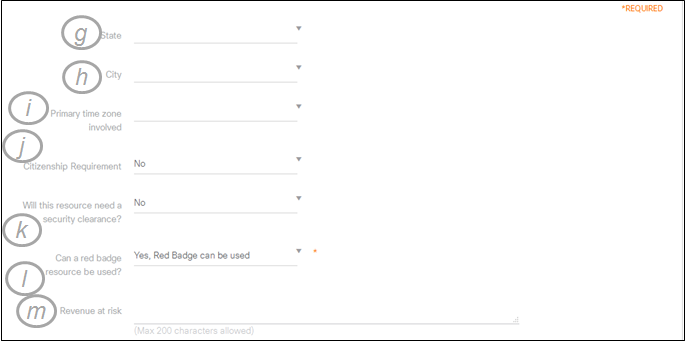
g. State
h. City
i. Primary Time Zone - Specify the time zone in which the work is taking place.
j. Citizenship required – If yes, then a list will appear in which you can choose the proper country.
k. Will this resource need a security clearance? – If yes, then you must provide details
l. Can a red badge resource be used? - By default the answer to this question is Yes. You can also specify that the red badge must already be on-boarded, or that a red badge resource cannot be used.
m. Revenue at Risk - If this resource is required on a project where revenue is at risk, describe the situation here.
9. Populate the Linked Content Tab.
a. Link / Unlink project Contents – Allows you to link content that is applicable, that is already stored in the projects document repository. You cannot add new documents through this link.
10. Populate the Staffing Tab.
a. Sourcing Organization (Mandatory) - Will default to local RM team
b. Staffing Owner –
c. Staffing Comments - Provide any additional information that you might have that allows the staffer to find the appropriate resource, or the manager to approve.
11. To save you can click the X icon in upper right corner of pane, you can click the save icon or you can click outside the window all of these actions will save the changes you have made.
Related articles :
- Direct Assign a Resource
- Cancel a Request
- Split a Request
- Copy a Request
- Withdraw a Request
- Escalate a Request
- Updating a Request in Approved Status
- Updating a Request in Provisional status
- Updating a Request in Requested Status
- Updating/Canceling a Rejected Direct Assignment
- Add additional Activities to assigned resources
- Approving/Rejecting a Direct assignment
Find answers to your questions by entering keywords or phrases in the Search bar above. New here? Use these resources to familiarize yourself with the community: