 Previous ArticleNext Article
If you deal with large and many Cisco projects through DCP, you may want to create a list of contacts for easy reference. You can add your regular contacts in a simple list as explained in the previous article. You can also group your contacts in contact-groups for easy selection of several contacts at once.
Create Contact Groups
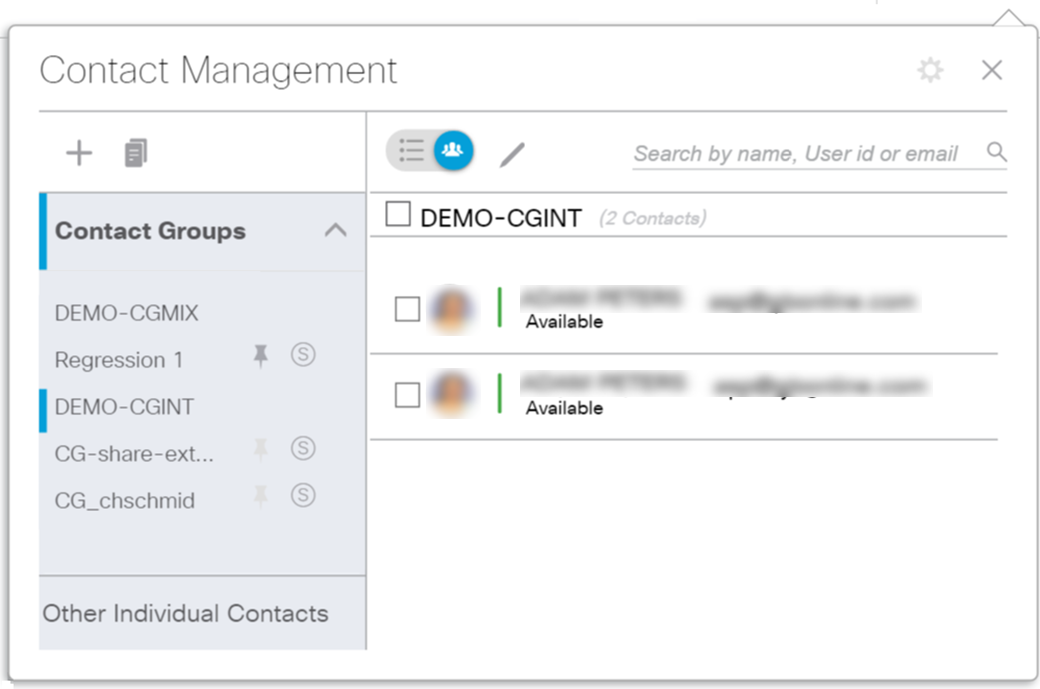
Once you have opened your Contacts Management pane as explained in the previous articles, click the '+' icon above the left column. This will add a new contact-group in the left column, under the Contact Groups section. You can expand and collapse the Contact Groups section by clicking on the arrow (up or down).
The new contact-group will have a default name. To change that name, double-click on it and change the name to something meaningful to you. Click anywhere else to auto-save the name-change.
Once you have created one or more Contact Groups, you can add contacts to it, following the same steps as explained in the previous article.
Notes:
- One contact can belong to multiple contact groups.
- You can move or copy contacts from one contact group to another or to the Other Individual Contacts section.
- A contact group can be shared via a 'shared' workview via pinning. This is explained in the next article.
Once you have at least 1 contact group, you can create additional contact-groups by copying one of your existing contact groups. This can be useful for instance if you regularly collaborate with the engineers on your Cisco projects in certain occasions and with the engineers plus the project managers in other occasion. In this example: create the contact group for the engineers first; once created, copy that contact group and add the project managers to the copied contact group.
To copy a contact group, select one in the left column and click the 'copy'  icon above the left column. A 'copy of' contact group will be added to your left column which includes the same list of users as the original one. Change the name of the contact group as explained above and remove or add additional users.
Delete a Contact Group
When you don't need a contact group anymore, you can delete it. Pause your cursor over the contact group in the left column and a 'delete'  icon will appear. Click on it to remove the contact group from your list. The users within will be deleted with it.
If a user also belongs to another contact group or to the Other Individual Contacts section, it will Not be removed from the other places.
Aggregated Contact List or Flat List
Sometimes it is useful to have an overview of all your contacts from all your contact groups in a single flat list. This is possible in the Contact Management pane by using the 'switch' above the right column.

It has 2 modes: the 'Contact group' mode which lists the users in the right column per the selected contact group in the left column; the 'Flat List' mode which lists all your contacts from all your contact groups and Other Individual Contacts in a single list.
Note: The user selection component that is used everywhere in DCP, shows the same aggregated contact list. Expand the user selection and click on 'All contacts'.
Related articles :
Create a List of Contacts
Pin Contact Groups
 Table of Content
 Previous ArticleNext Article