When testing or configuring a camera there are a few different ways to attach that camera to your PC.
The setup depends on what equipment is available.
The easiest method is to simply use a POE switch and set the PC's address to be in the same subnet the camera's address is in.
Please note that outdoor cameras like the 2531 or wireless cameras do not use POE

If a switch is not available the camera can be plugged directly into the PC's ethernet port. This would require an external power supply or power injector.

Normally you don't need a crossover cable since our cameras are able to sense and perform the crossover function. However, if you are using a power injector the cable going from the PC to the power injector is going to have to be a crossover cable. The cable from the power injector to the camera should be straight through.

To work with one of our cameras the power injector needs to be 802.3af compliant. While we don't certify any particular power injectors, the Cisco AIR-PWRINJ4 has been used in our TAC lab with success.
You'll want to set the address of your PC to match whatever the network and subnet are for the Camera. The default IP address for Cisco Cameras depends on the model.
| 24xx/25xx cameras | 192.168.0.100 |
| 4xxx cameras | 192.168.0.100 |
| 50xx cameras | 192.168.0.2 |
If you don't know what the IP address is for the camera, you'll need a sniffer program like Wireshark.
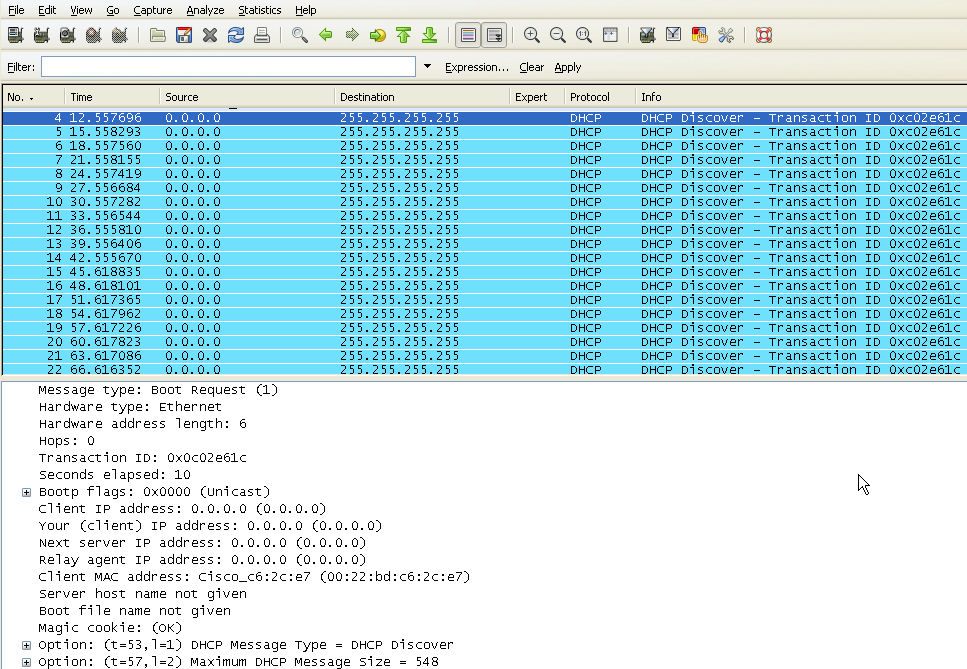
After getting Wireshark setup and running on the Ethernet interface, start the camera and watch for broadcasts coming from the camera. If you just reset the camera back to default, you'll start seeing DHCP requests in about 20 seconds or so. This is a good way to know if the camera reset succeeded (see CSCtq10892).

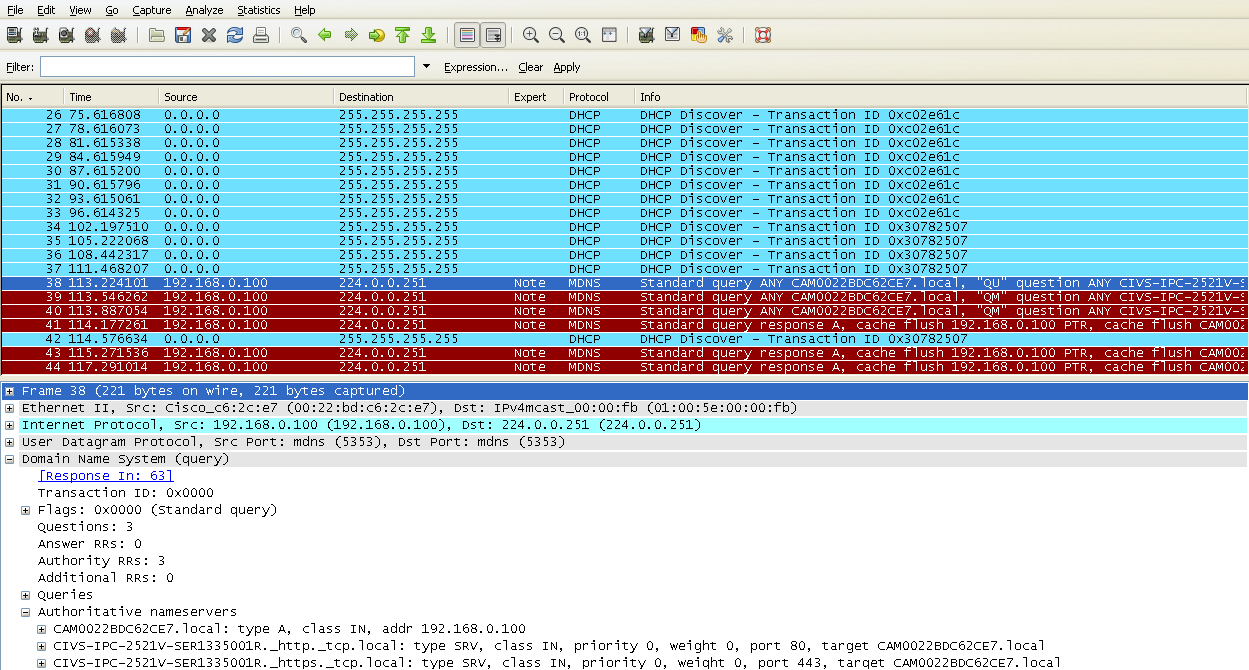
In any case, When the camera is finished booting up it will start broadcasting MDNS packets with whatever address it currently has. These broadcasts have other identifying information so even if you are on a LAN with other traffic you can pick out what you're looking for by using these broadcasts.
