| Task Name | Create VM Folder LOV for users to consume |
| Description | |
| Prerequisites | vCenter |
| Category | Workflow |
| Components | UCSD 6.6 |
| User Inputs | |
| Output | |
Instructions for Regular Workflow Use:
- Download the attached .ZIP file below to your computer. *Remember the location of the saved file on your computer.
- Unzip the file on your computer. Should end up with a .WFD file.
- Log in to UCS Director as a user that has "system-admin" privileges.
- Navigate to "Policies-->Orchestration" and click on "Import".
- Click "Browse" and navigate to the location on your computer where the .WFDX file resides. Choose the .WFDX file and click "Open".
- Click "Upload" and then "OK" once the file upload is completed. Then click "Next".
- Click the "Select" button next to "Import Workflows". Click the "Check All" button to check all checkboxes and then the "Select" button.
- Click "Submit".
- A new folder should appear in "Policies-->Orchestration" that contains the imported workflow. You will now need to update the included tasks with information about the specific environment.
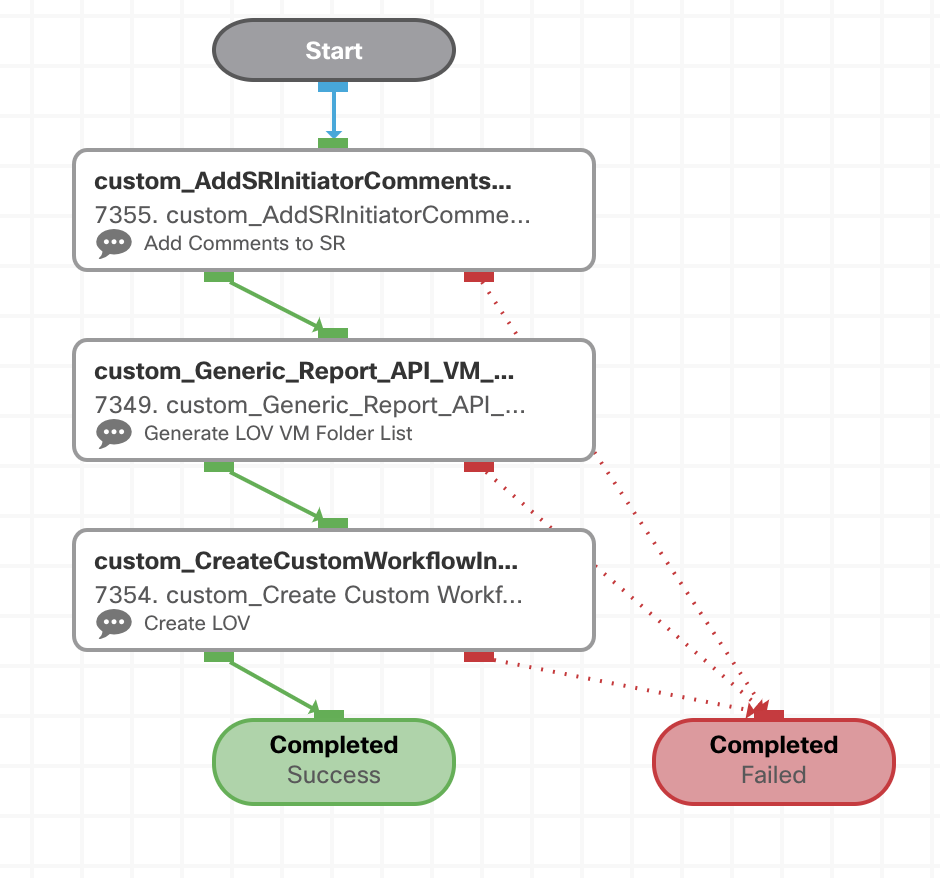
The workflow to create a LOV for all the VM folders in vCenter:
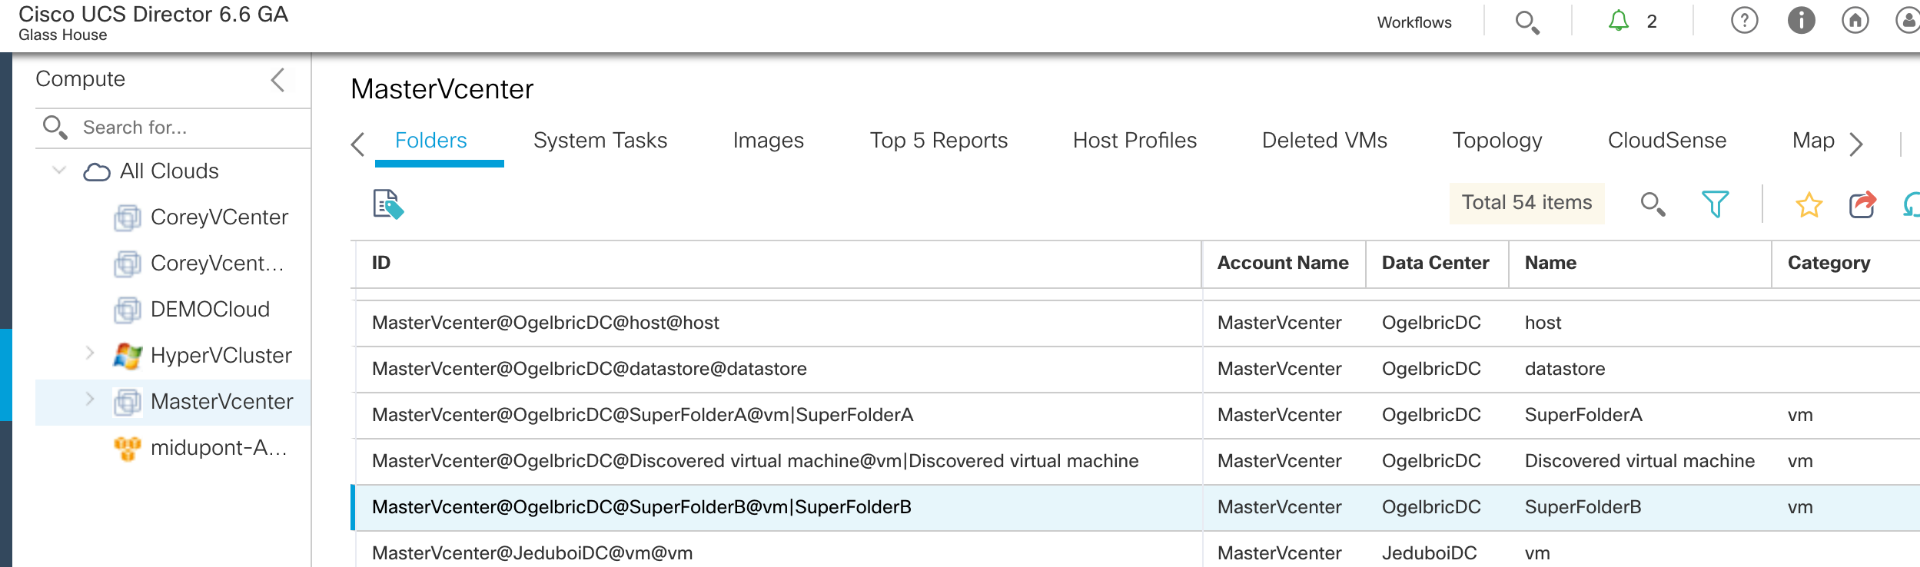
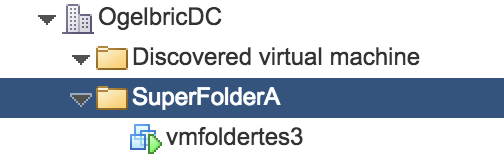
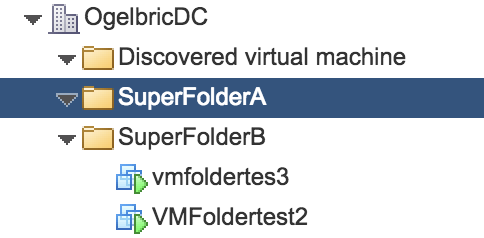
Folders in vCenter:
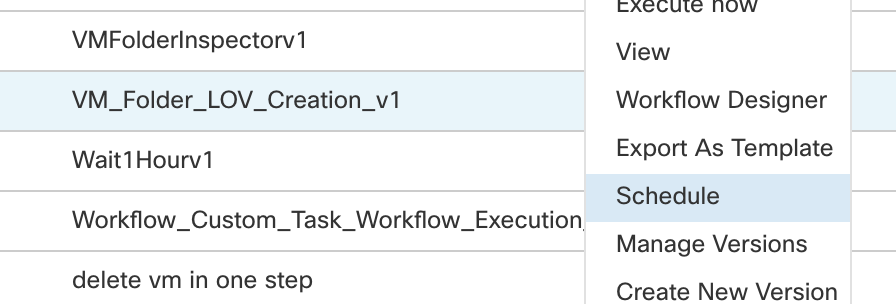
This is the screen that is exploided:
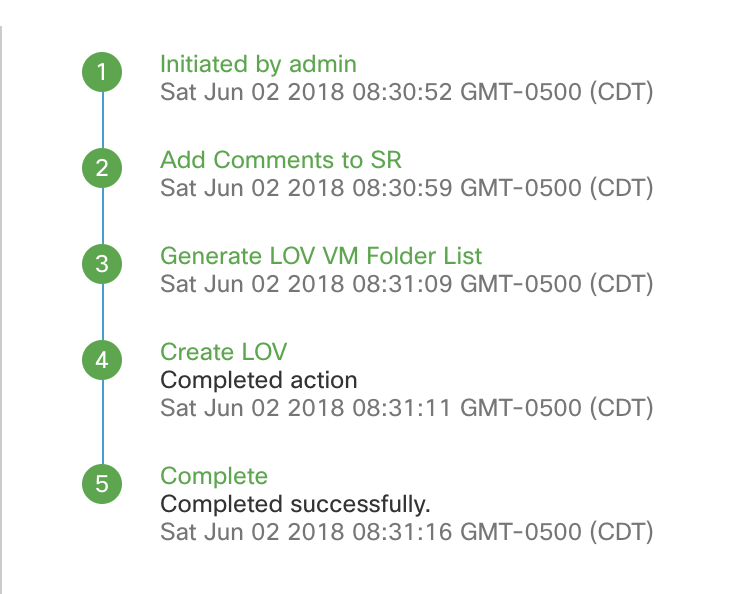
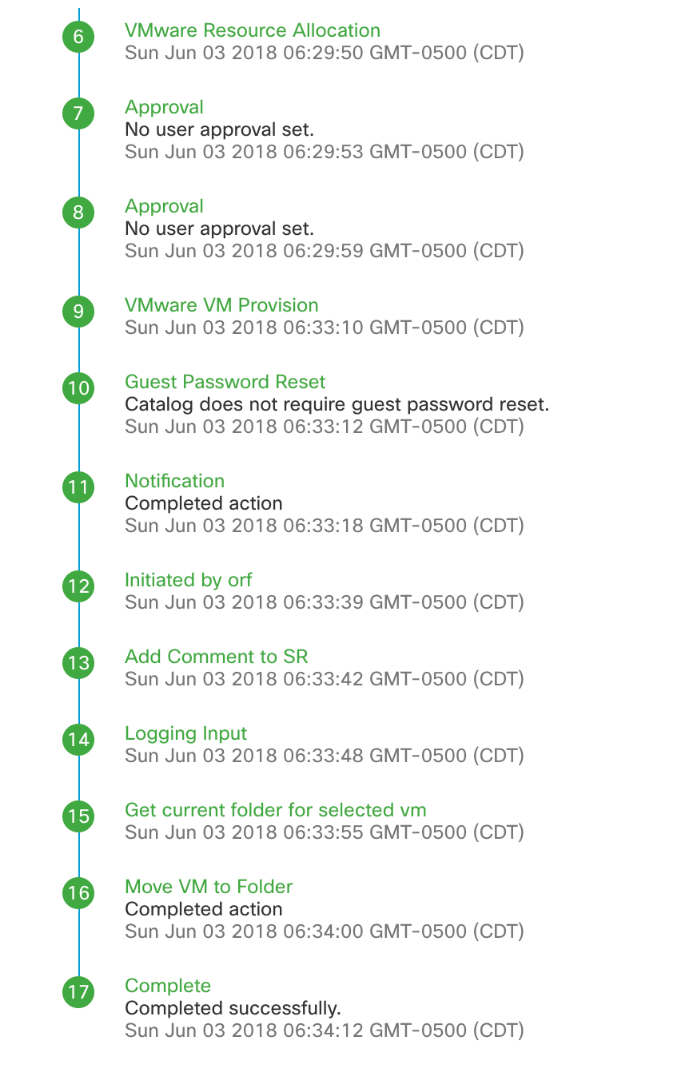
Workflow run:
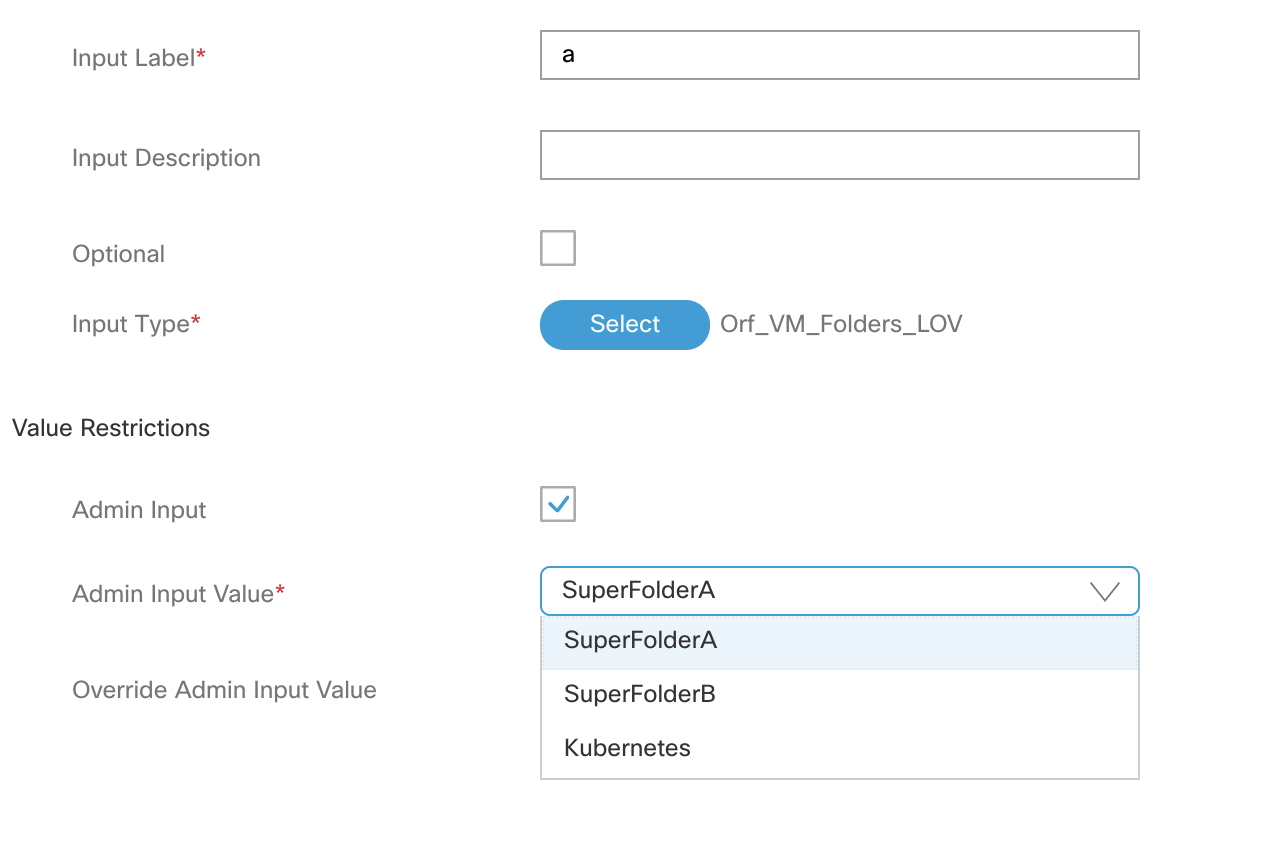
The new created LOV:
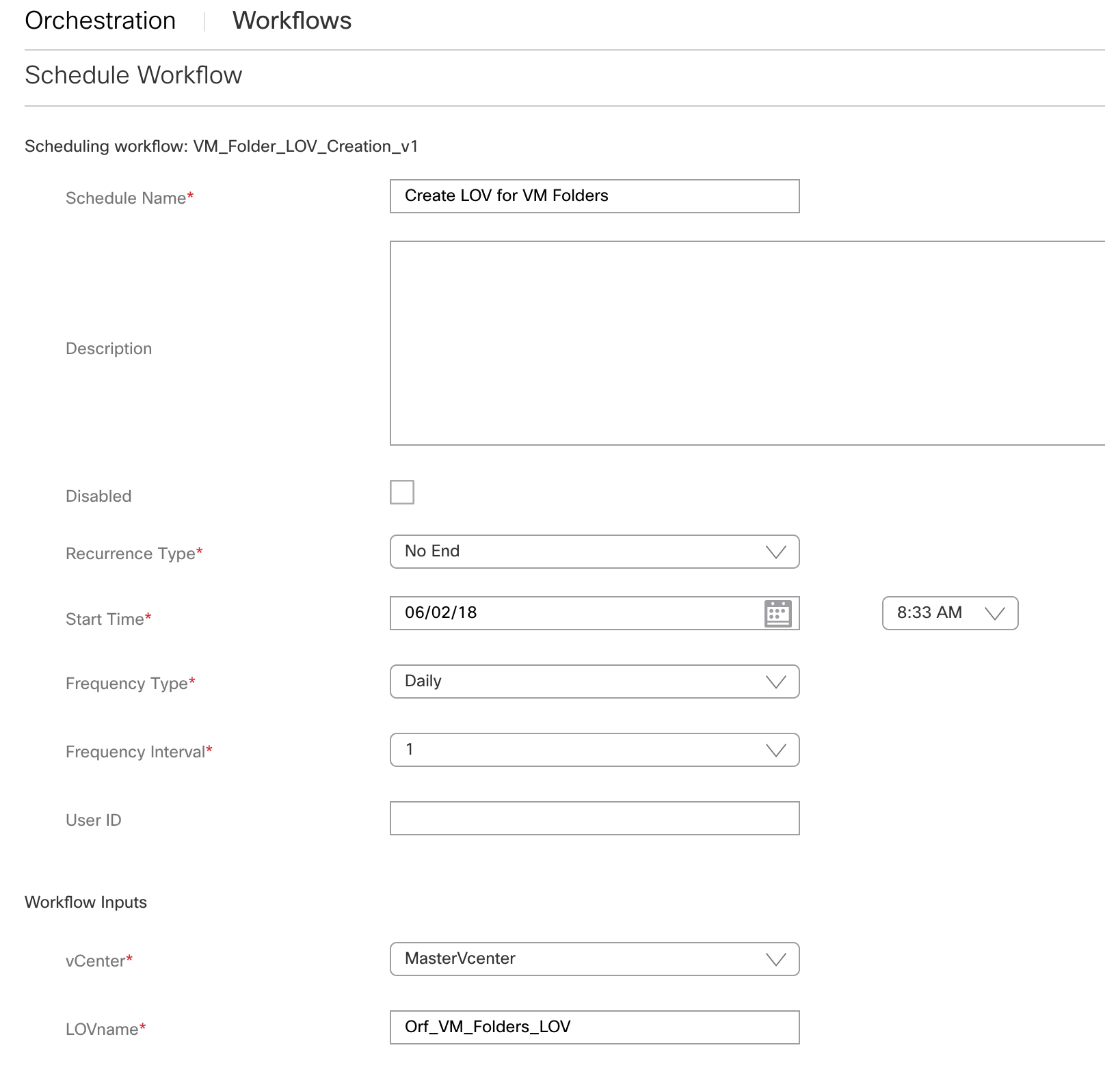
The scheduling of the workflow:
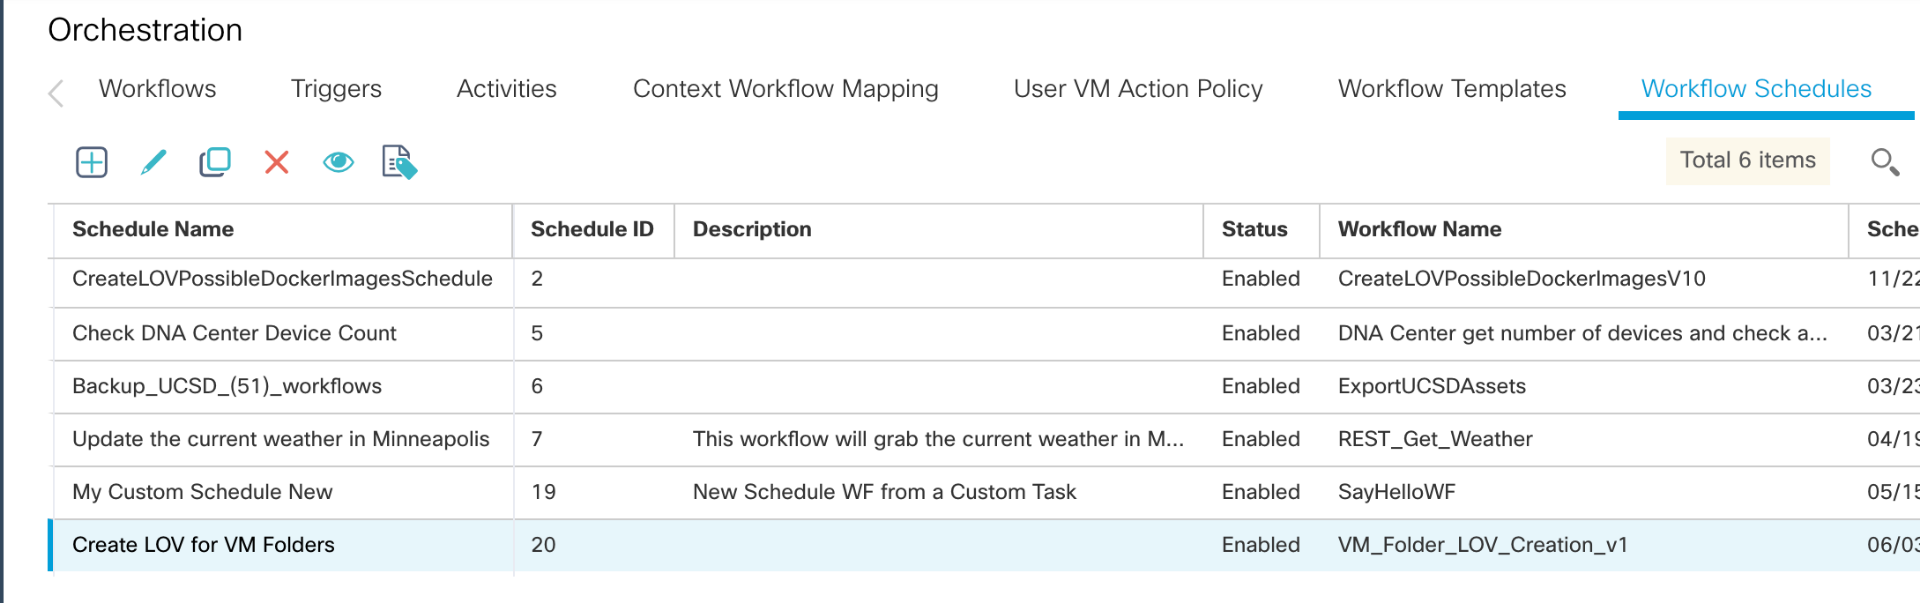
The resulting schedule:
Example of moving a VM in post provisioning to another folder:
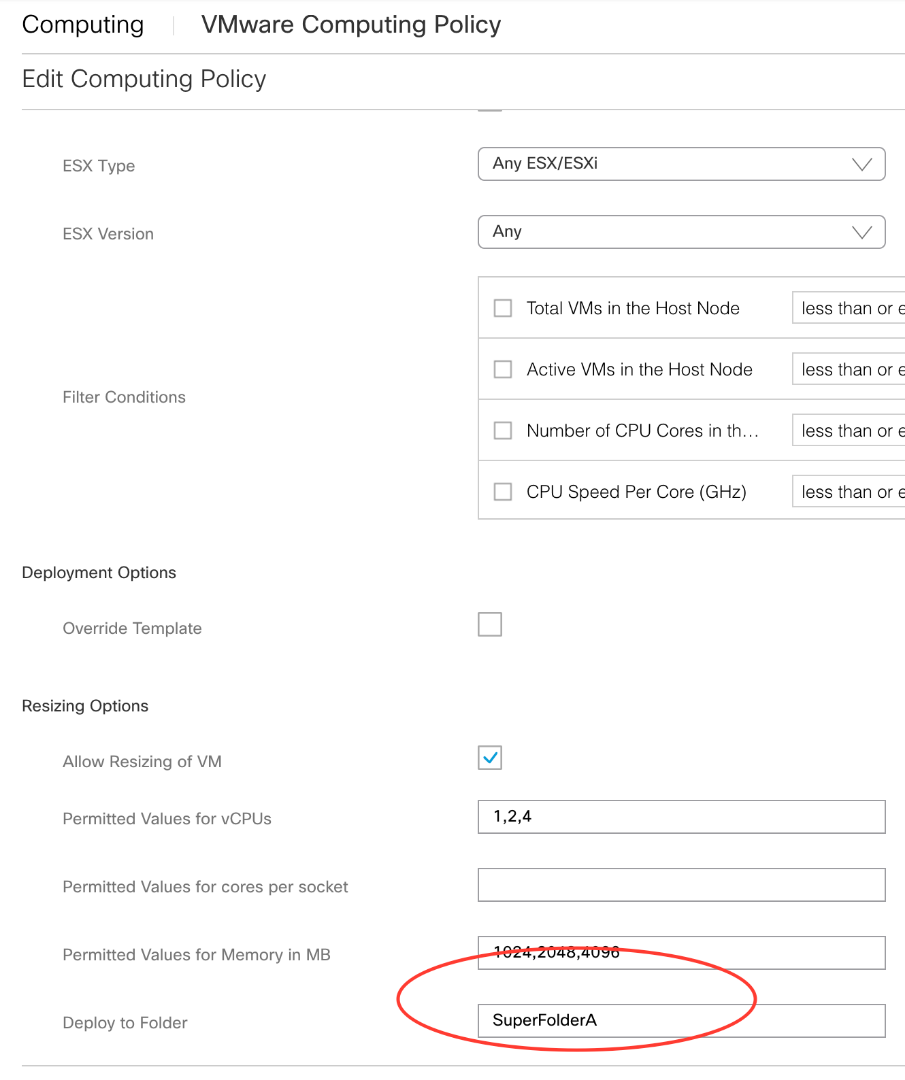
Compute policy:
VM deployment standard catalog with post provisioning:

Moving VMs on a mass scale example:
The catalog:
The workflow selection:

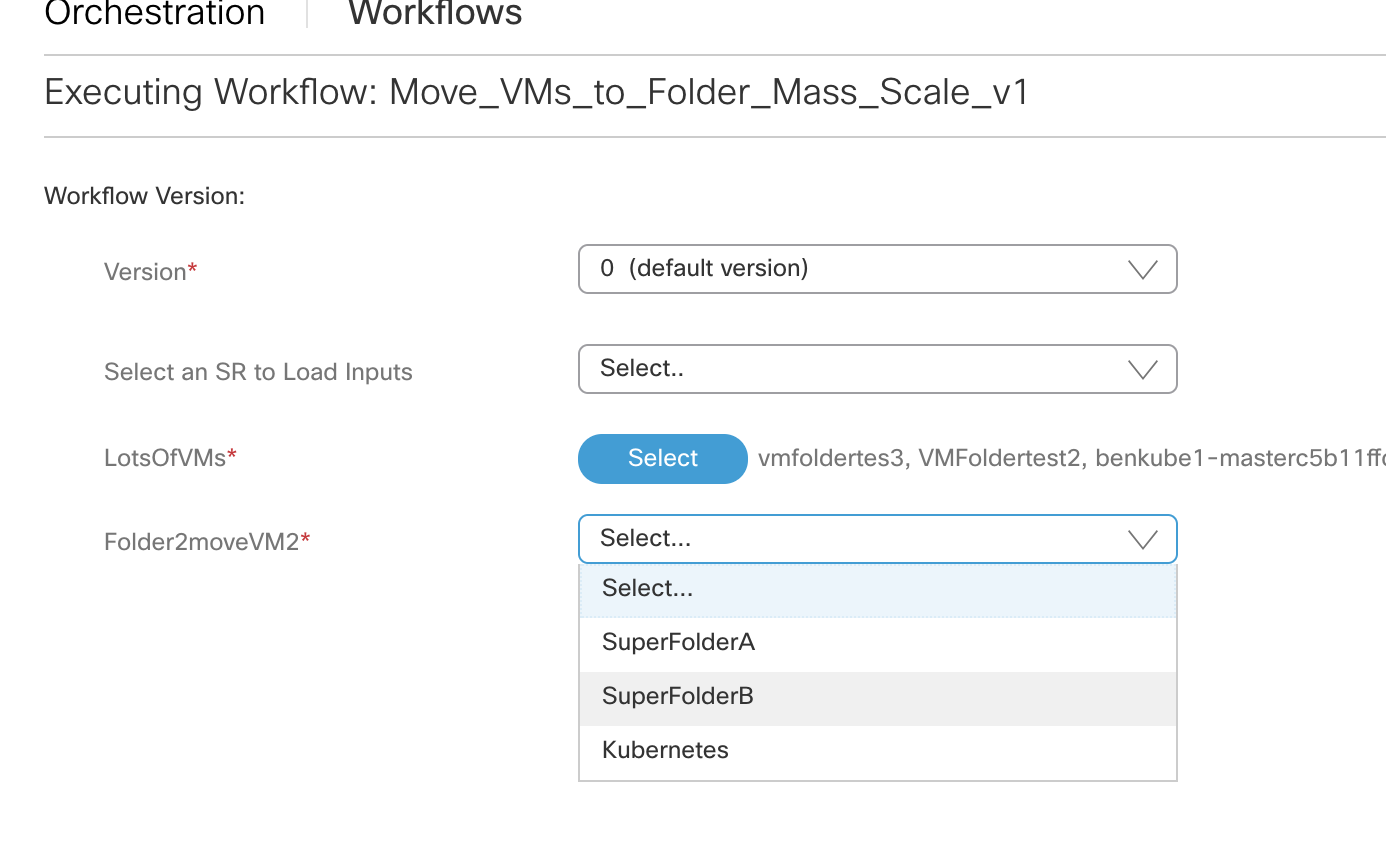
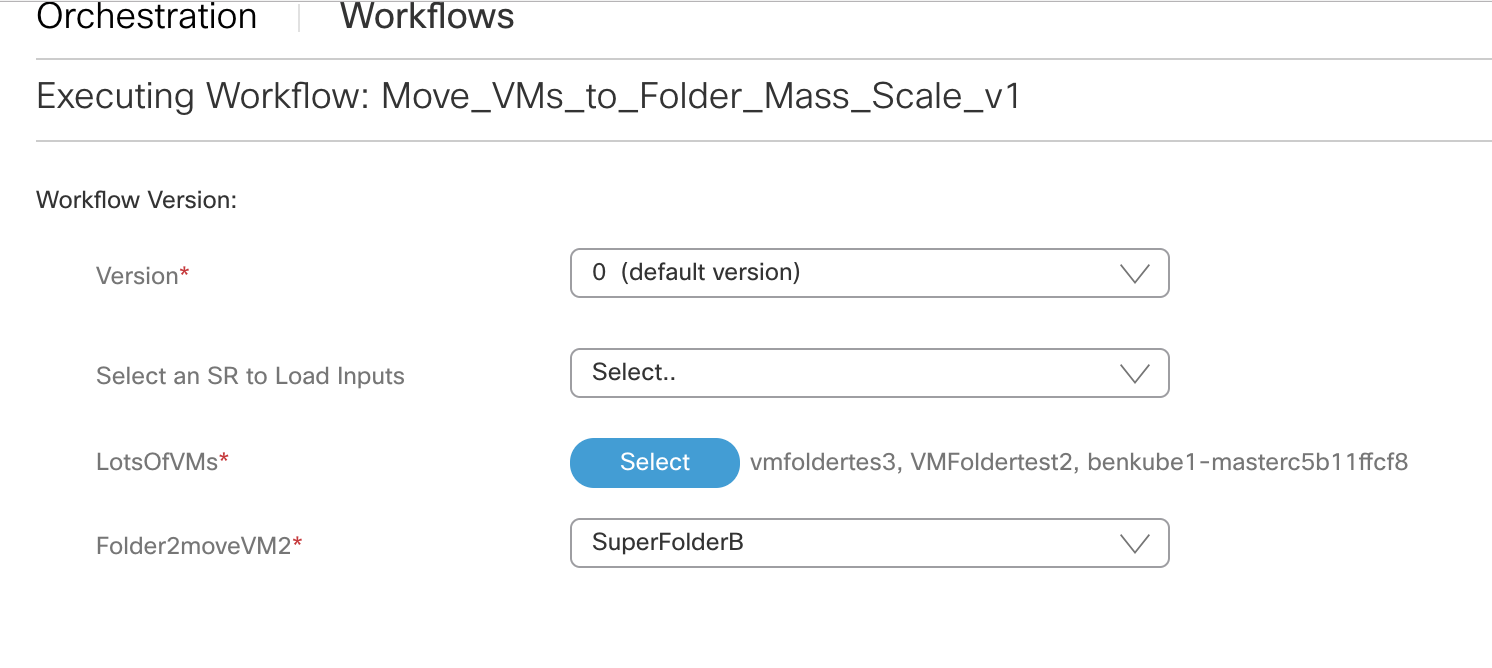
Execution:
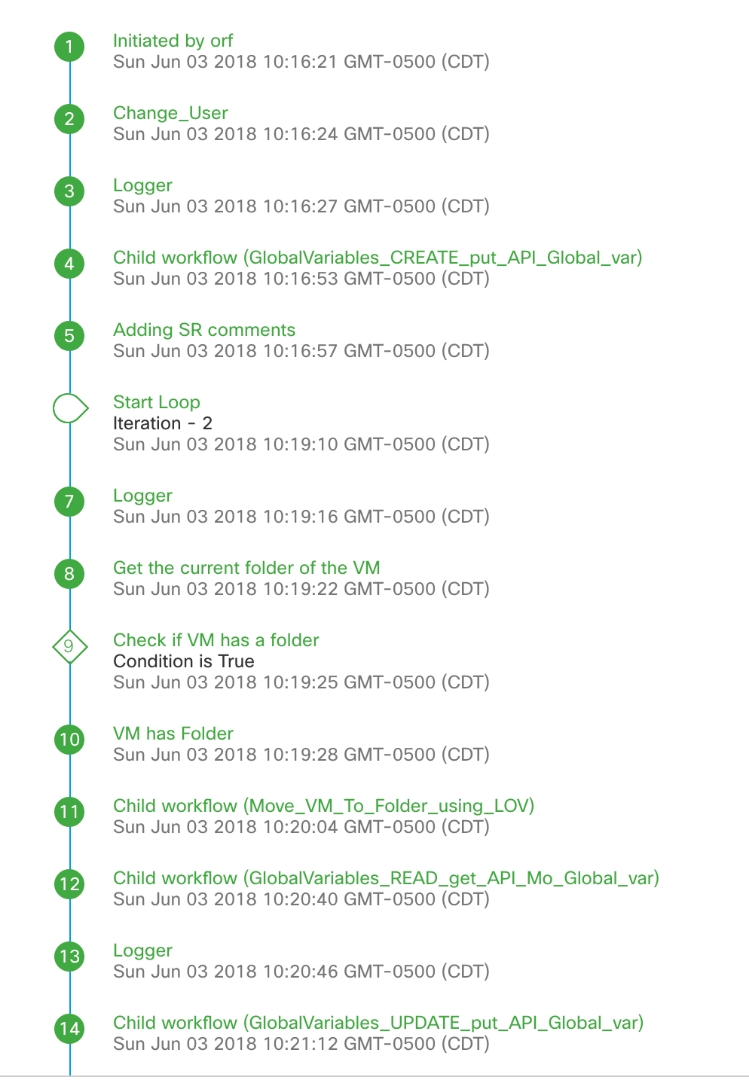
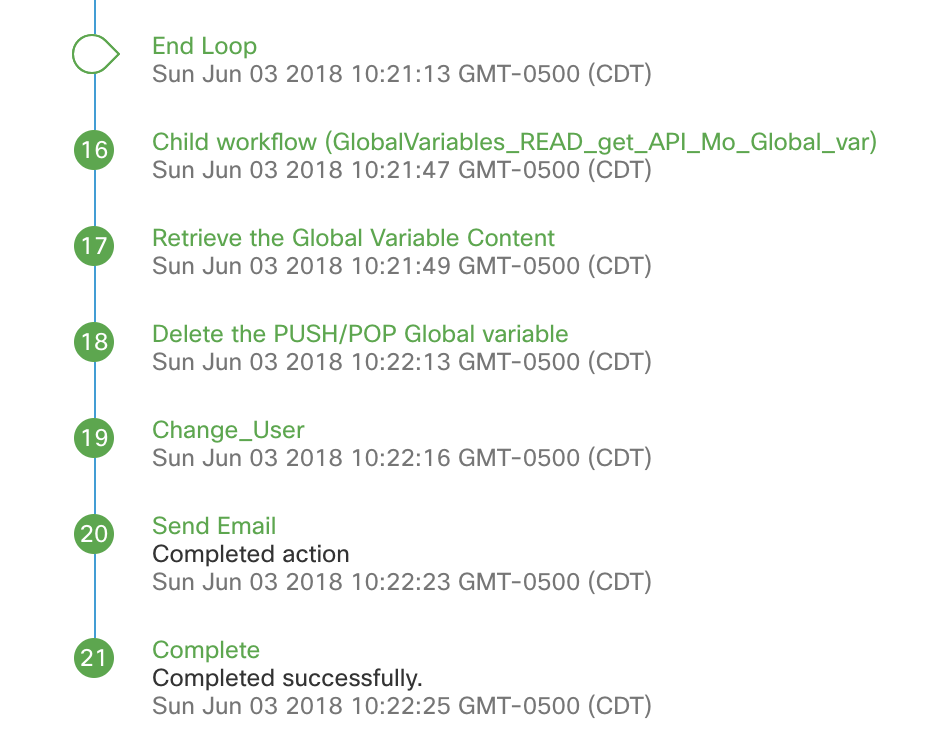
The workflow:

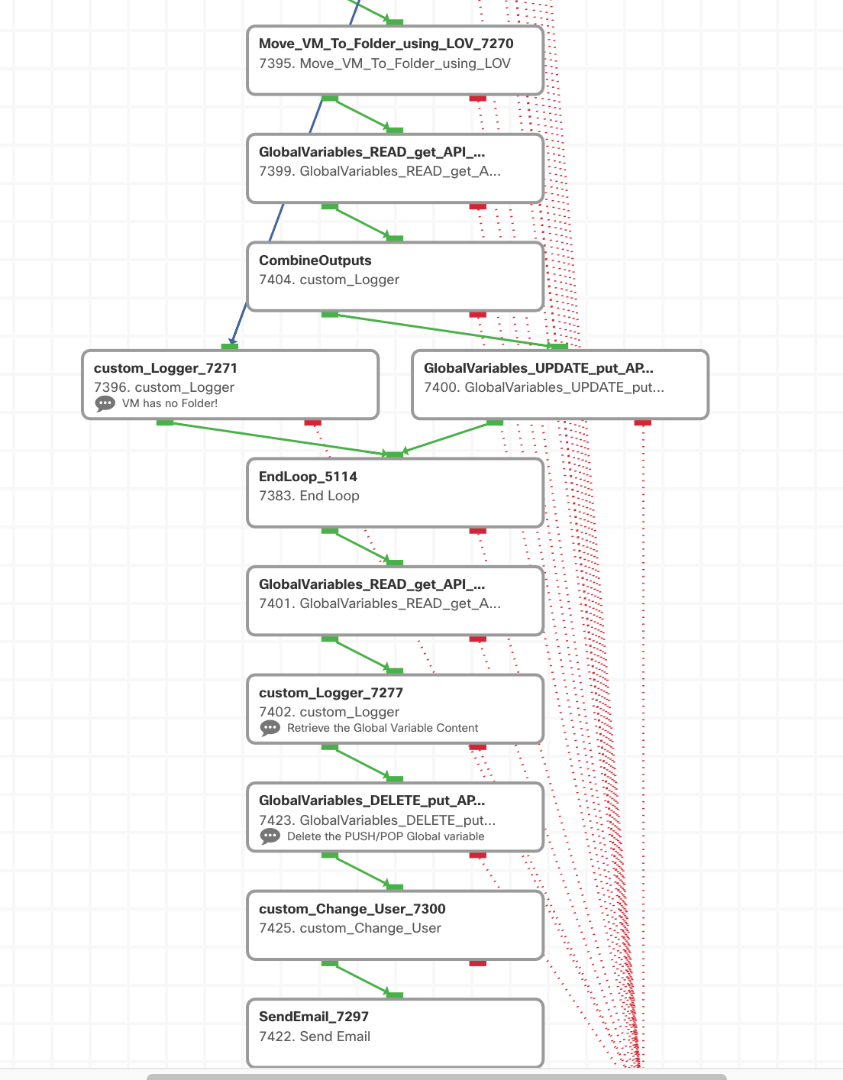
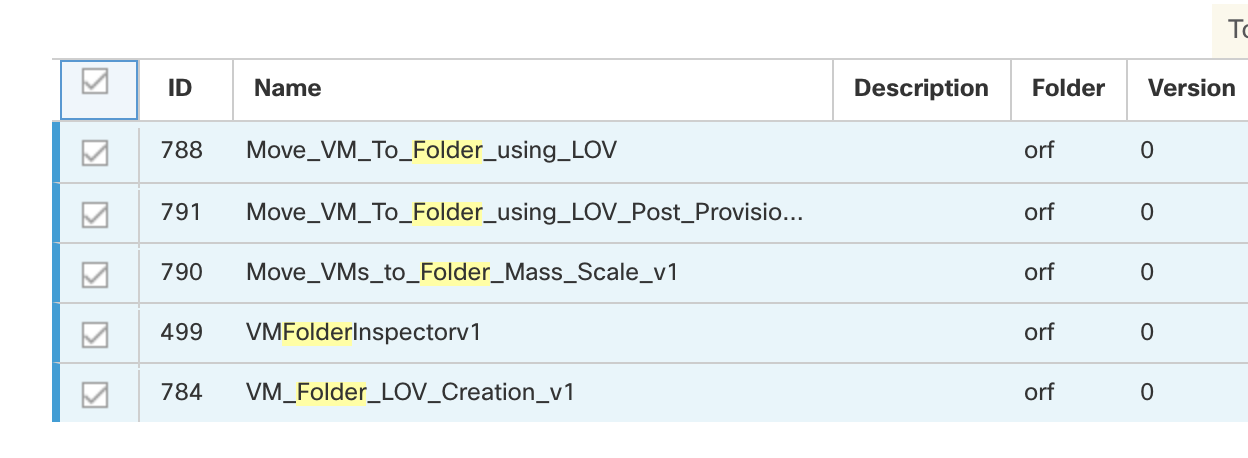
The workflows in the file:
Keep in mind the LOV creation has to run first (or on a schedule) !
