- Cisco Community
- Technology and Support
- Security
- VPN
- SBL Feature for Anyconnect Not working
- Subscribe to RSS Feed
- Mark Topic as New
- Mark Topic as Read
- Float this Topic for Current User
- Bookmark
- Subscribe
- Mute
- Printer Friendly Page
SBL Feature for Anyconnect Not working
- Mark as New
- Bookmark
- Subscribe
- Mute
- Subscribe to RSS Feed
- Permalink
- Report Inappropriate Content
08-21-2016 11:54 PM - edited 02-21-2020 08:56 PM
Hi All,
I am trying to configure SBL ( Startup before Login ) Feature for Anyconnect with Windows 7, Followed the below steps,
- Downloaded the anyconnect for Windows - Full installation package - Windows / Head-end deployment (PKG)
- Basic Configuration for anyconnect has been done, ( Am able to connect with anyconnect once the PC is ON. )
-Added the below configuration under Group-Policy
group-policy GROUP_POLICYNAME attributes
webvpn
anyconnect modules value vpngina
anyconnect profiles value abcravpn type user
Edited the XML Profile and made the same as below, the same got downloaded post connecting.
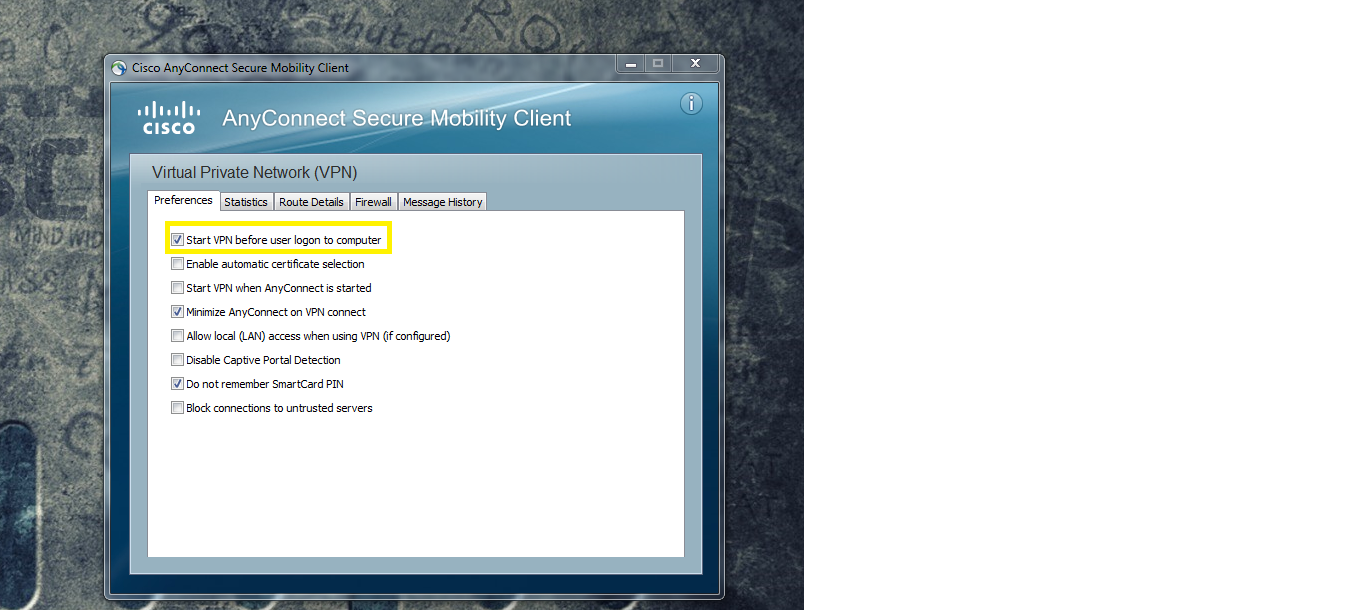
<UseStartBeforeLogon UserControllable="true">true</UseStartBeforeLogon>
Still the anyconnect is not showing in the lock window when the system is restarted, please let me know if i am following correct method and using the correct PKG file for anyconnect.
Do i need to make any changes in the PC ?
Thank you,
Vishnu
- Labels:
-
AnyConnect
- Mark as New
- Bookmark
- Subscribe
- Mute
- Subscribe to RSS Feed
- Permalink
- Report Inappropriate Content
08-22-2016 02:08 AM
Hi Vishnu,
Please check if the XML profile has been downloaded properly on your machine or not. You can visit this location to verify the profile: C:\ProgramData\Cisco\Cisco AnyConnect Secure Mobility Client\Profile.
Moreover we recommend certificate based authentication for the SBL to work. Please check if you have these two in place.
Thanks,
Vishnu
- Mark as New
- Bookmark
- Subscribe
- Mute
- Subscribe to RSS Feed
- Permalink
- Report Inappropriate Content
08-22-2016 02:57 AM
Hi Vishnu Sharma,
Yes the XML profile has been downloaded Properly and the same is saved in the location : C:\ProgramData\Cisco\Cisco AnyConnect Secure Mobility Client\Profile
We are currently trying to authenticate with AD username and Password,
Also the Icon is not getting displayed in the Lock screen for the Anyconnect. Do we need to do any finetune in Windows 7 user PC ?
Thank you,
Vishnu
- Mark as New
- Bookmark
- Subscribe
- Mute
- Subscribe to RSS Feed
- Permalink
- Report Inappropriate Content
08-30-2016 03:56 PM
Hello All,
This issue has been resolved, We can achieve the same with SELF SIGNED CERTIFICATE ALSO,
for that please follow the below method in WINDOWS PC, (tested with Win 7)
- Download the Self Signed certificate from the Browser
Go to RUN -> MMC
- File -> Add/Remove Snap in
- Select Certificate -> ADD -> My User Account
- Certificate -> ADD -> Computer Account
- Under the CONSOLE FOLDER, select CERTIFICATE->CURRENT USER->TRUSTED ROOT CERTIFICATE->CERTIFICATES->IMPORT ( Import the certificate Which we saved Before)
- CERTIFICATE->LOCAL COMPUTER->RUSTED ROOT CERTIFICATE->CERTIFICATES->IMPORT
Also please find the below attached document for the same,
Once the above is done, we will be able to successfully connect anyconnect Bofore Login.
Thank you,
Vishnu
- Mark as New
- Bookmark
- Subscribe
- Mute
- Subscribe to RSS Feed
- Permalink
- Report Inappropriate Content
08-31-2016 02:25 AM
Hi Vishnu,
Glad to hear that the issue is resolved. I mentioned in my first response that we will need certificates to make it to work and you used the same thing. Thanks for sharing the steps. It will definitely help other people facing the same issue.
Vishnu
Discover and save your favorite ideas. Come back to expert answers, step-by-step guides, recent topics, and more.
New here? Get started with these tips. How to use Community New member guide