Setting the Traces on the Client to detailed.
1:Please log in to the CUPC client go to Help> Enable Detailed Logging.

2: Recreate the Problem.
Creating the Problem report
3: Go to Help > Create Problem Report.
4:Now a Window will pop up with the License Agreement. Please accept the Agreement.

5: Please click Next and fill in the Collect information section.

6:Please Click Next. Problem Report Tool process collect all the files need and finally comes up with a finish window.
7:Click Finish.
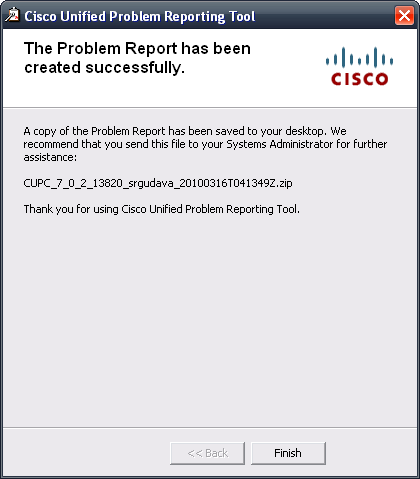
8:File with name CUPC_<version>_<userid>_<timesamp>.zip on the desktop.

Please send the file to the TAC.
Related Links:
How to set and collect logs for the Cisco Unifed presence Server.