Setting Traces for presence Engine
1.Log in to the CUPS server administartion
2.In Navigation select Cisco Unified Serviceability.

3.Select Cofiguration in Traces menu.
4.Select server from the Server.
5.Click Go.
6.Select CUP Servcies from Service Group.
7.Click Go.

8:Select Cisco UP Presence Engine (Active) from Service.
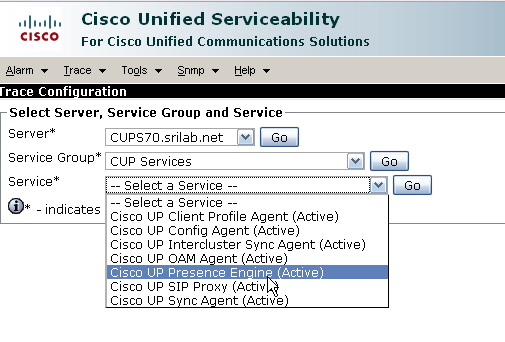
9.Click Go.
10.Check Trace On.
11.Select Debug from Debug Trace Level.
12.Check Cisco UP Presence Engine Trace Fields.
13.Check Enable All Trace.
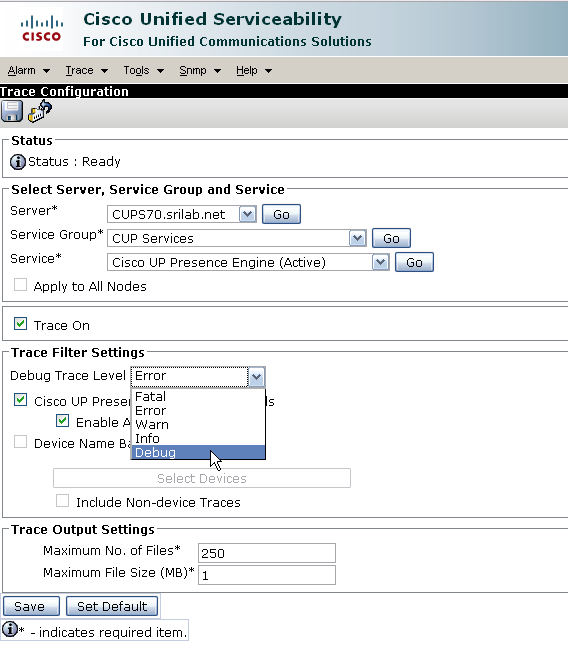
14:Click Save.
Setting trace for Sip proxy service
1.Log in to the CUPS server administartion
2.In Navigation select Cisco Unified Serviceability.
3.Select Cofiguration in Traces menu.
4.Select server from the Server.
5.Click Go.
6.Select CUP Servcies from Service Group.
7.Click Go.
8:Select Cisco UP SIP Proxy (Active) from Service.

9.Click Go.
10.Check Trace On.
11.Select Debug from Debug Trace Level.
12.Check Cisco UP SIP Proxy Trace Fields.
13.Check Check All Traces.
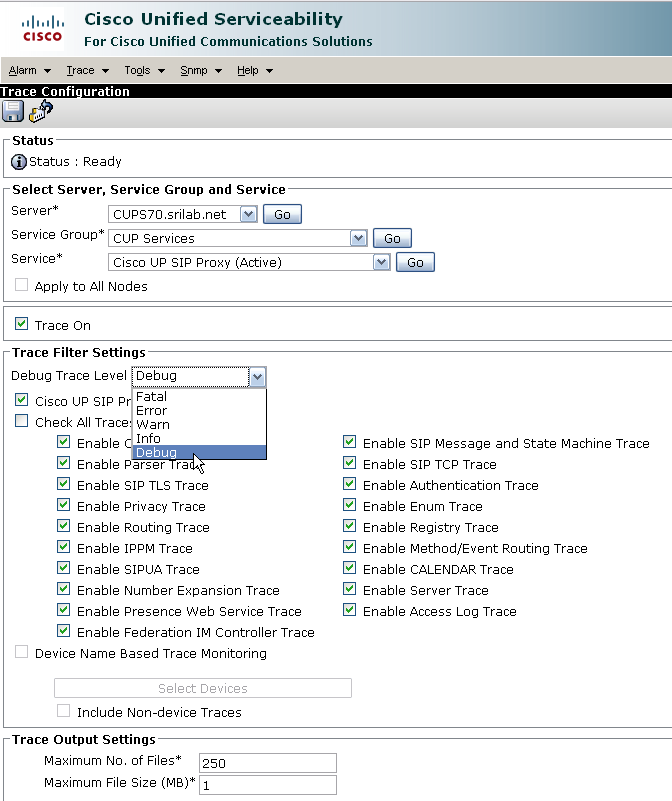
14: Click Save.
Collecting Traces Using Real time Monitoring Tool (RTMT)
1.On Presence Administration Console select Application > Plugins Menu.

2.Download Cisco Unified Presence Real-Time Monitoring Tool - Windows.

3:When the download finishes, run the installer and step through the on screen instructions.
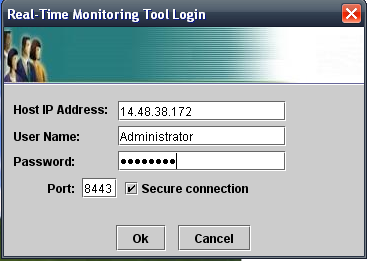
4:When the installation has completed, run the RTMT application. Specify the Presence server from which you collect traces, as well as the Presence Administartion Console username and password as shown:
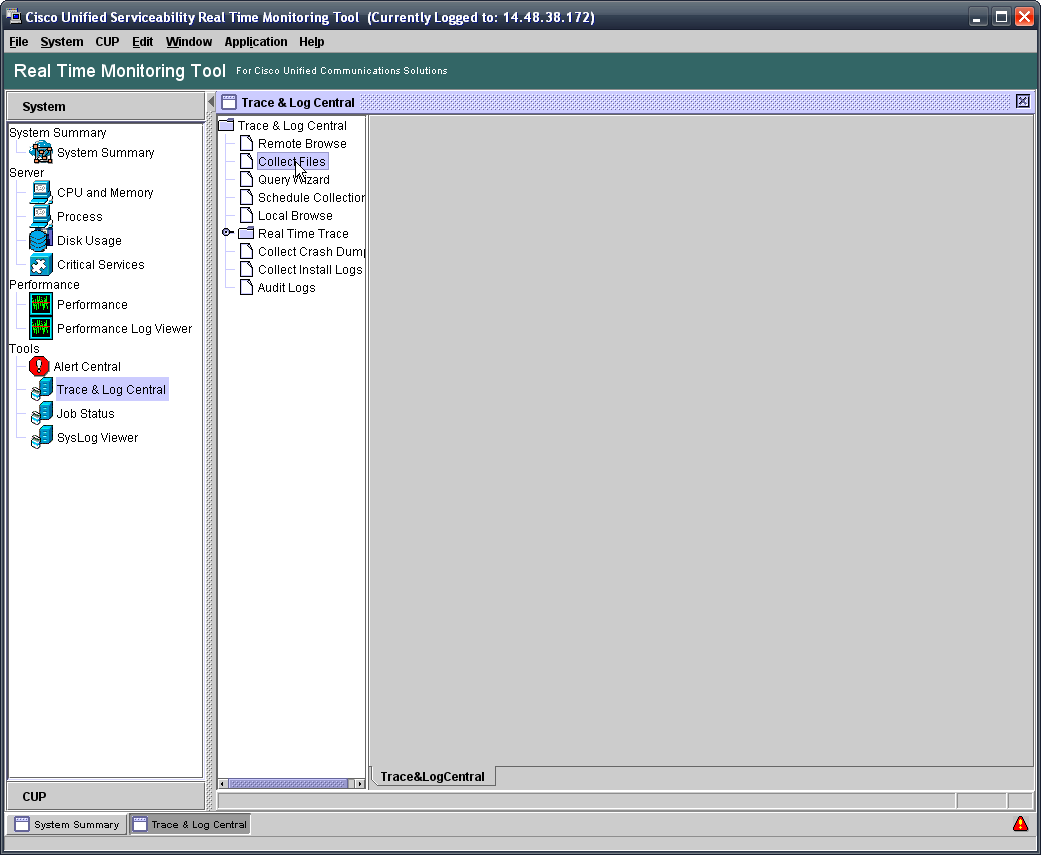
5.Choose Tools > Trace & Log Central.

6.Double-click Collect Files.
7.Select the Cisco UP Presence Engine and Cisco UP SIP Proxy service and Server you want to collect the logs. Click Next
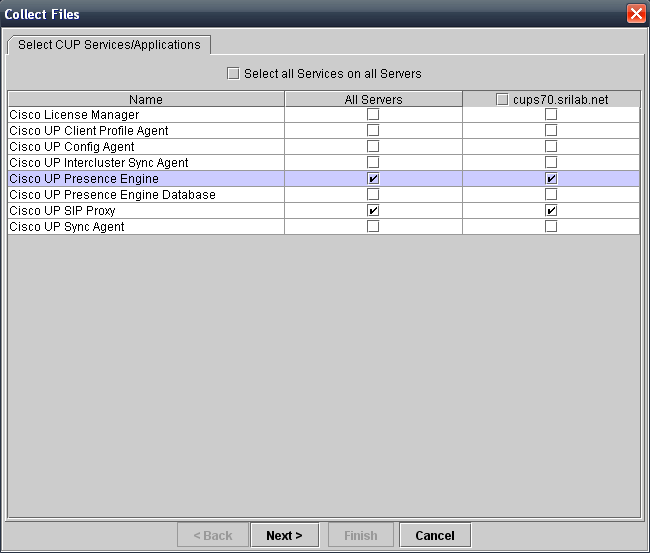
8.Click Next on the next window.
9.Select Absolute Range if you are collecting traces for the previous incident.
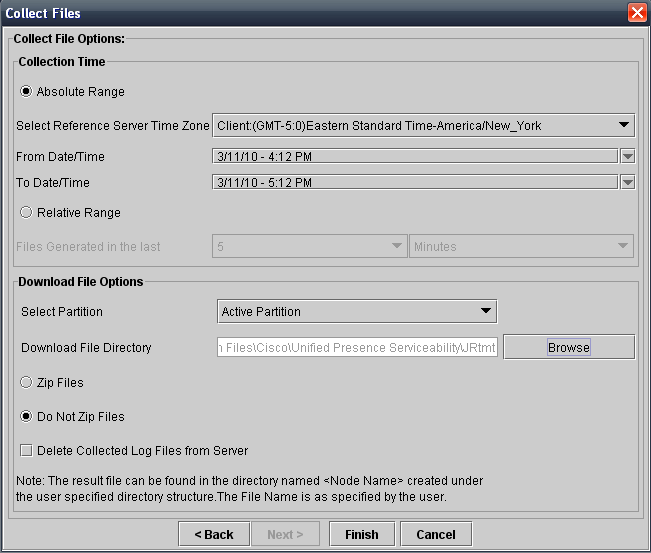
10.Select From Date/TIme.
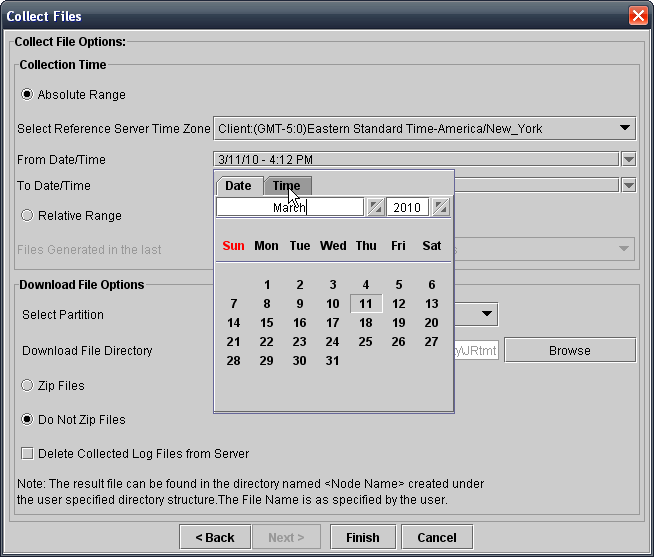
11.Select To Date/Time.
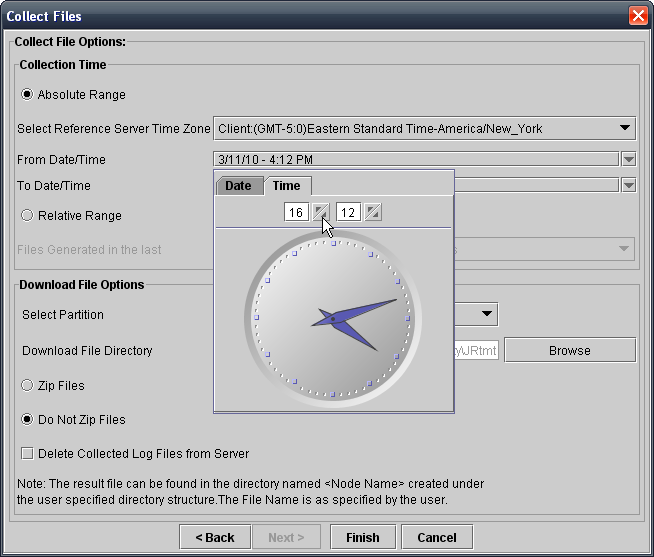
12:Select Download File Directory.
13:Click Finish.
When Sending traces to Tac Zip the files in to a single folder and attach to Service request.
Related Links:
How to set and collect Logs form Cisco Unified Personal Communicator