Introduction
Following Document explain the Workaround on Xmedius FAX Server to Initiate Switchover to resolve the Outbound fax failure issue caused due to multiple m lines in the re-invite from the Provider.
Outbound faxes fail if you receive multiple m lines from the provider as the CUBE does not understand multiple m lines.
Following document explains the Workaround that can be implemented on Xmedius server to resolve the issue by forcing the Xmedius Server to Initiate Switchover.
Components Used
CUBE
Xmedius Server
ITSP Provider
SIP T.38 Fax Protocol
Network Diagram
+---------------------+              +------------+
|                     |   T.38 SIP   |            |    SIP
| XMedius FAX SERVER  +--------------+    CUBE    +----------------+ ITSP
|                     |              |            |
+---------------------+              +------------+
Issue
When the provider sends an INVITE to the CUBE during voice to fax switch-over, and the SDP contains 2 m lines, the original behavior was to reject the call with SIP 488.
However, this behavior has changed.
If the provider sends an SDP with
1. m=audio
2. m=image
The call goes through and works fine.
If the provider sends an SDP with
1. m=image
2. m=audio
The CUBE doesn't process this correctly, and sends a malformed SDP to the XMedius Server in the INVITE message. Therefore, all calls fail.
Bug associated with this issue is CSCue70469
Configuration Changes on XMedius Server to force the Xmedius Server to Initiate Switchover.

- Right click on Driver and select properties

- To modify setting on Xmedius server for the CUBE, go to Peer list and click on properties
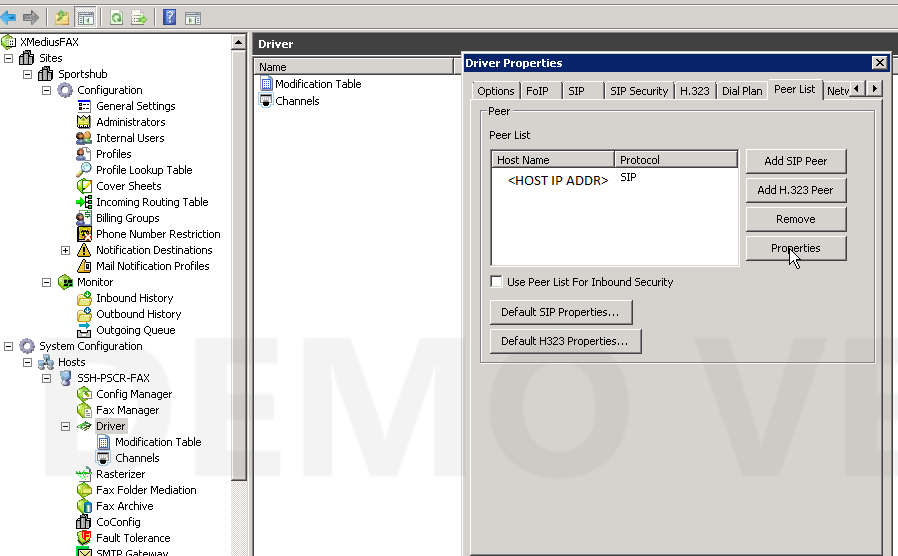
- Go to T38 parameter and do a check on Send T.38 Reinvite

- If you would like to add a new peer in the Xmedius Server, go to peer list and click on Add new

- Once the peer is added, go to Dial-plan
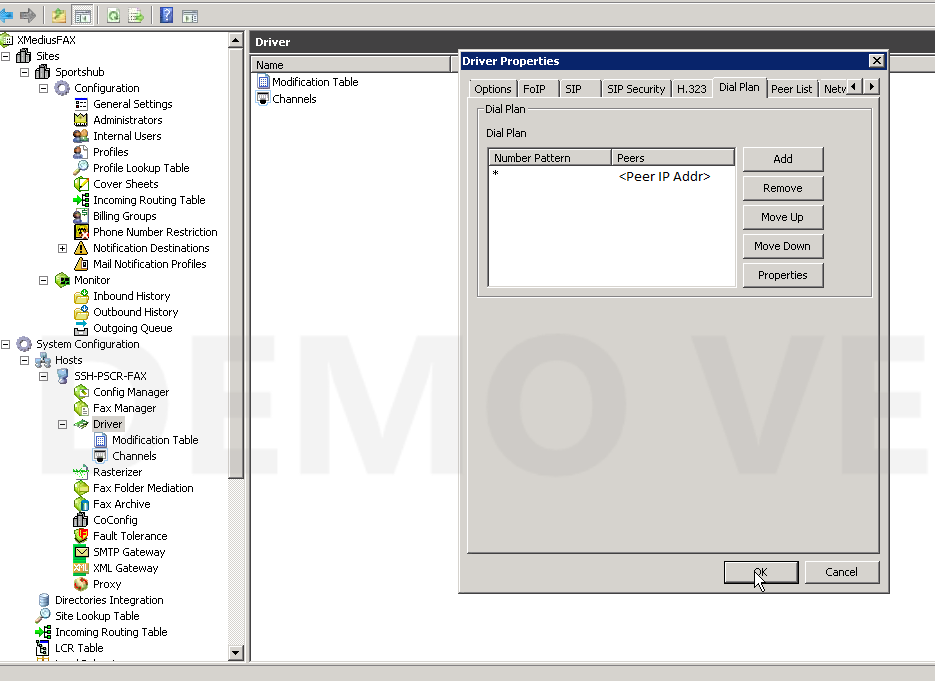
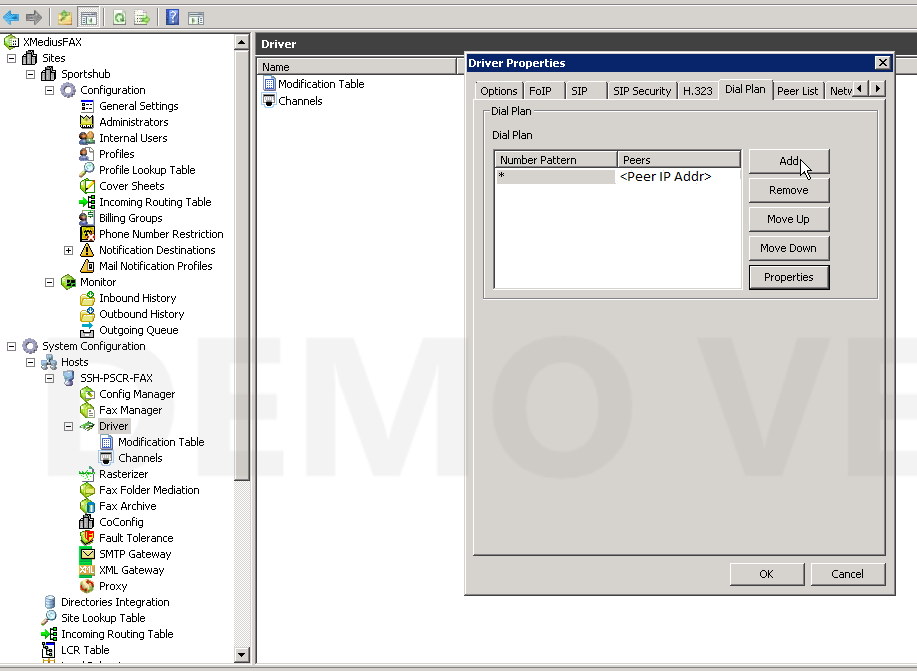
- Give in the Number pattern as asterick and select preference
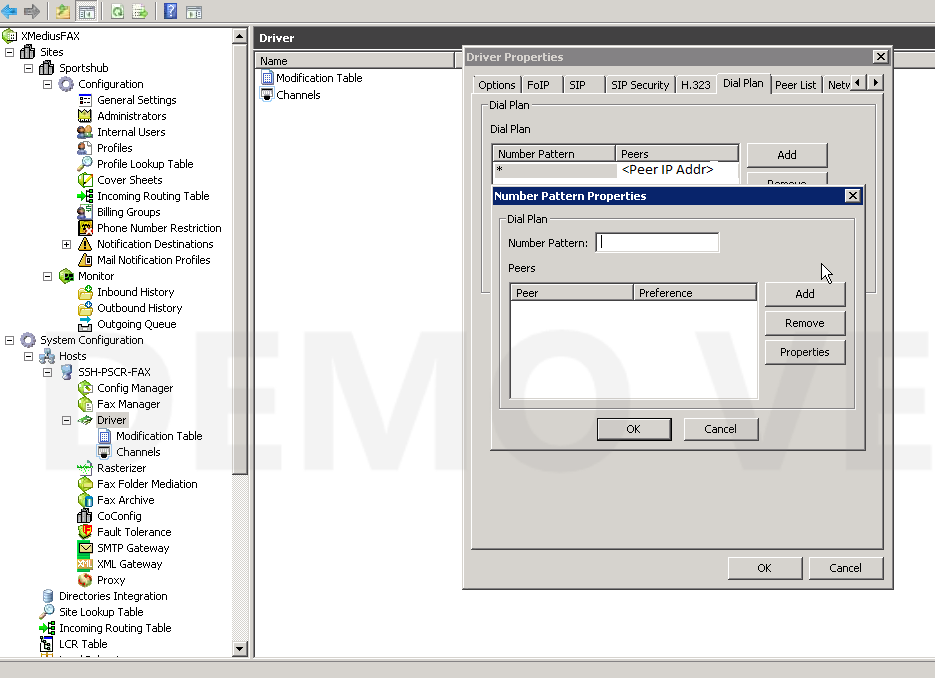
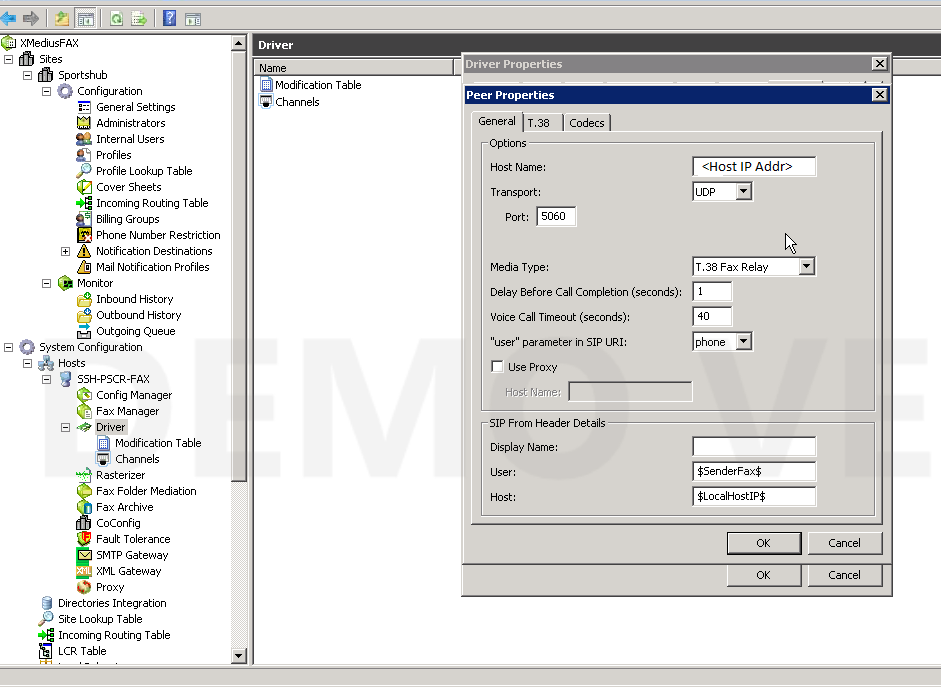
- General setting tab for reference on a configured peer
