Use the attached template and the following steps to configure a UC500 to use the VoIP.co.uk SIP trunking service.
For more information on the VoIP.co.uk service, please see the following link.
Detailed steps:
- Download the attached template to a PC running CCA.
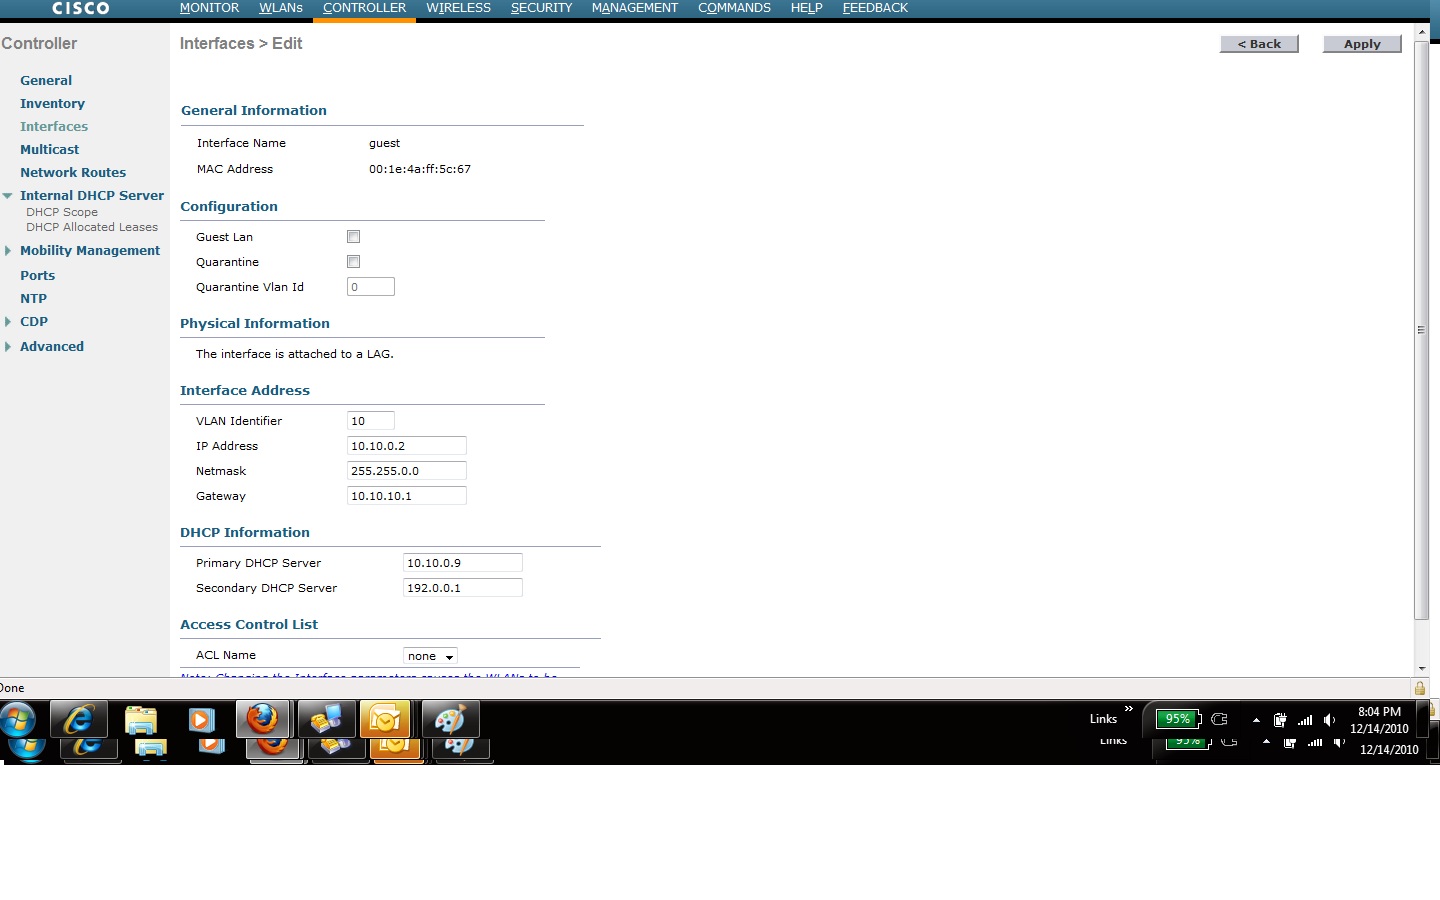
- Configure Routing > IP Addresses, select Device configuration tab. Add locale DNS domain name and ensure that DNS servers are populated.
- Select Trunk > SIP Trunk. Drop down Service Provider and select Add..., then browse to select the template downloaded at step 1. Complete the forms as follows:
Primary Proxy Server: single-01.proxy.voip.co.uk
Secondary Proxy Server: single-02.proxy.voip.co.uk
Outbound Proxy Server: outbound-01.proxy.voip.co.uk
Digest Authentication Username: Use your VoIP.co.uk SIP account username (see the SIP AOR menu on your portal).
Digest Authentication Password: Use the password you selected for the above username.
Ensure that the domain and DNS settings are consistent with those configured above.
- Reset firewall at this point


- When you click on apply, you will be prompted to set the main number for the SIP trunk to be used as the default call line ID for outbound calls. Ensure that the SIP trunk check box is ticked to allow outbound routing to voip.co.uk.
- dfgsdfgs

- Select Telephony > Dial Plan > Incoming

- Add inbound number mappings

- Then apply when done

- Then add DDI for voicemail

- Ensure that outbound trunks are selected correctly
