TranslatorX is a tool to help analyze logs from Cisco Unified Communications Manager (CUCM) and other devices.
In this document, I will demonstrate how to load trace files into TranslatorX.
1. Collecting Cisco CallManager traces from CUCM
CUCM traces are downloaded via RTMT (Real-Time Monitoring Tool). Detailed instructions can be found here:
https://supportforums.cisco.com/document/126666/collecting-cucm-traces-cucm-862-tac-sr
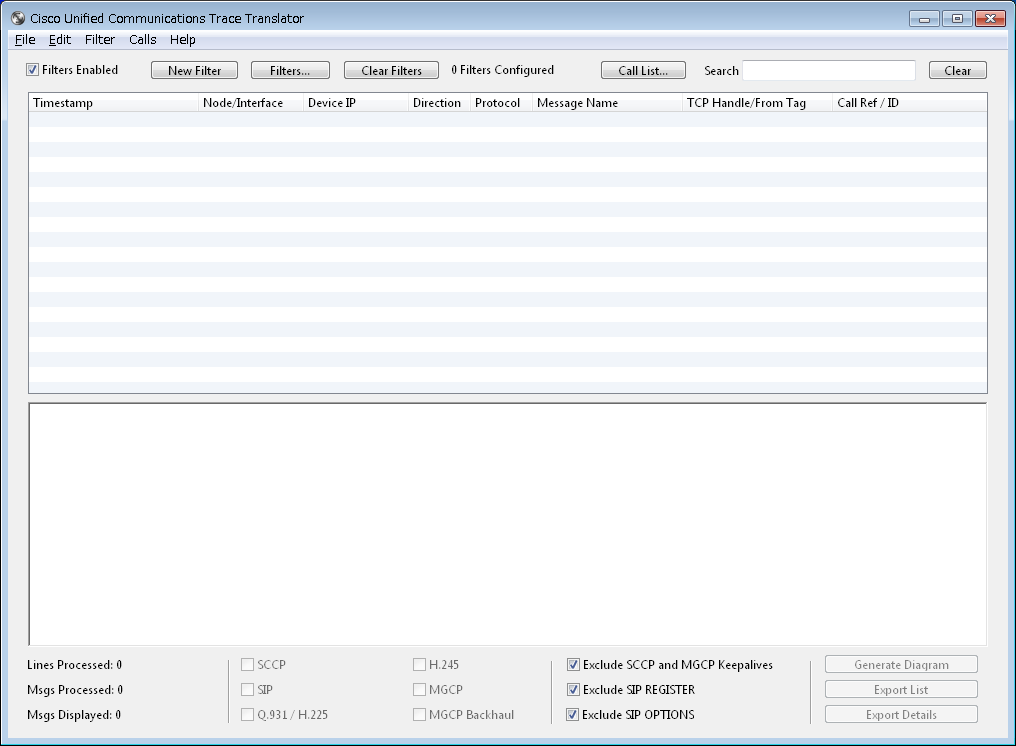
2. Opening TranslatorX
Double-click the shortcut that was created upon installation.
[[{"attributes":{},"fields":{}}]]
It should appear like the picture below.
3. Loading in trace files
Trace files downloaded from CUCM may be compressed in .gz format (e.g. ccmXXXXXXXX.txt.gz). But TranslatorX will accept files even in the .gz format, and perform automatic decompression.
Please note if the filepath includes multi-byte encoded characters, trace files will not load into TranslatorX. This is important for non-English platforms.
3.1. Loading single files
To load a single trace file, in the top-left click File > Open and select the file you wish to parse

3.2. Loading a folder of files
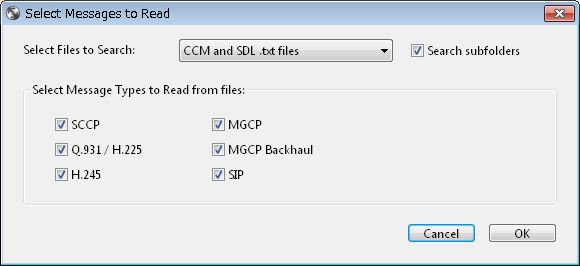
If you want to load an entire folder of trace files, in the top-left click File > Open Folder and select the appropriate folder.

It may take a long time to import all of the files, so there will be a pop-up prompting if you want to filter which types of messages and files you wish to import. Please also note the option for "Search subfolders."
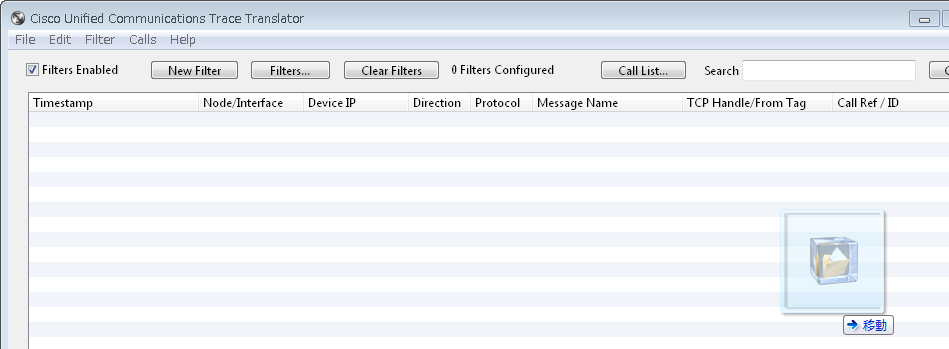
3.3. Loading files via drag and drop
Single files, multiple files, or folders can all be dragged and dropped into an open TranslatorX window.
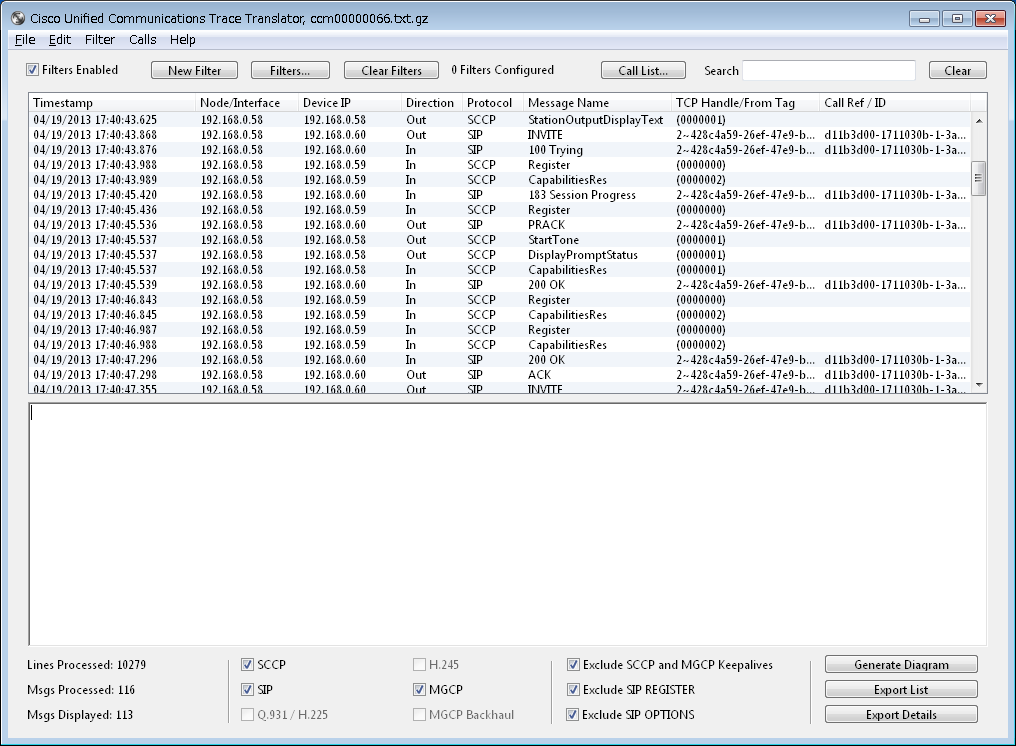
3.4. Verify the displayed messages
After files are loaded, you should see a list of messages for various protocols like below.
On the bottom left is the total number of lines processed. If nothing is showing in the main window, first try unchecking Exclude SCCP and MGCP Keepalives, Exclude SIP REGISTER, Exclude SIP OPTIONS.
If still nothing is displaying, please make sure the trace files are set to Detailed level.
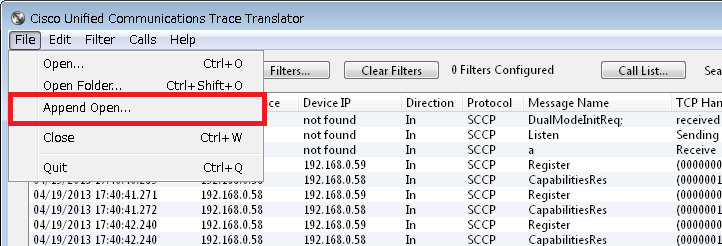
4. Adding additional trace files
You can also append trace files to a TranslatorX window you are in the process of analyzing.
In the top left, click File > Append Open and choose the appropriate file.
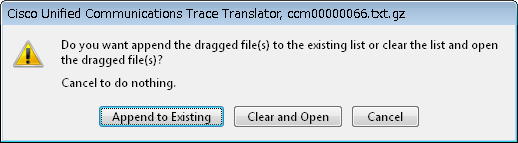
Or, you can drag and drop files to append them as well. Make sure to choose the Append to Existing option on the pop-up window.
")
")